Skip to content
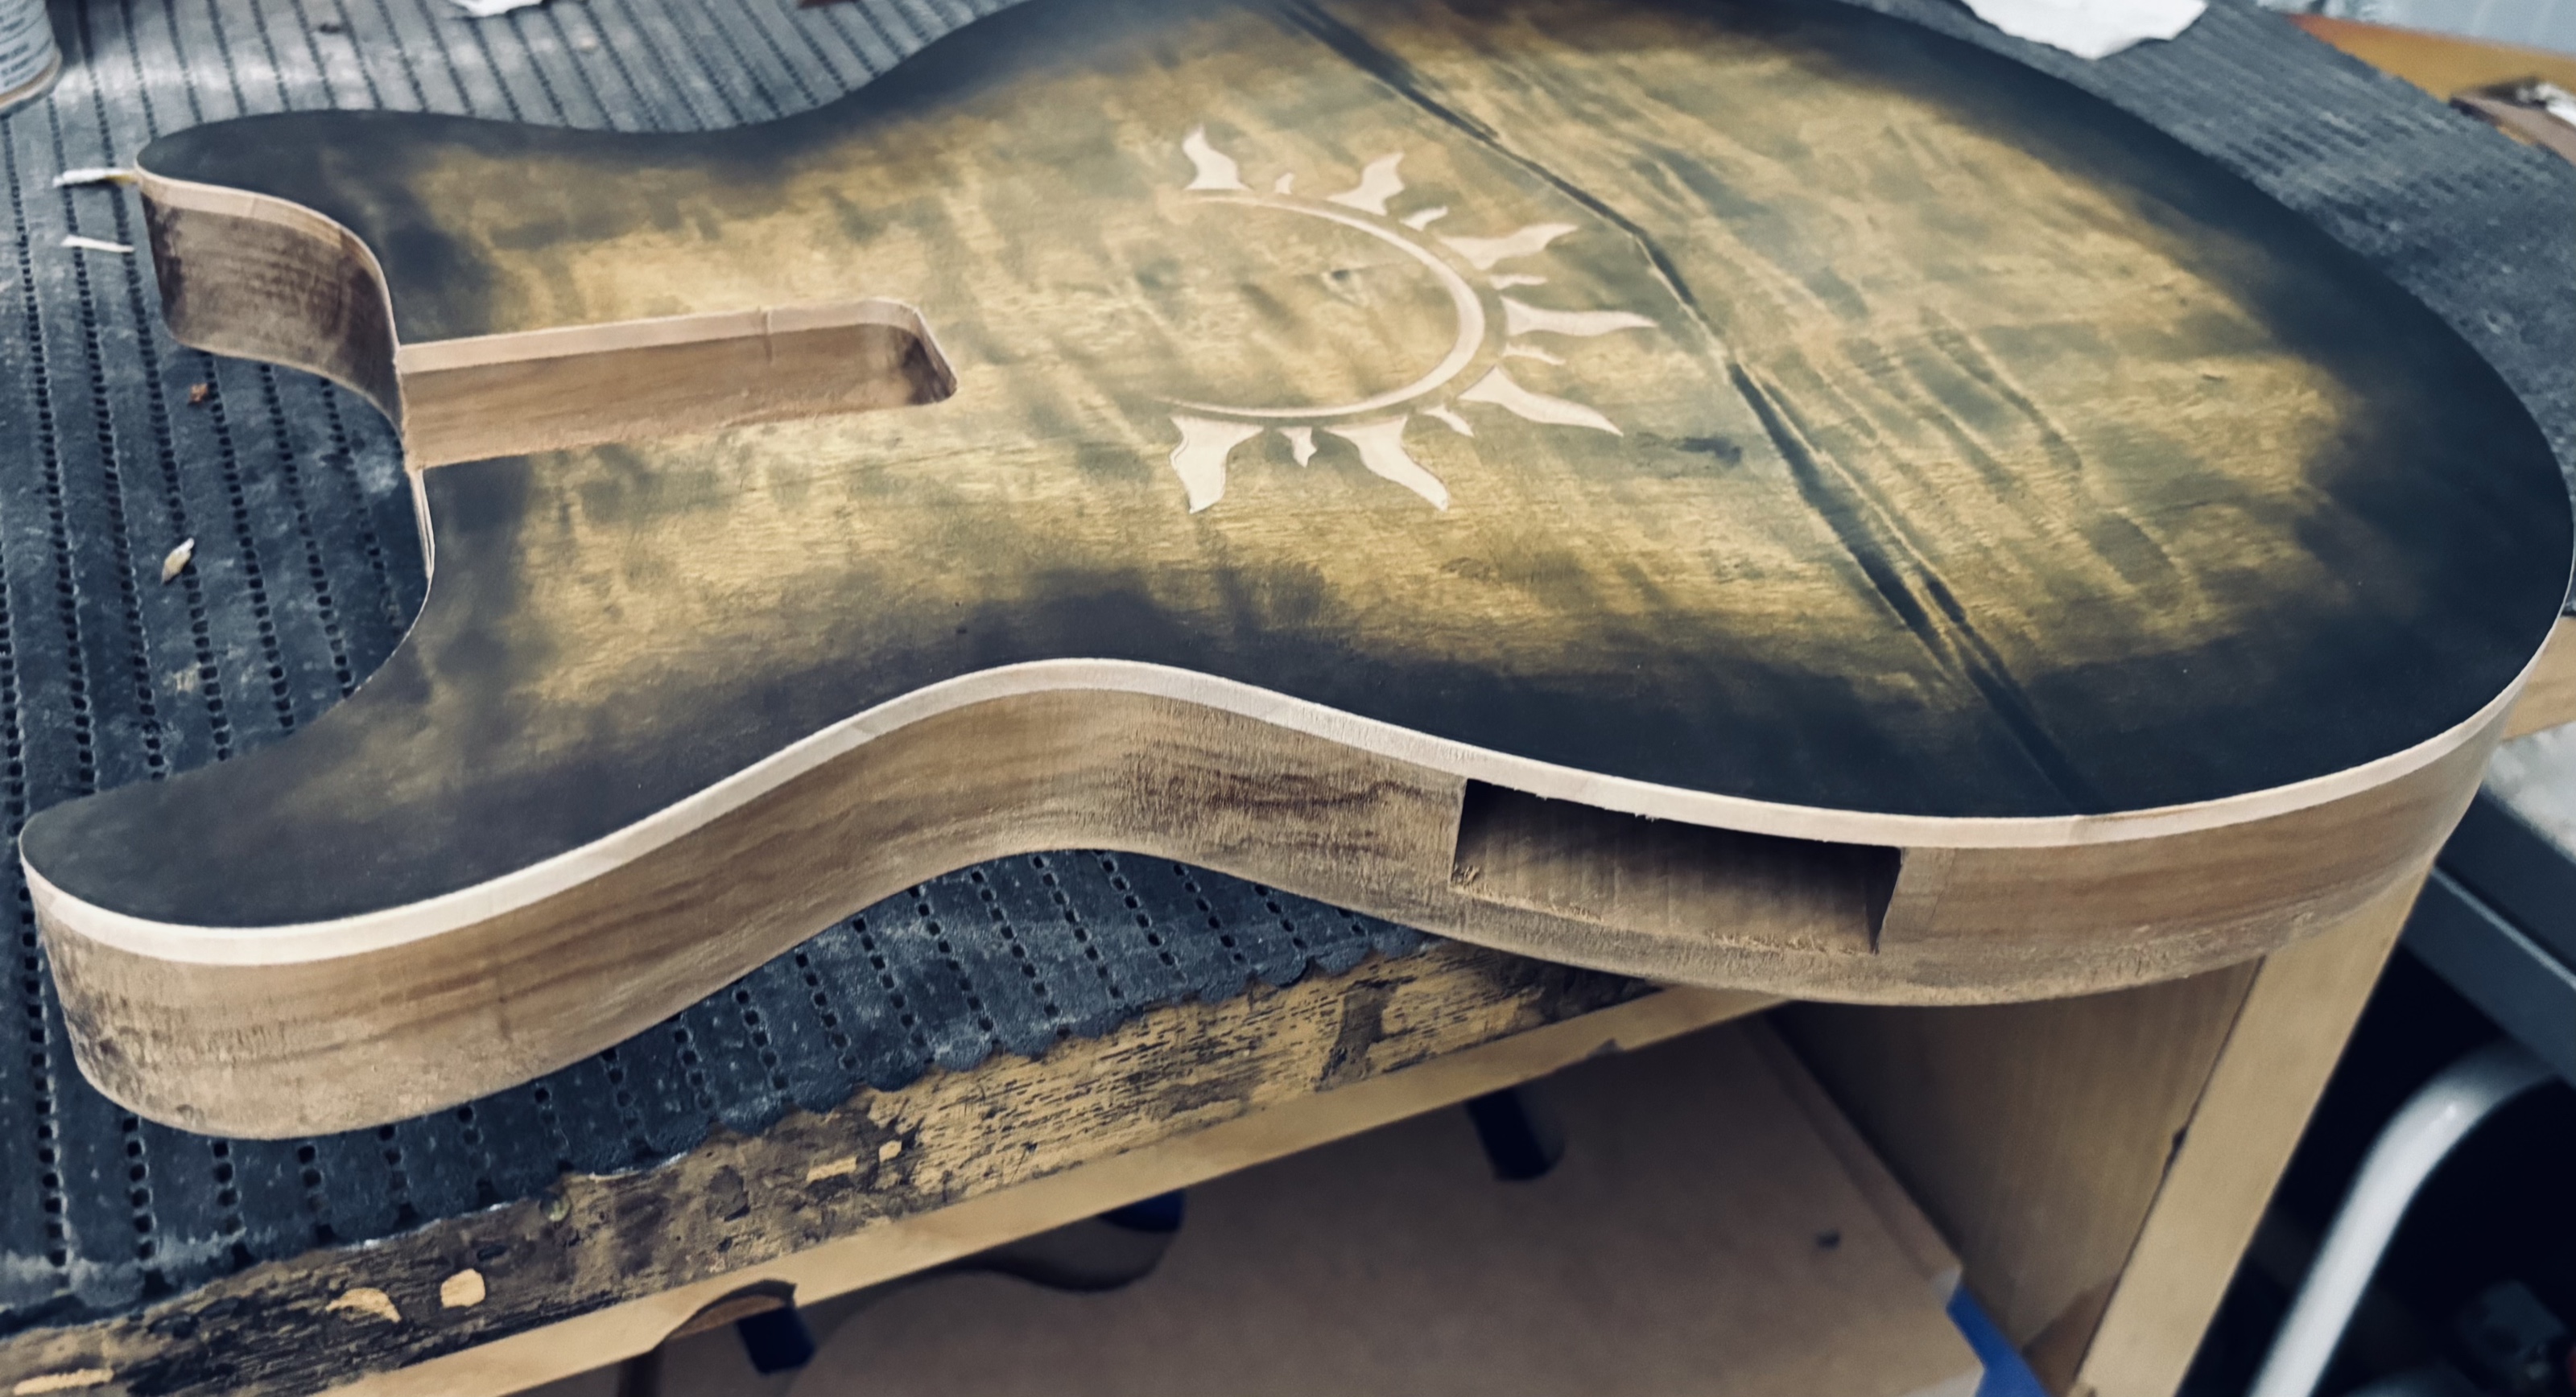
A semi-hollow body with a sun inlaid into the top, still being worked on

Lab

The work, as it happens

Photographs taken in the workshop while the work was going on. Nothing here was staged.

The wood

Before it is an instrument it is a board

Boards are chosen one at a time and left to season. The grain never repeats itself, and it decides the instrument before the shape and the colour do.
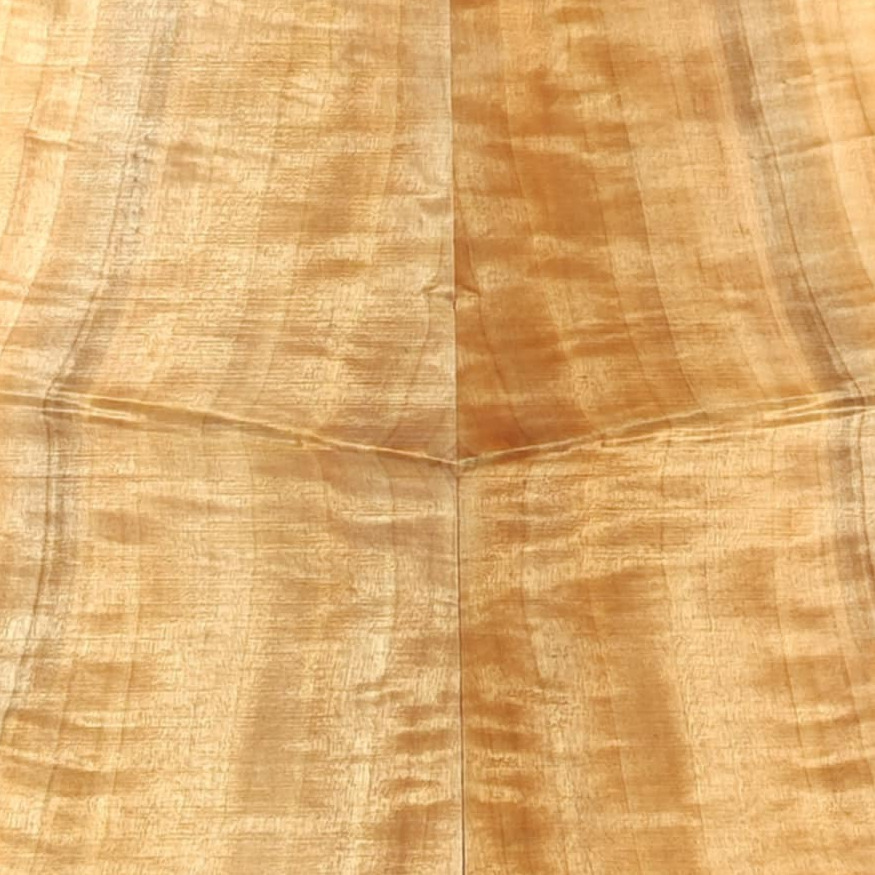
A top in two book-matched halves, the grain figure mirrored across the joint
Two halves of the same board, book-matched: the figure mirrors itself.
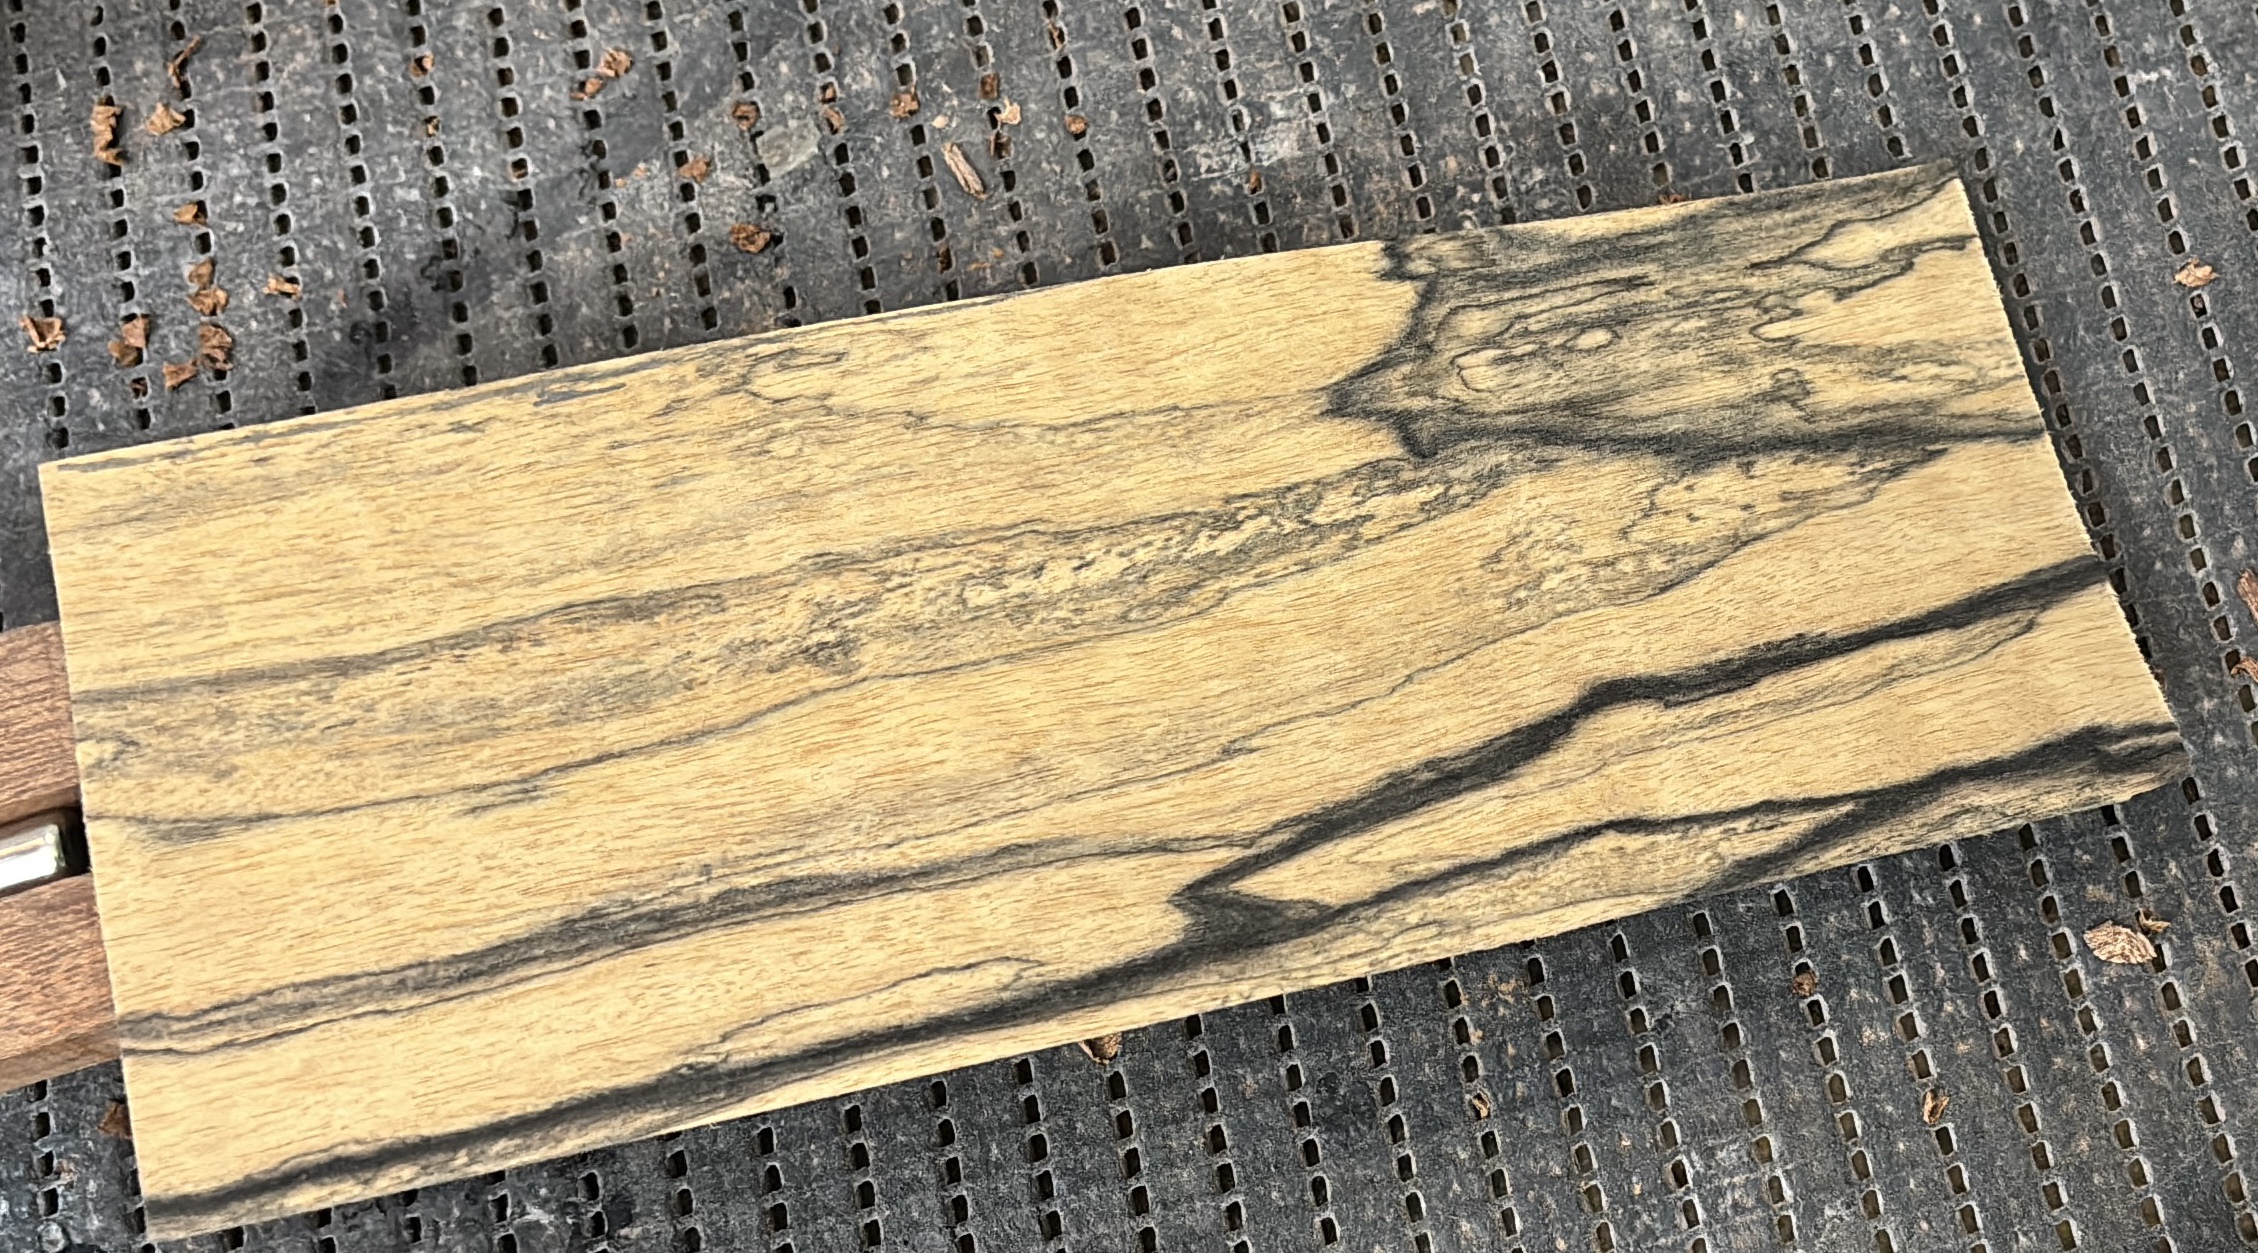
A board of Pale Moon ebony, with its black and cream streaks, on the bench grid
Pale Moon ebony: no two boards share the same pattern.
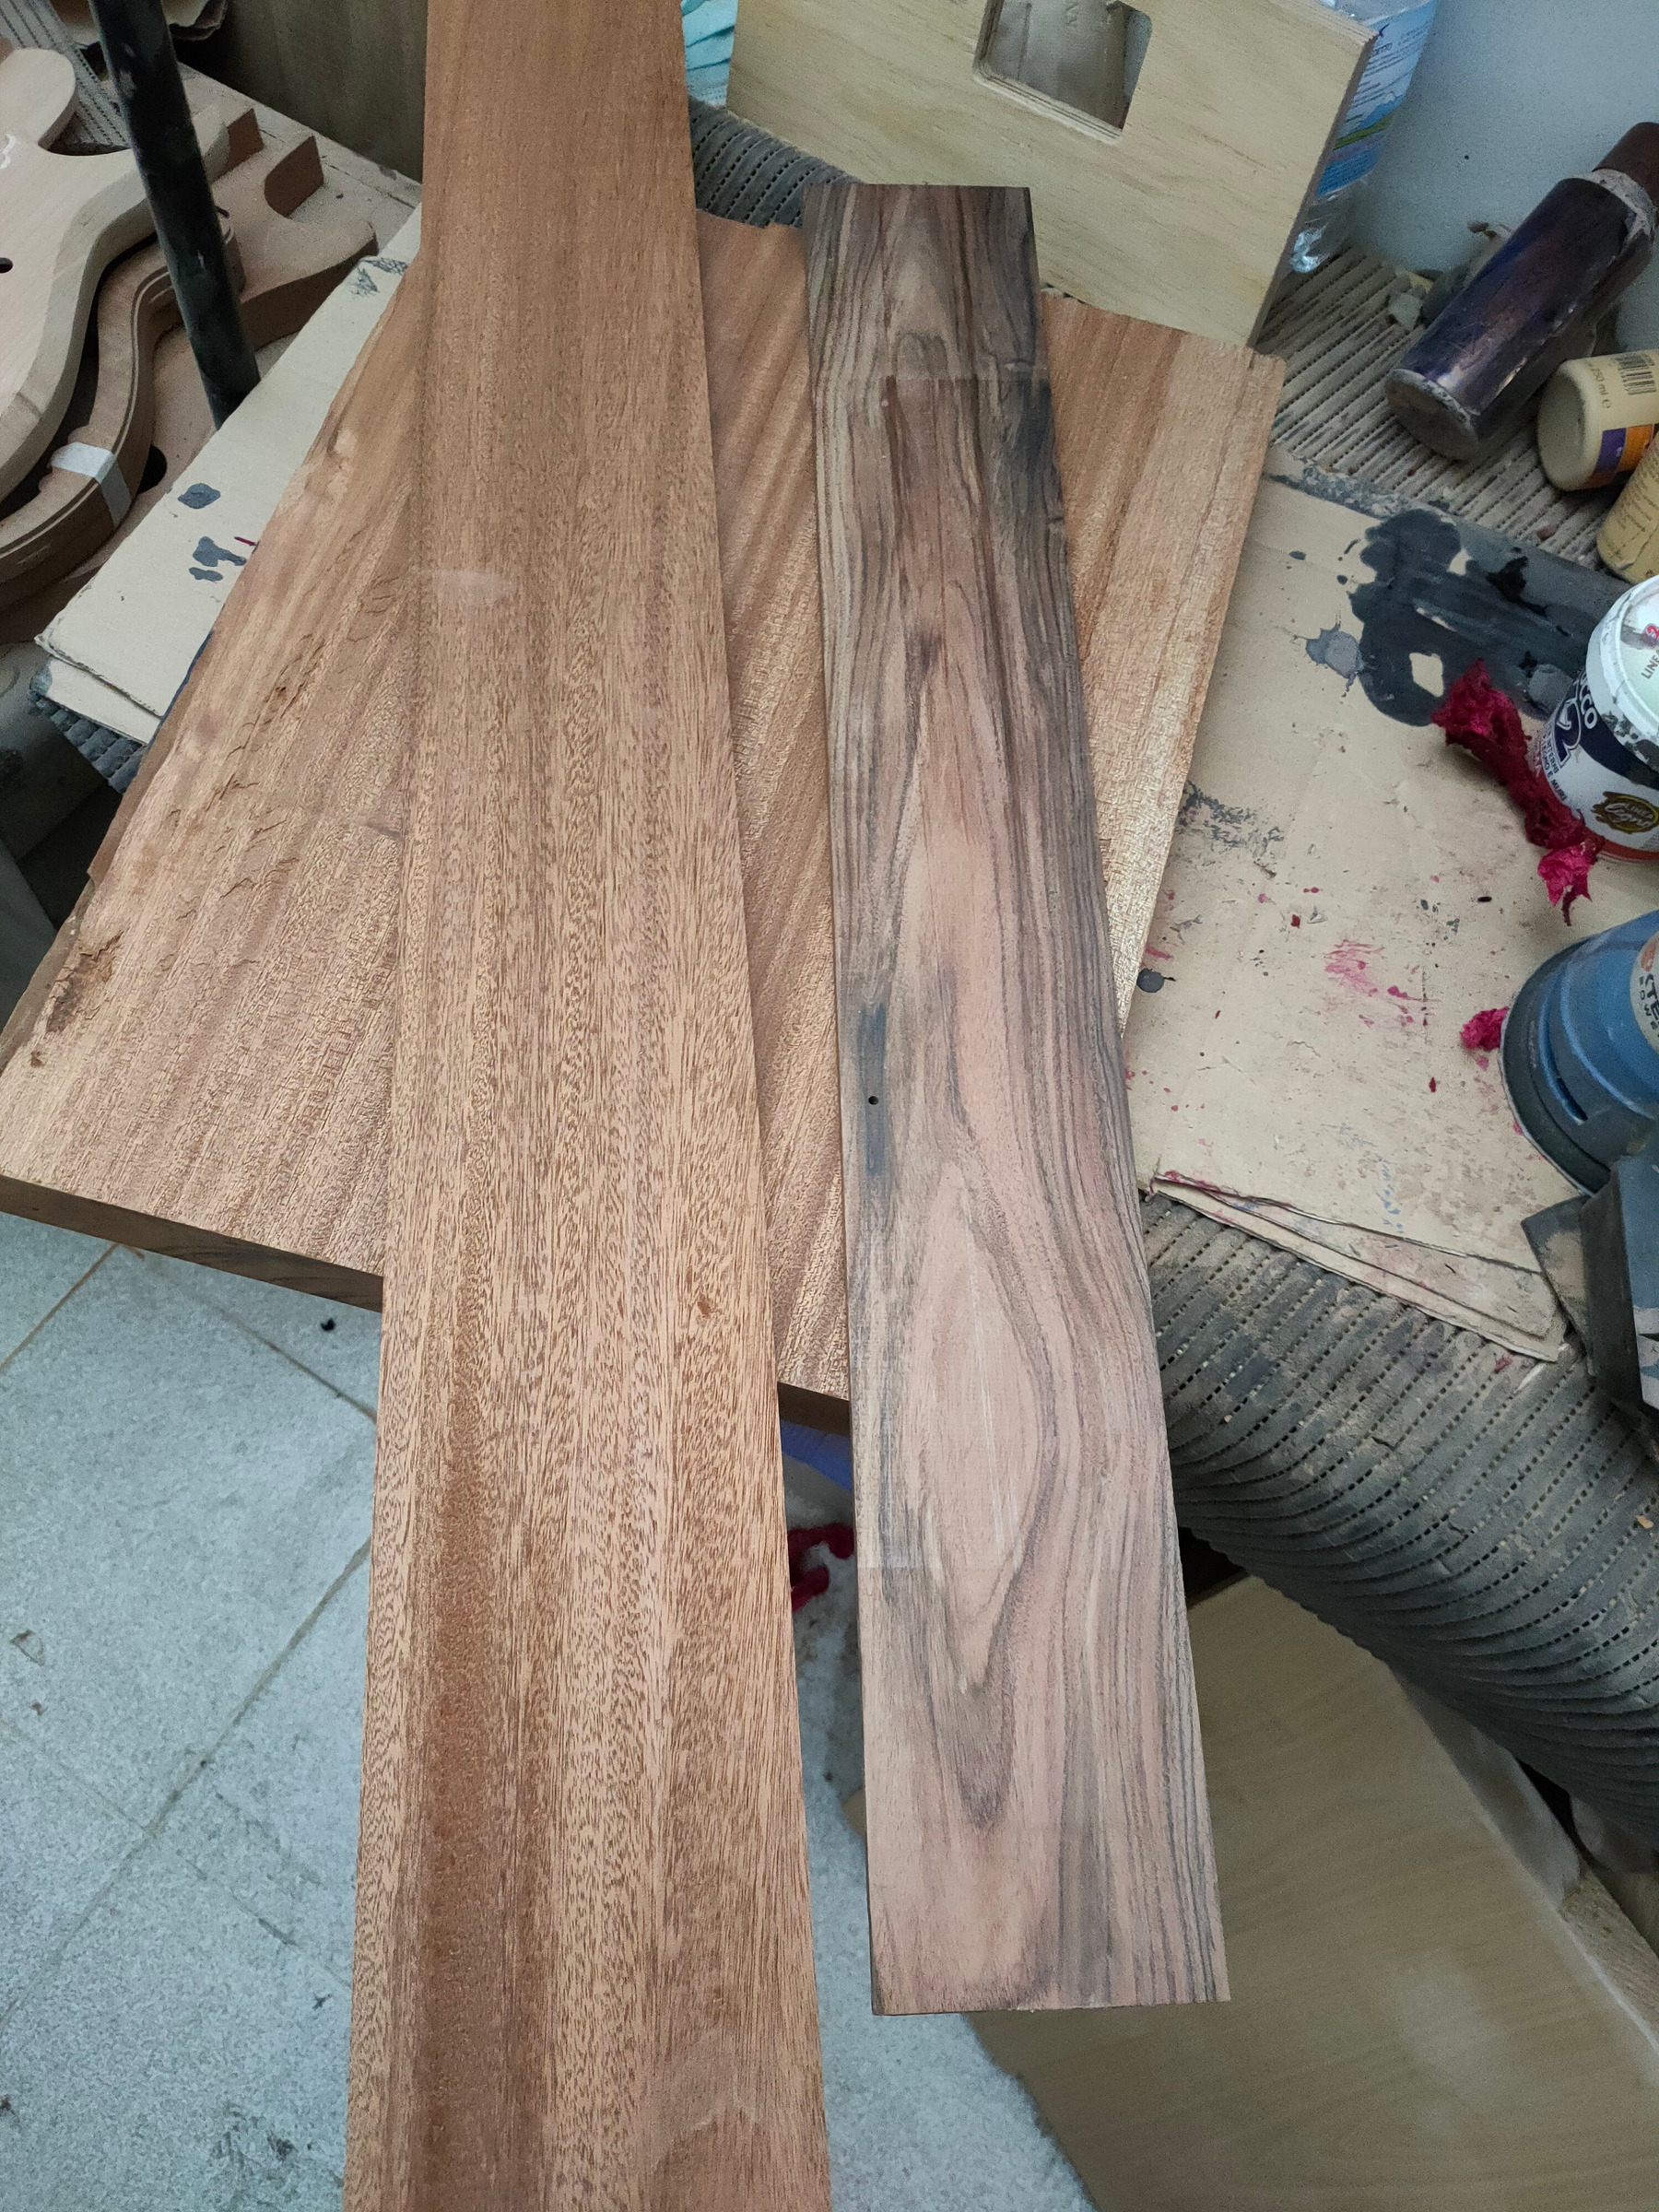
Two long boards of different woods, side by side on the bench
Different woods, different grain: the choice starts here.

The drawing

It gets drawn in pencil, on the wood

Outlines, necks and inlays start in pencil, before anything is cut. If the drawing doesn't hold up on the wood, it won't hold up later.
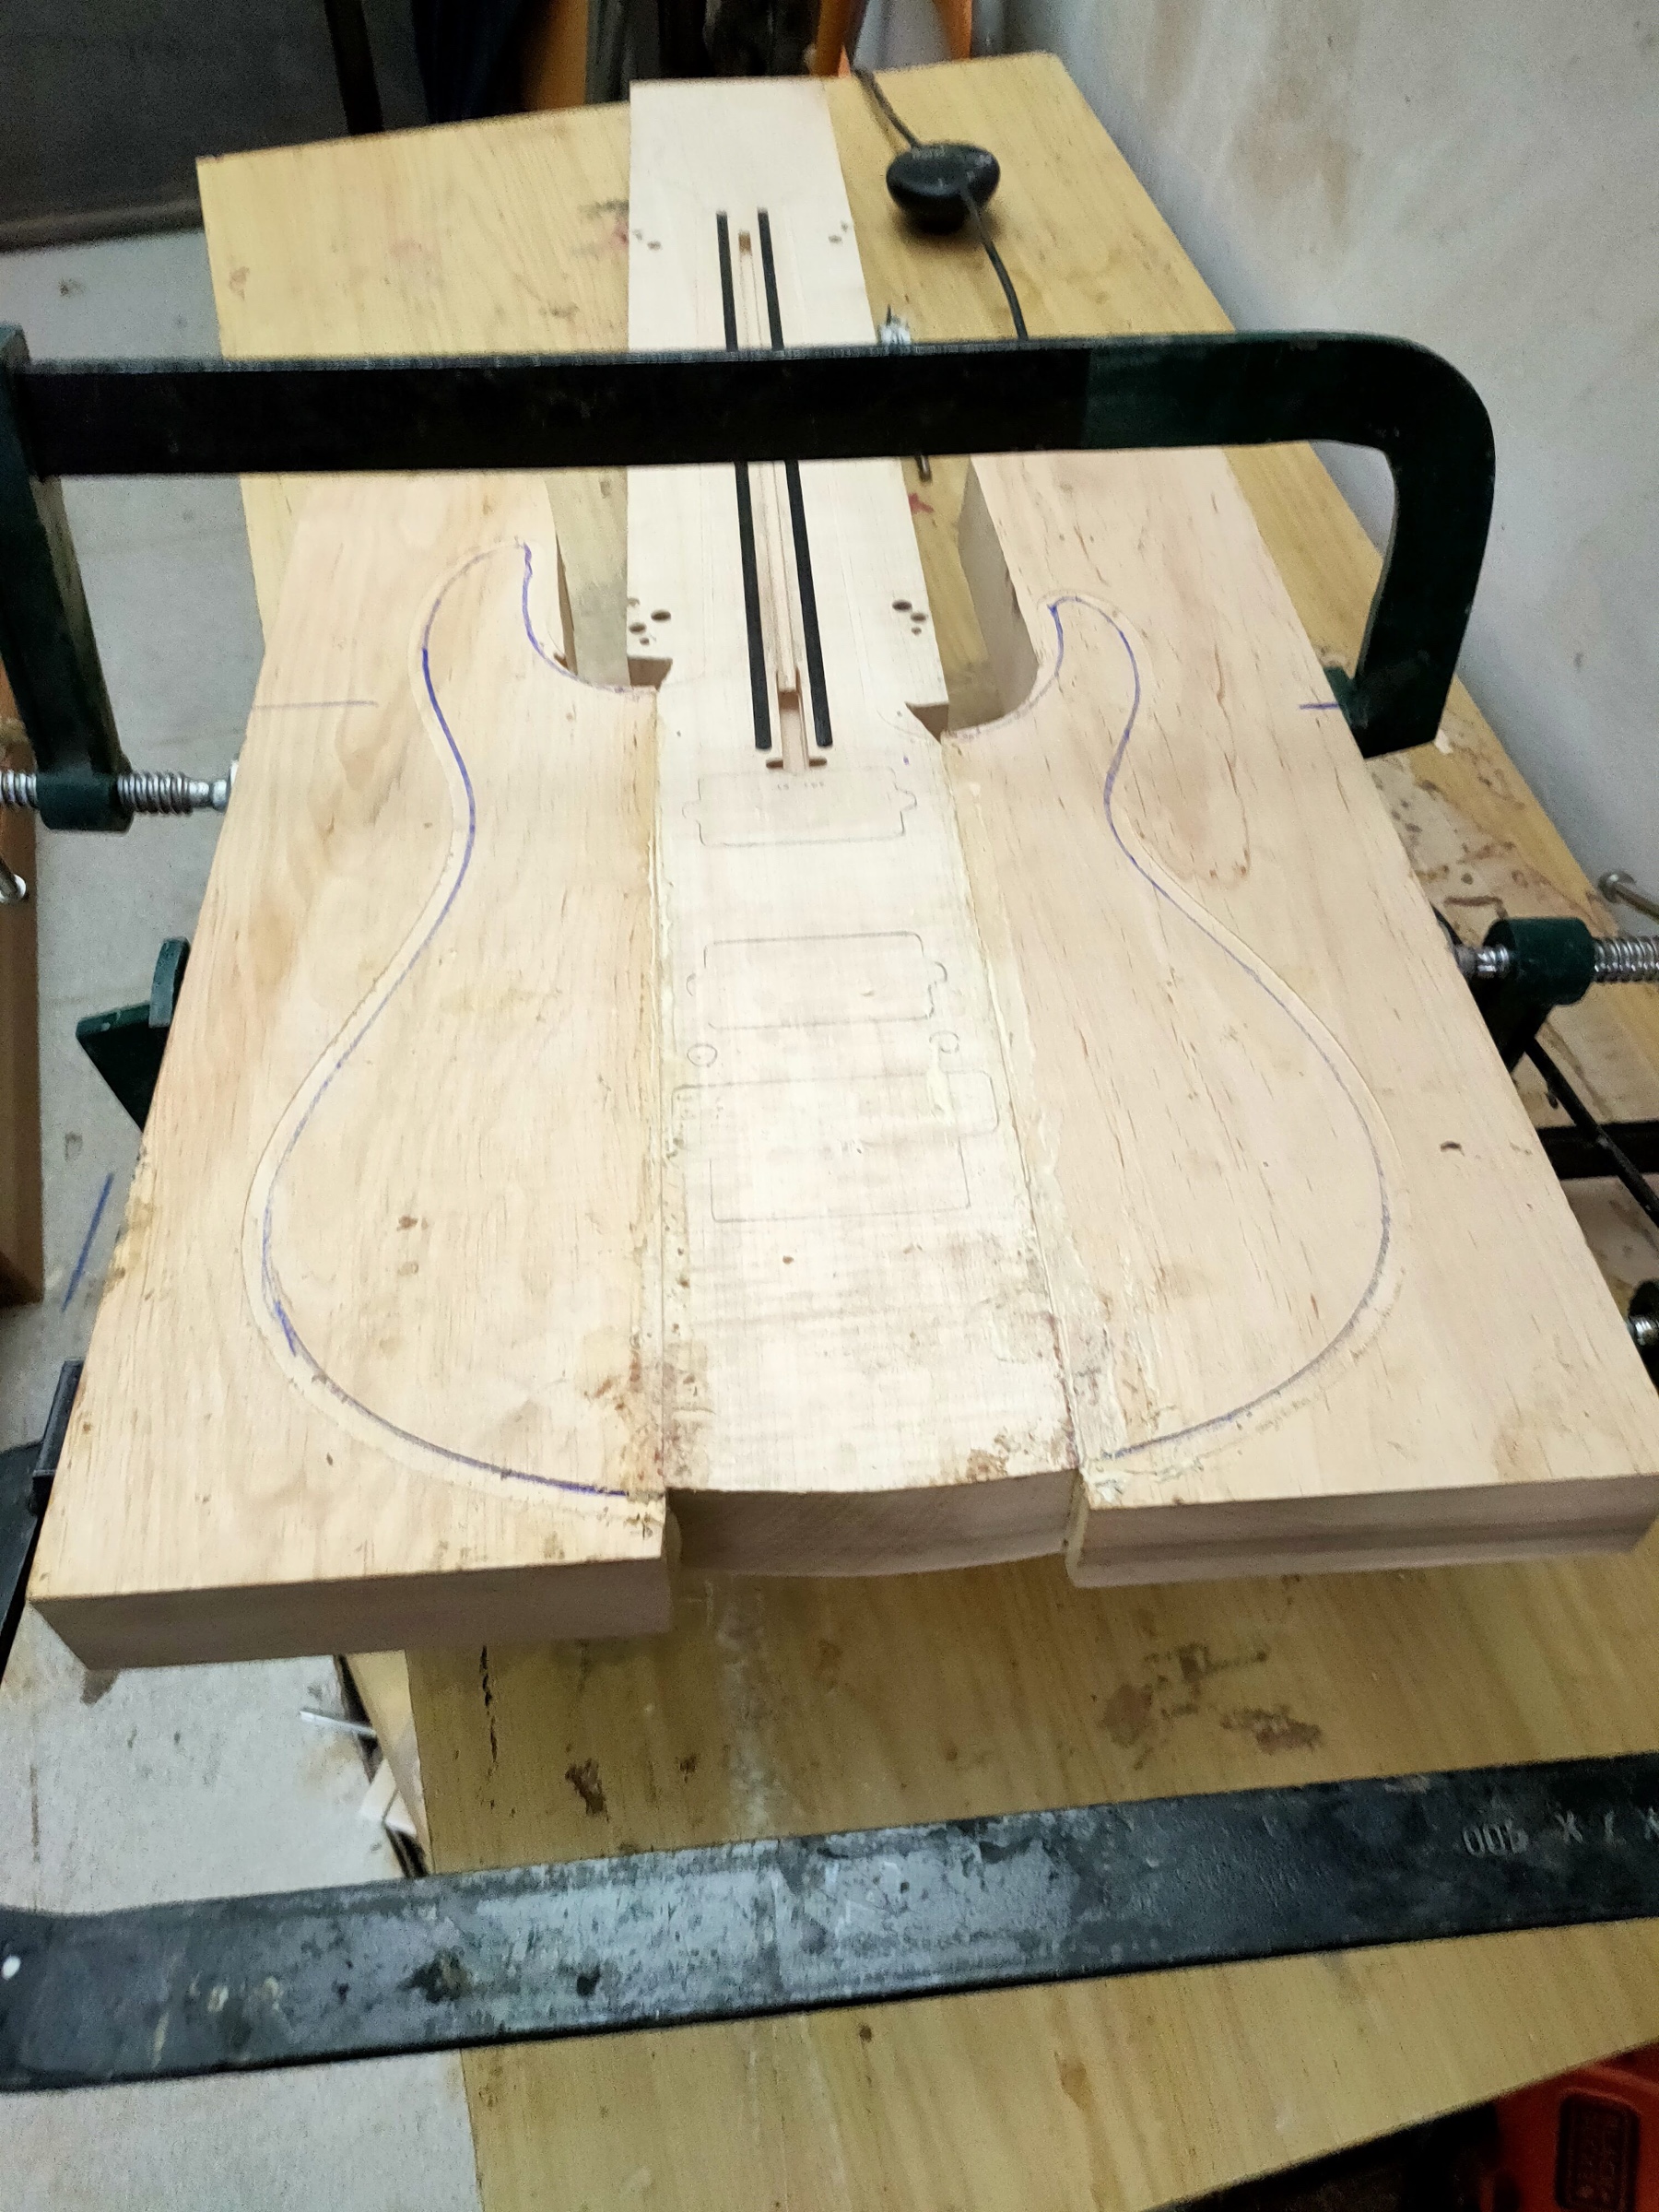
The outline of a body traced on the wood, the blank still held in clamps
First the outline on the wood, then the cut.
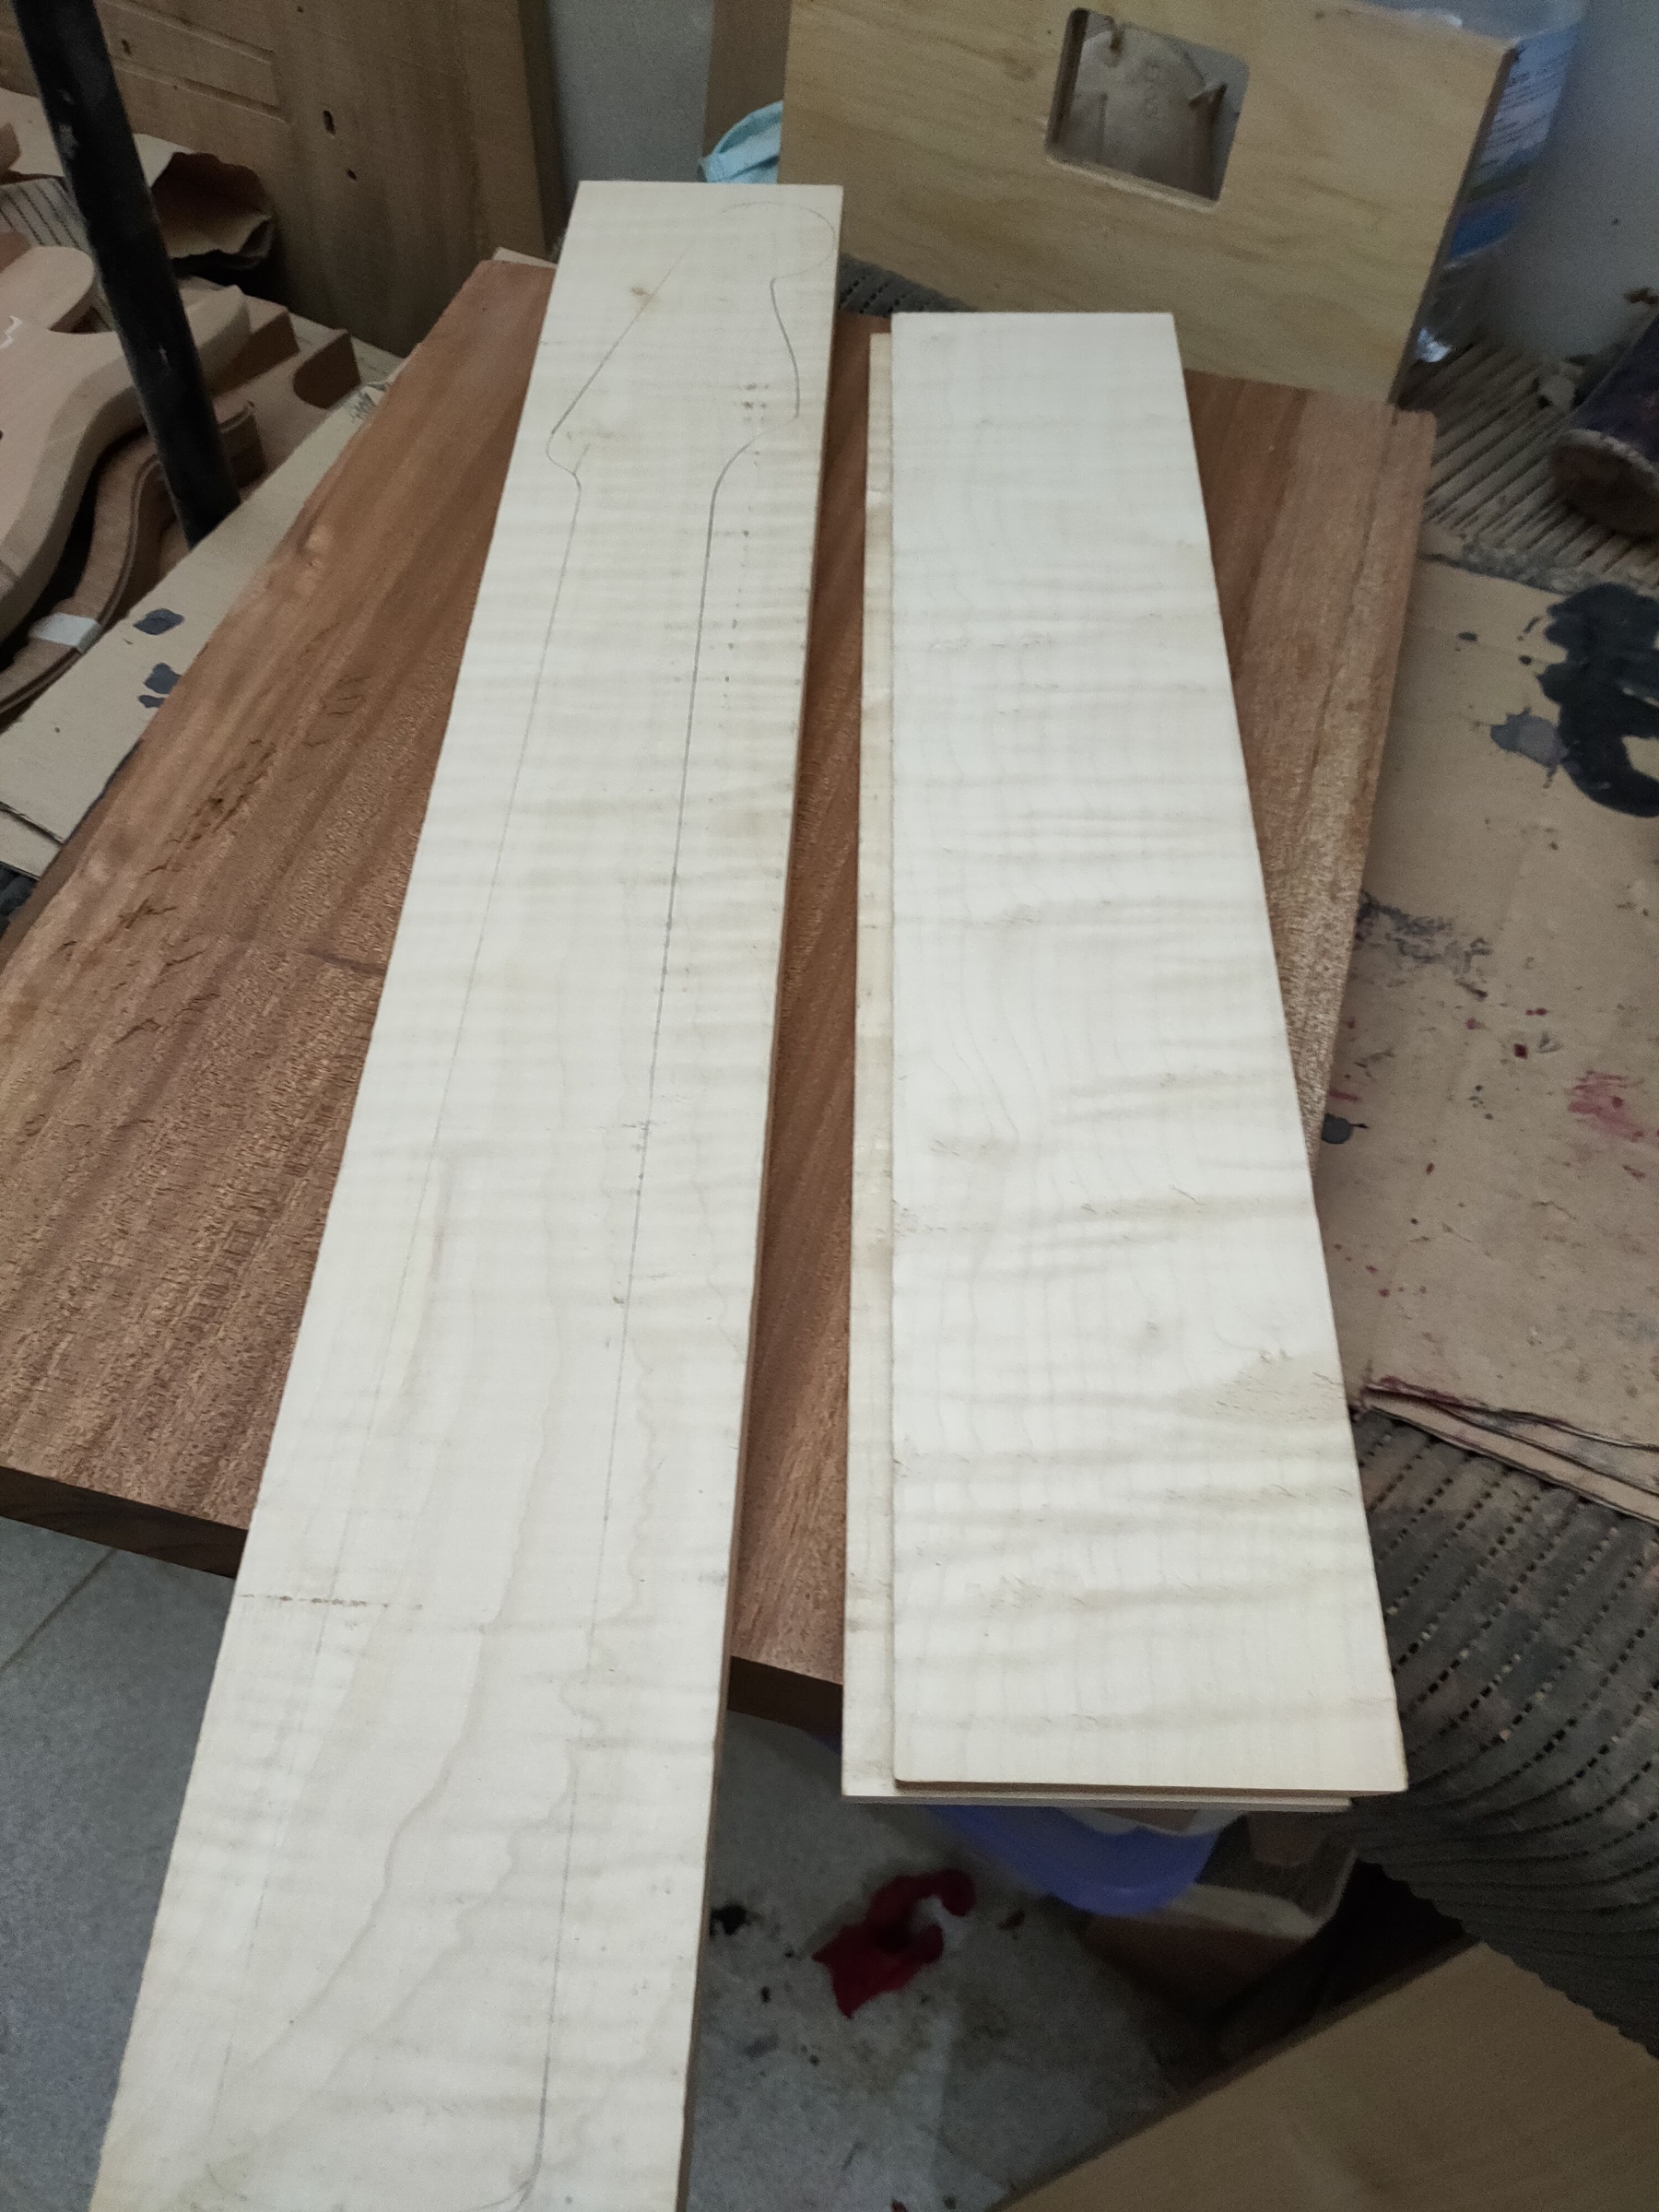
Two flamed maple boards, one with the neck already traced in pencil
Flamed maple: the neck is traced on the board before any cutting.
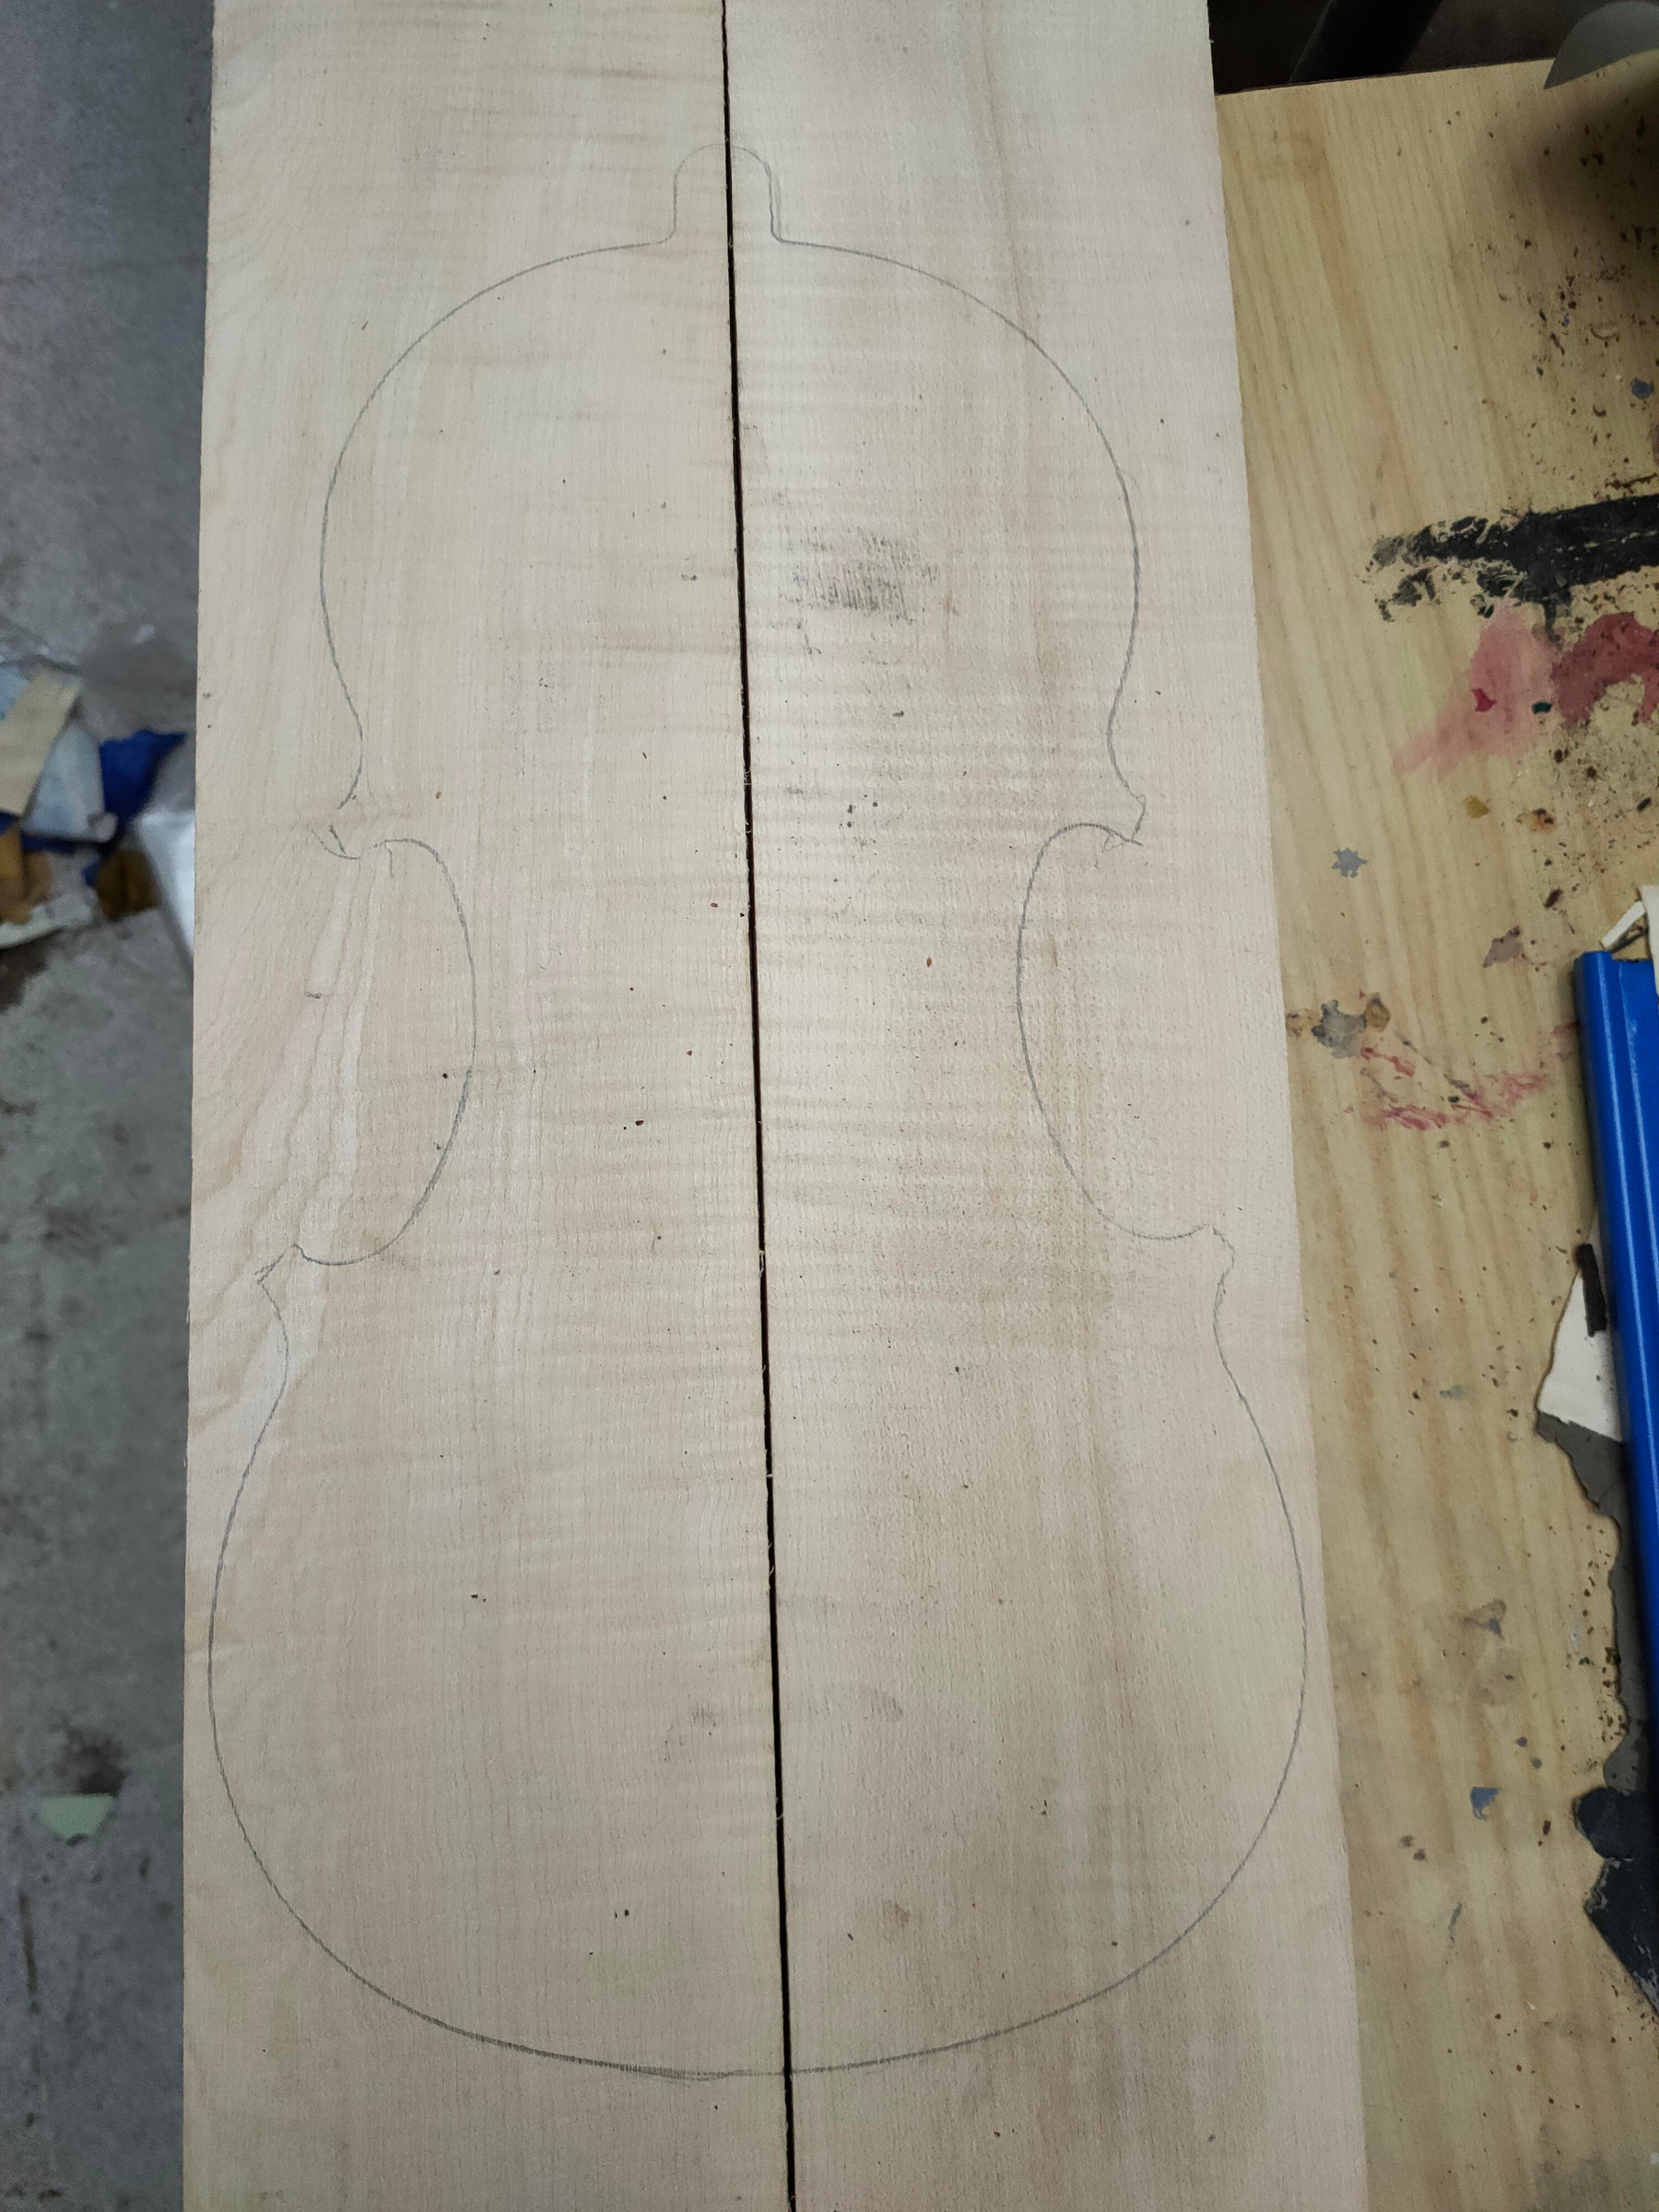
The outline of a violin traced in pencil on raw wood
The same pencil, for violins too.

The neck

The part you never see again

Inside the neck go the truss rod and two carbon rods, standard on every model. Then the fingerboard, the frets pressed in one by one, and the side dots.
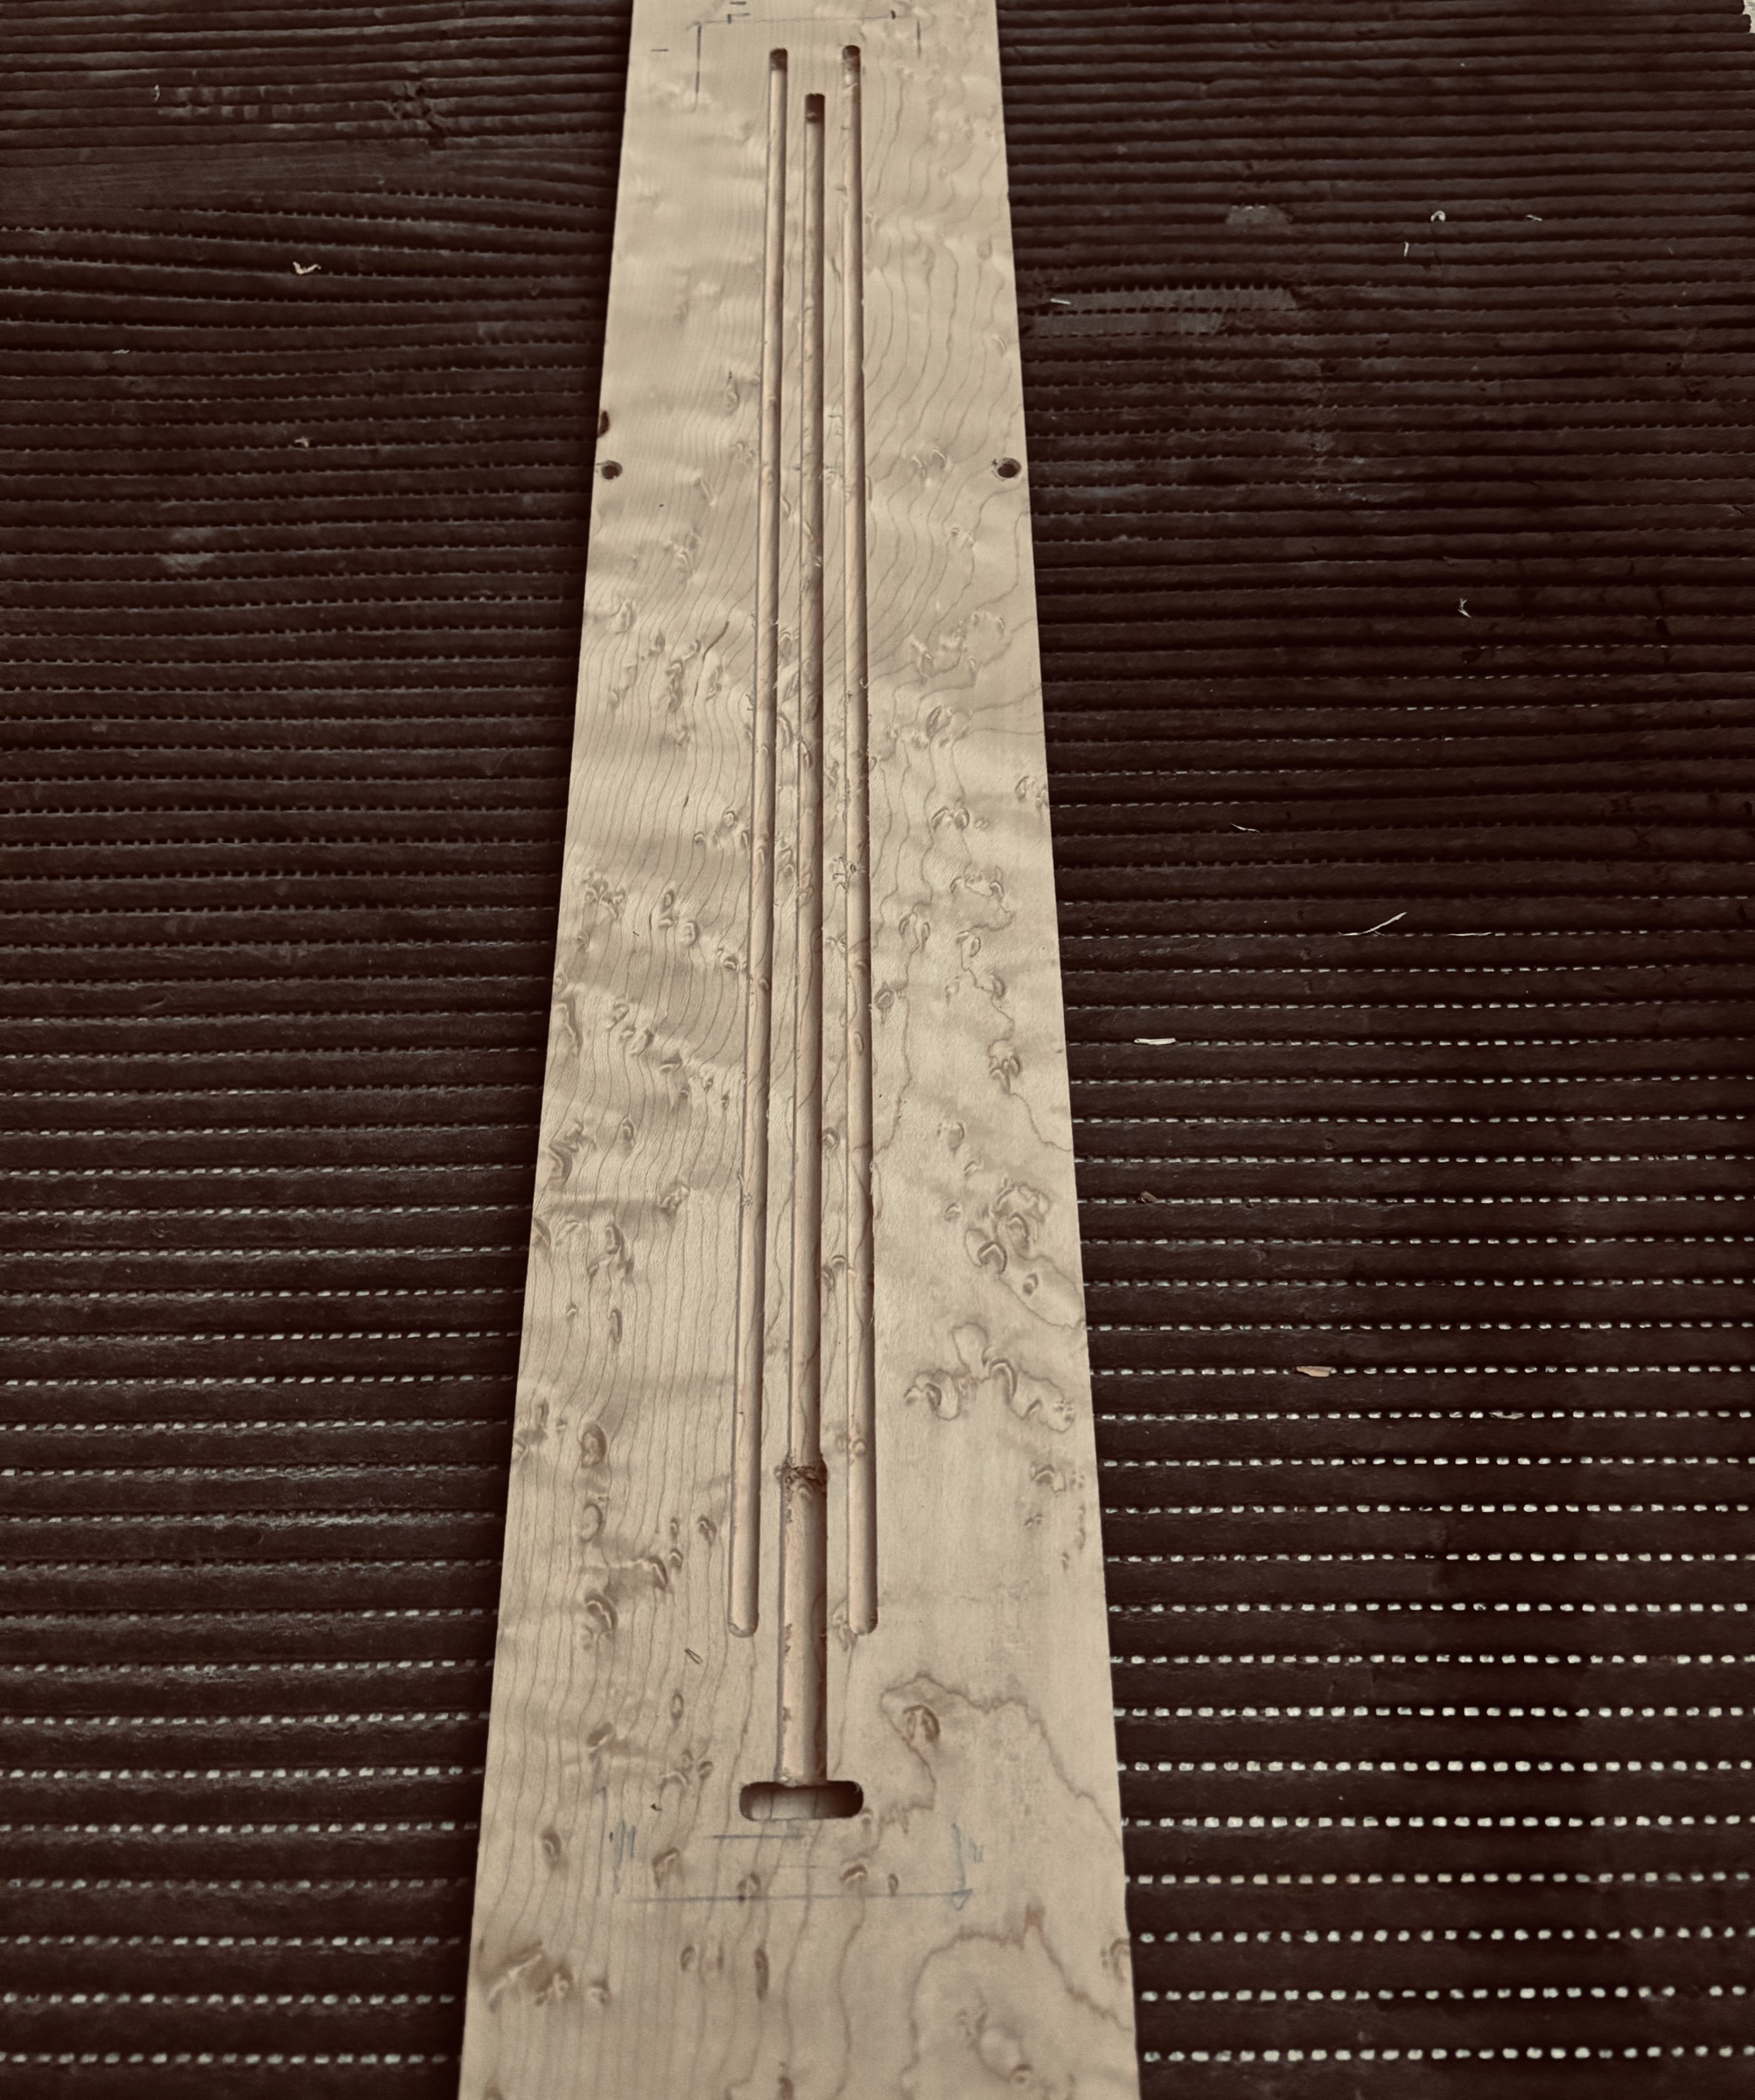
A bird's-eye maple neck with its three channels cut: one for the truss rod, two for the carbon rods
The channels for the truss rod and the two carbon rods, before they go in.
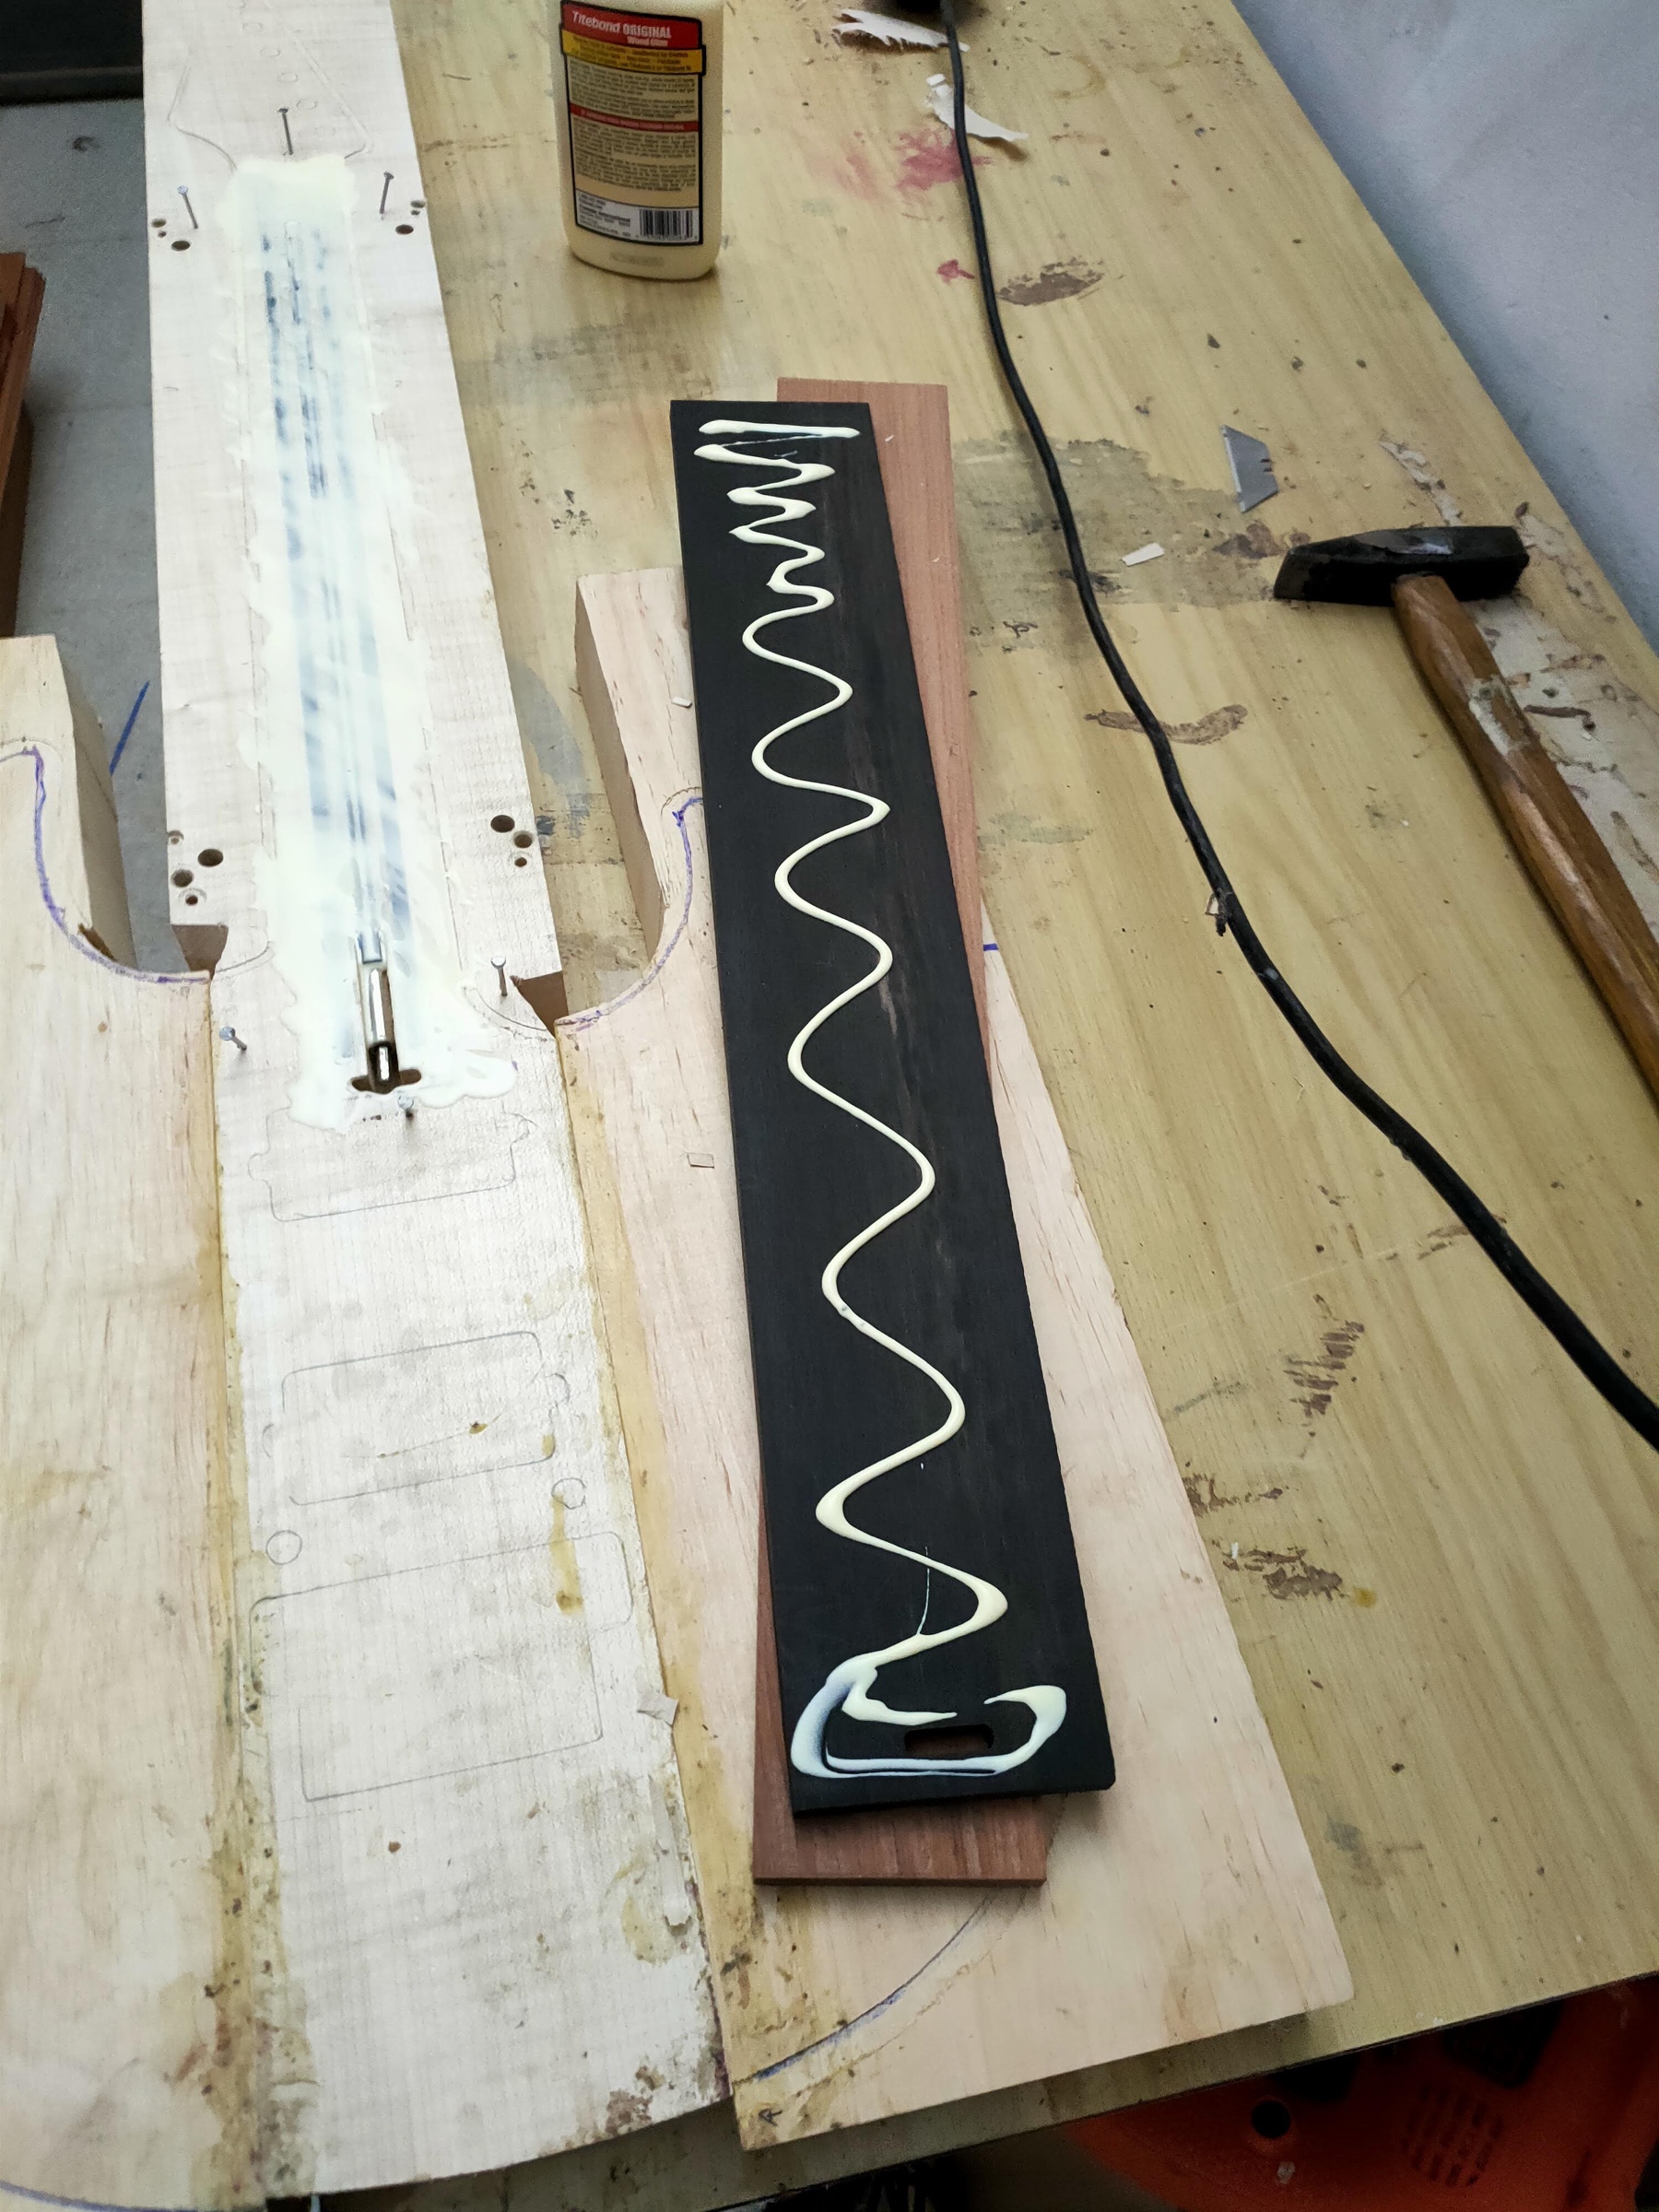
Glue laid down in a serpentine line on an ebony fingerboard
The glue, in one pass: there are only a few minutes to work it.
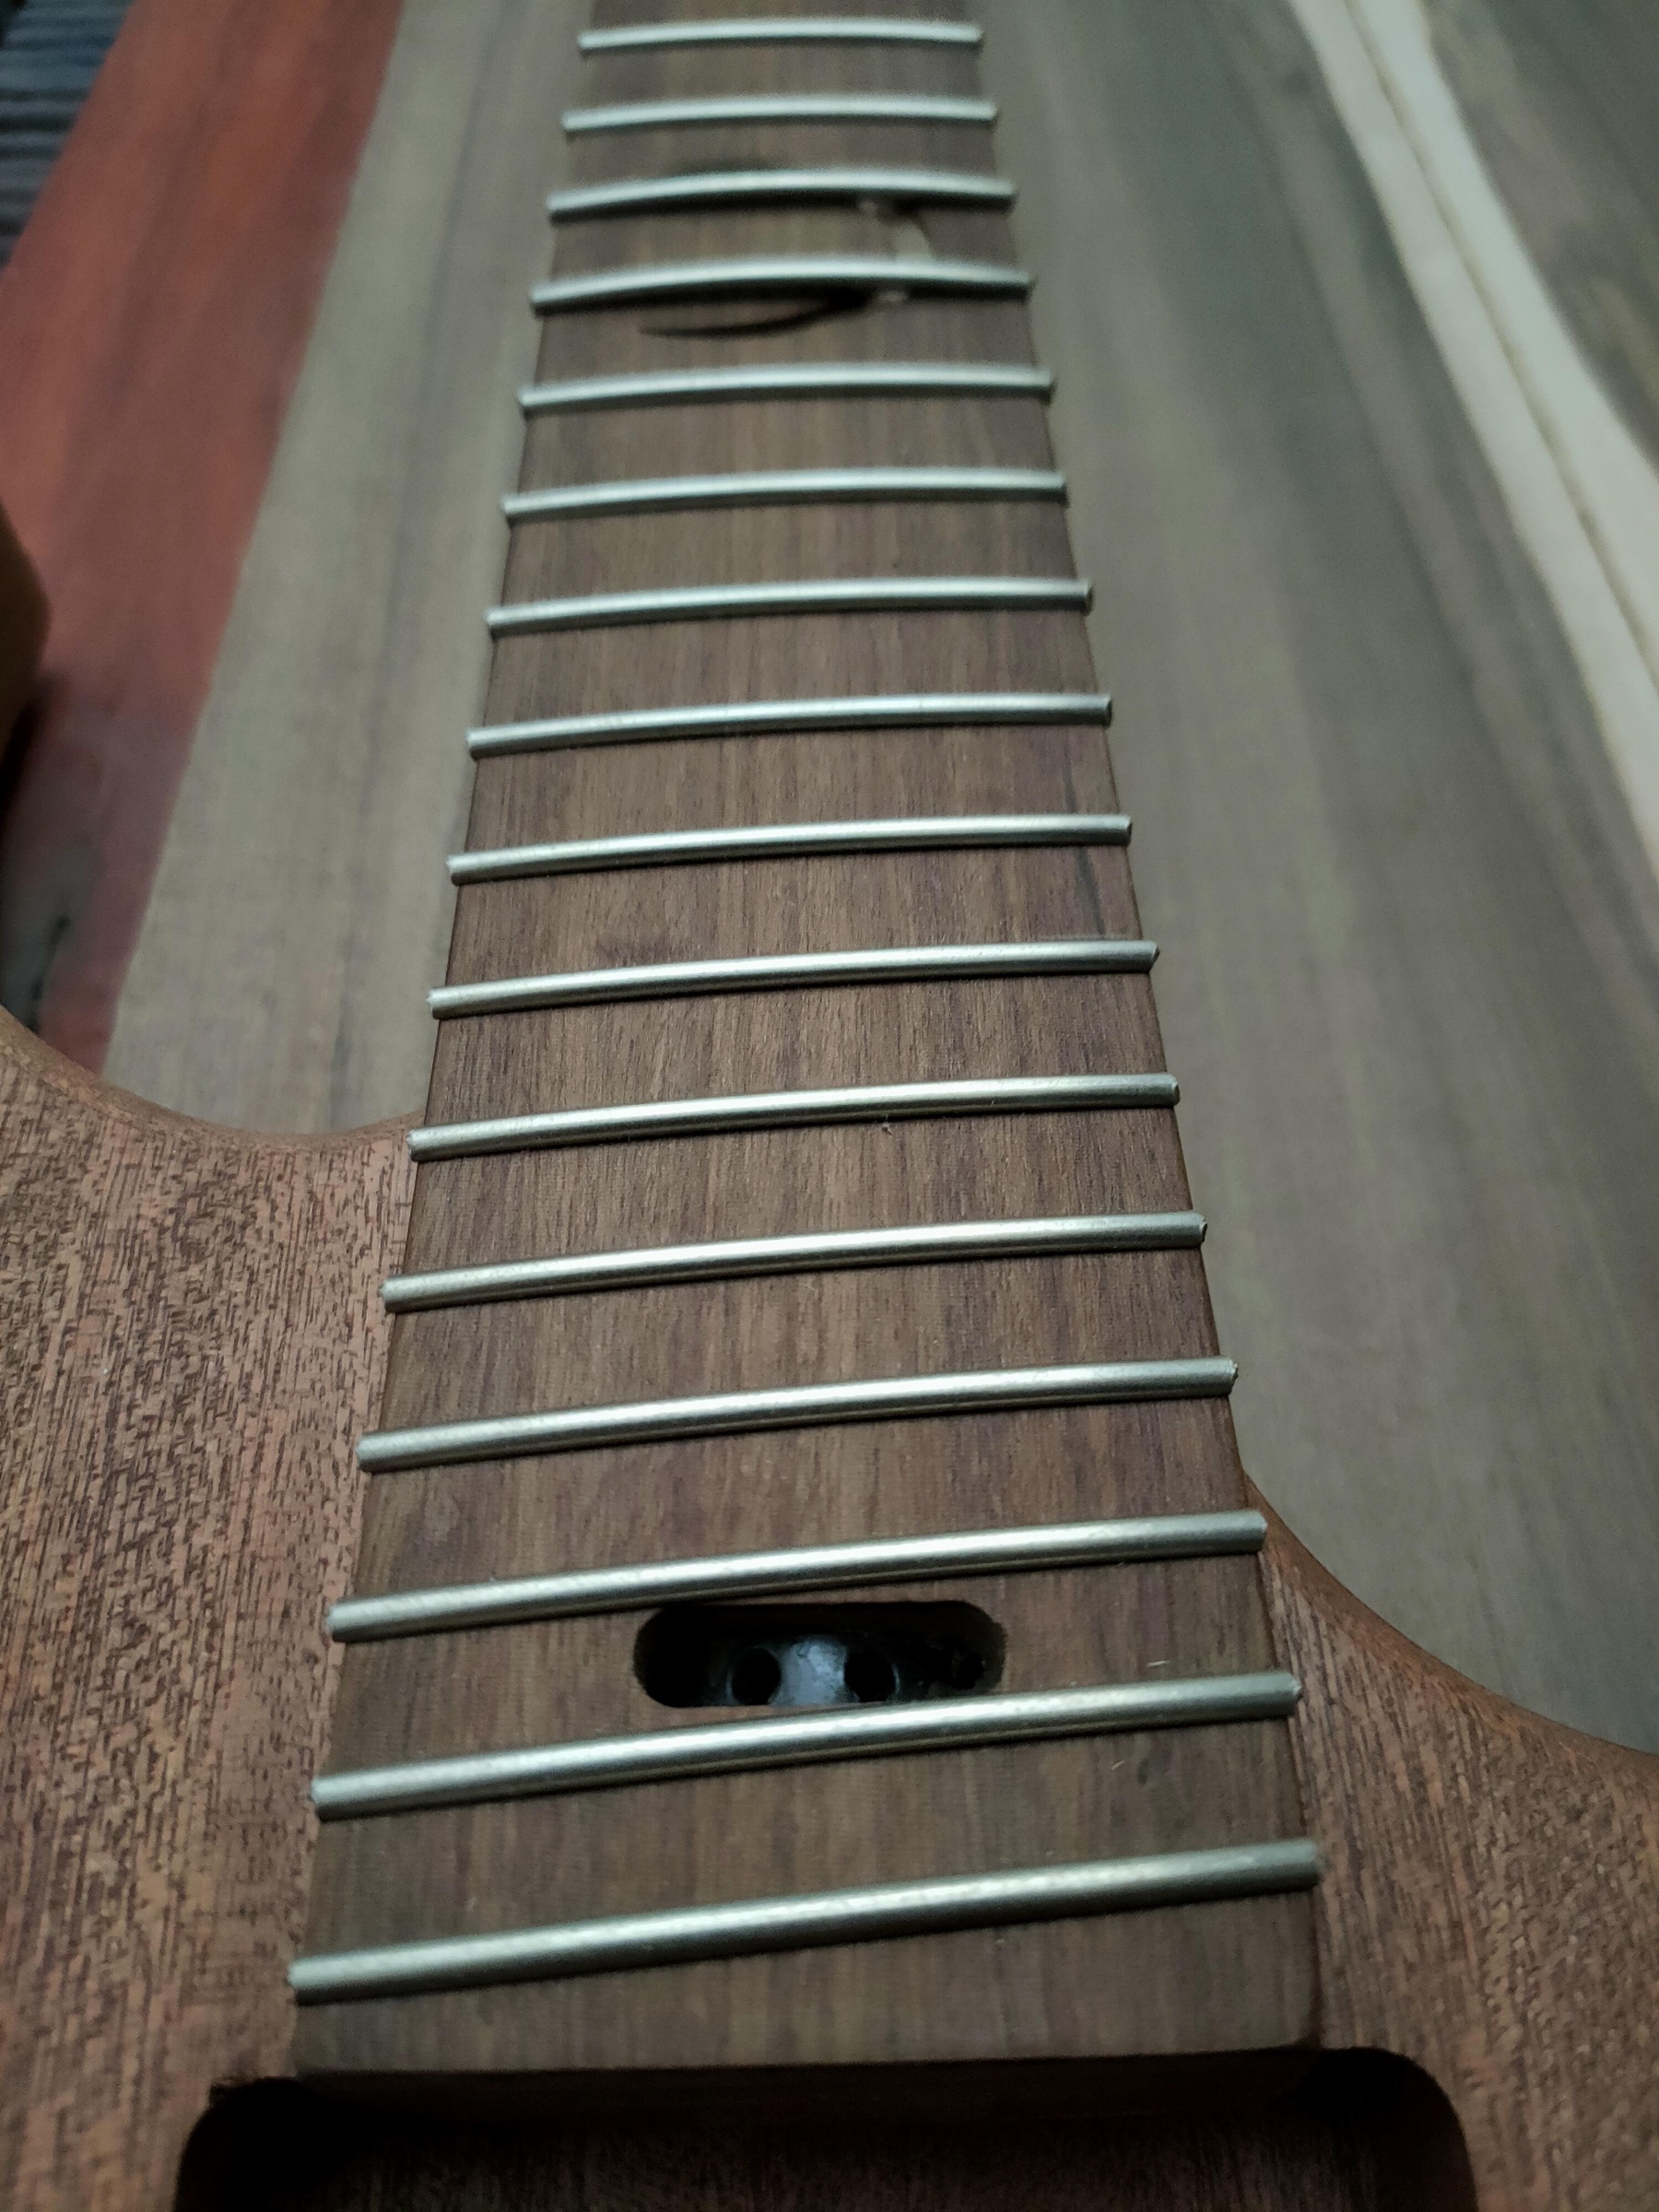
A fingerboard with its frets just fitted, seen along the neck
The frets fitted one by one, all along the fingerboard.

The inlay

The mother-of-pearl is cut by hand

The recess is cut into the wood, the mother-of-pearl is cut and filed until it sits with no play. A sun with twelve rays is twelve pieces.
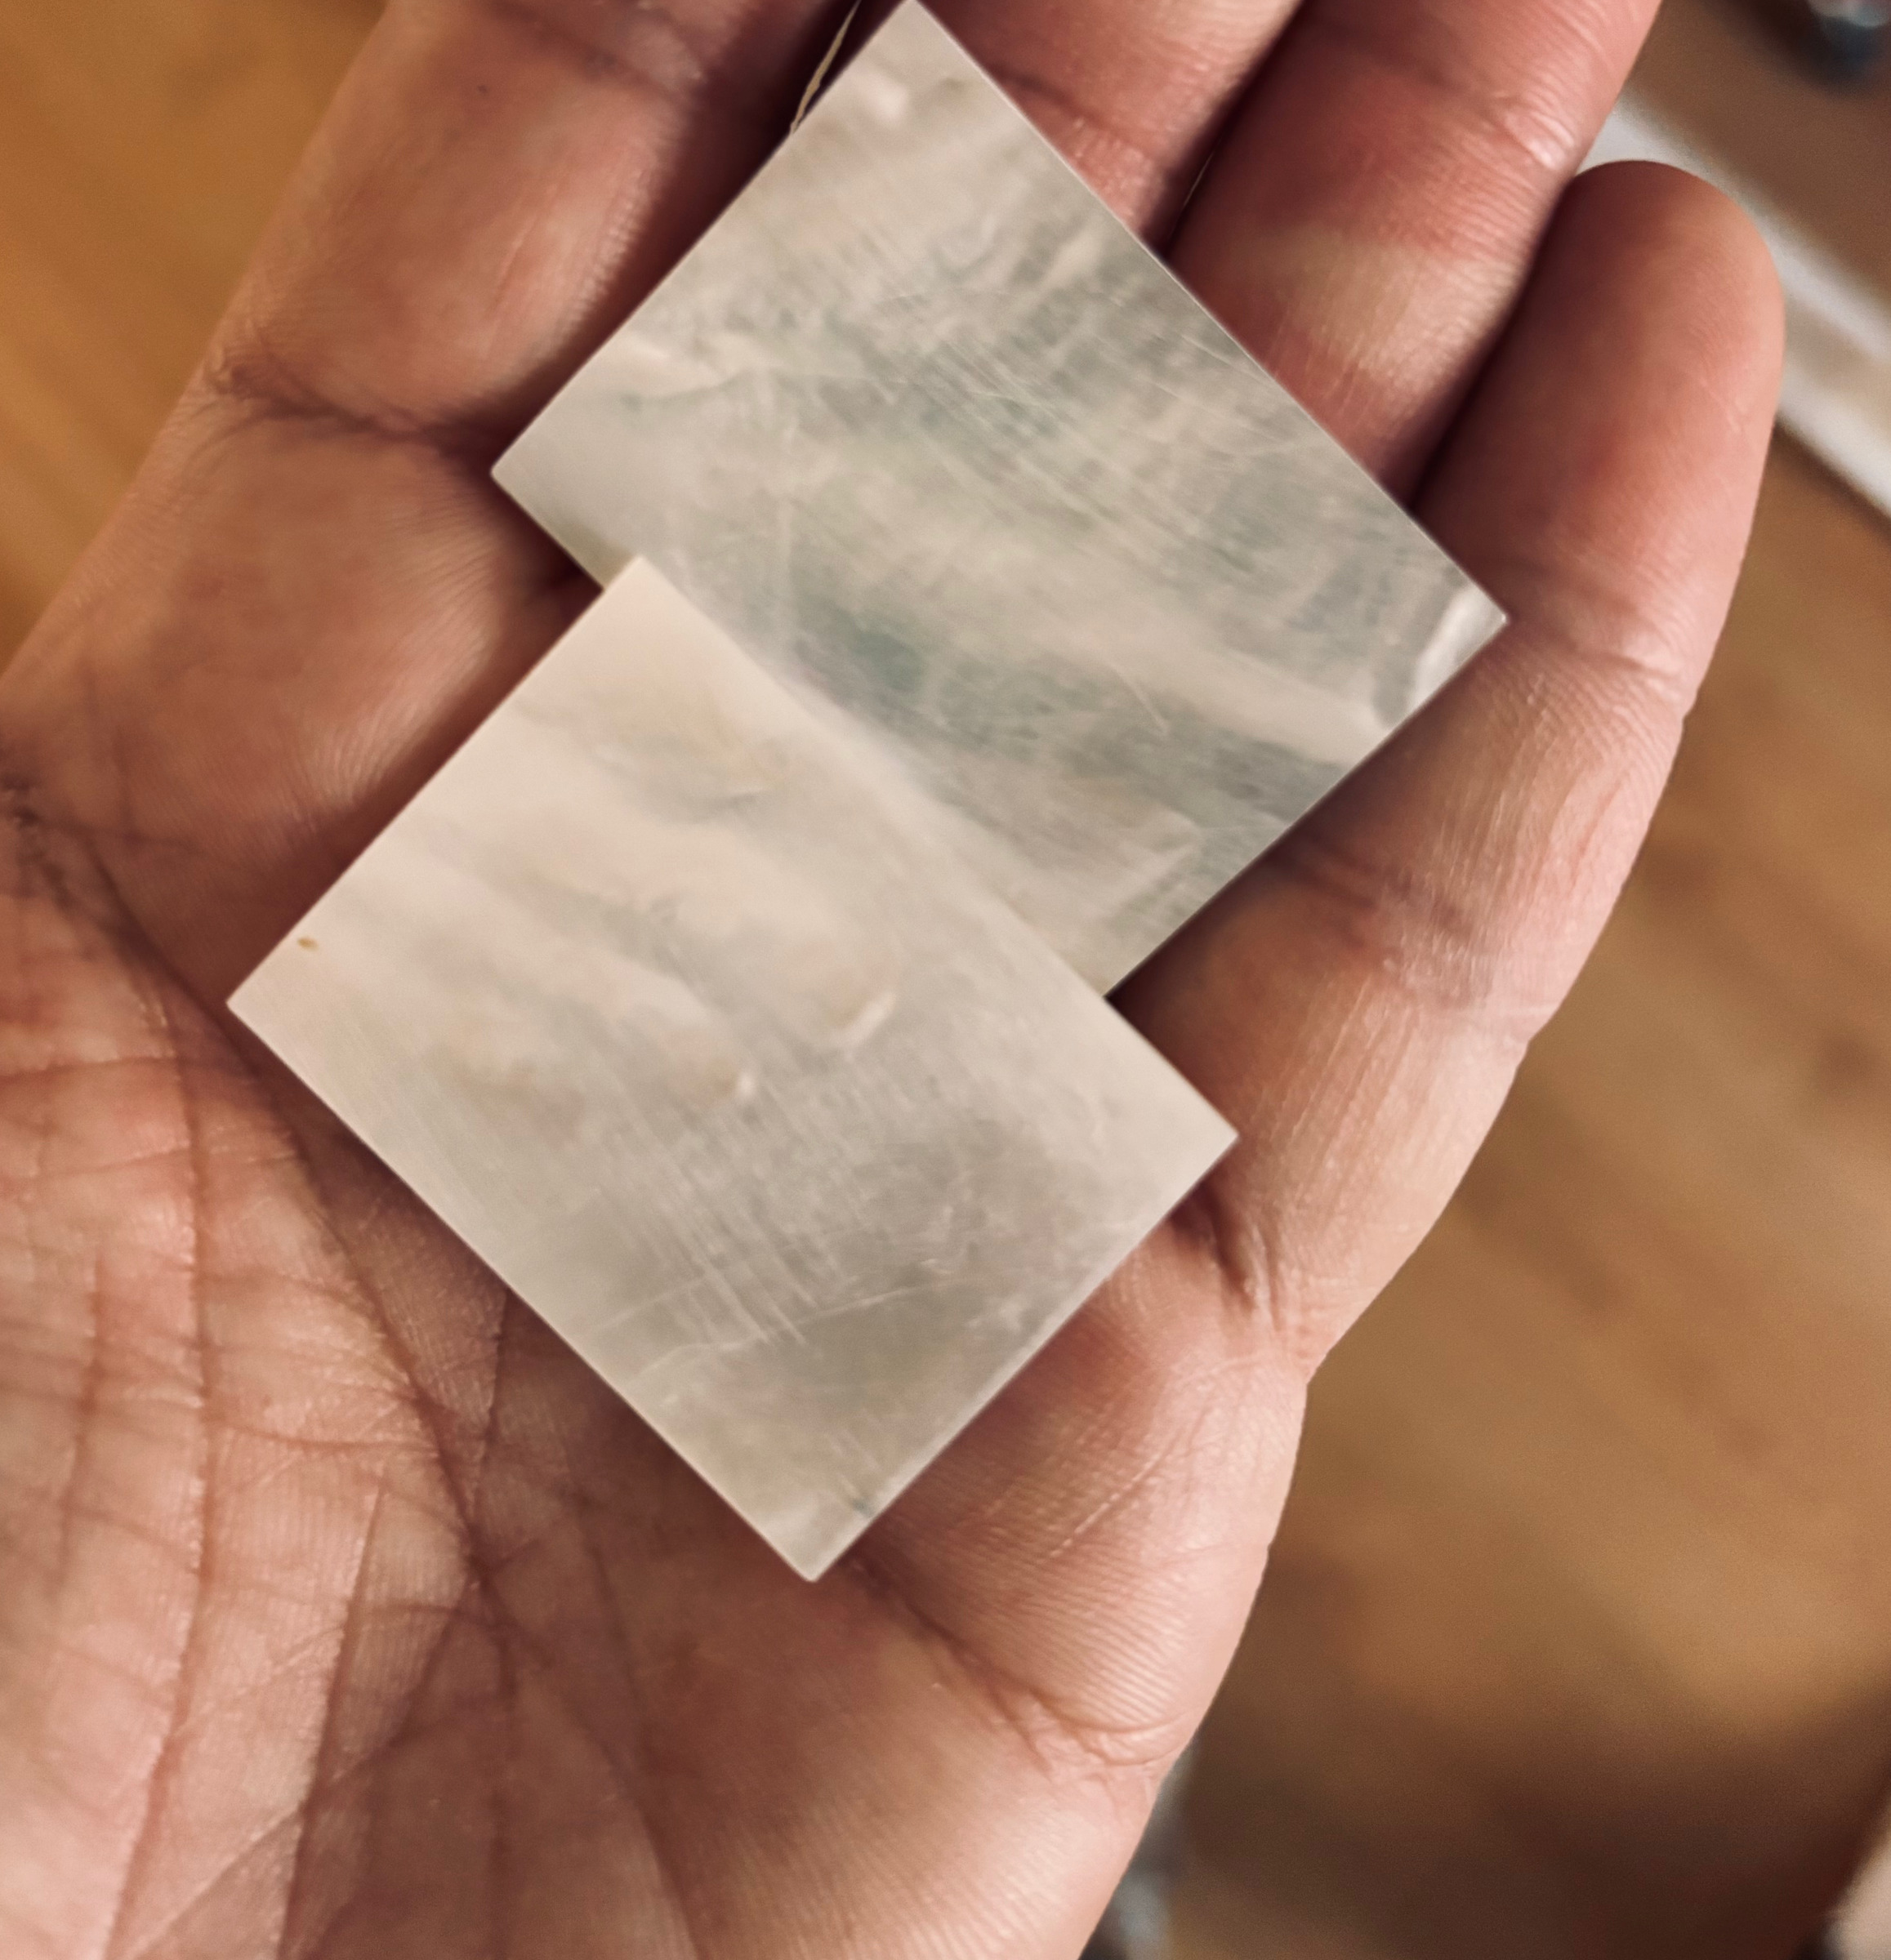
Two small sheets of mother-of-pearl in the luthier's hand
The sheet the inlays are cut from.
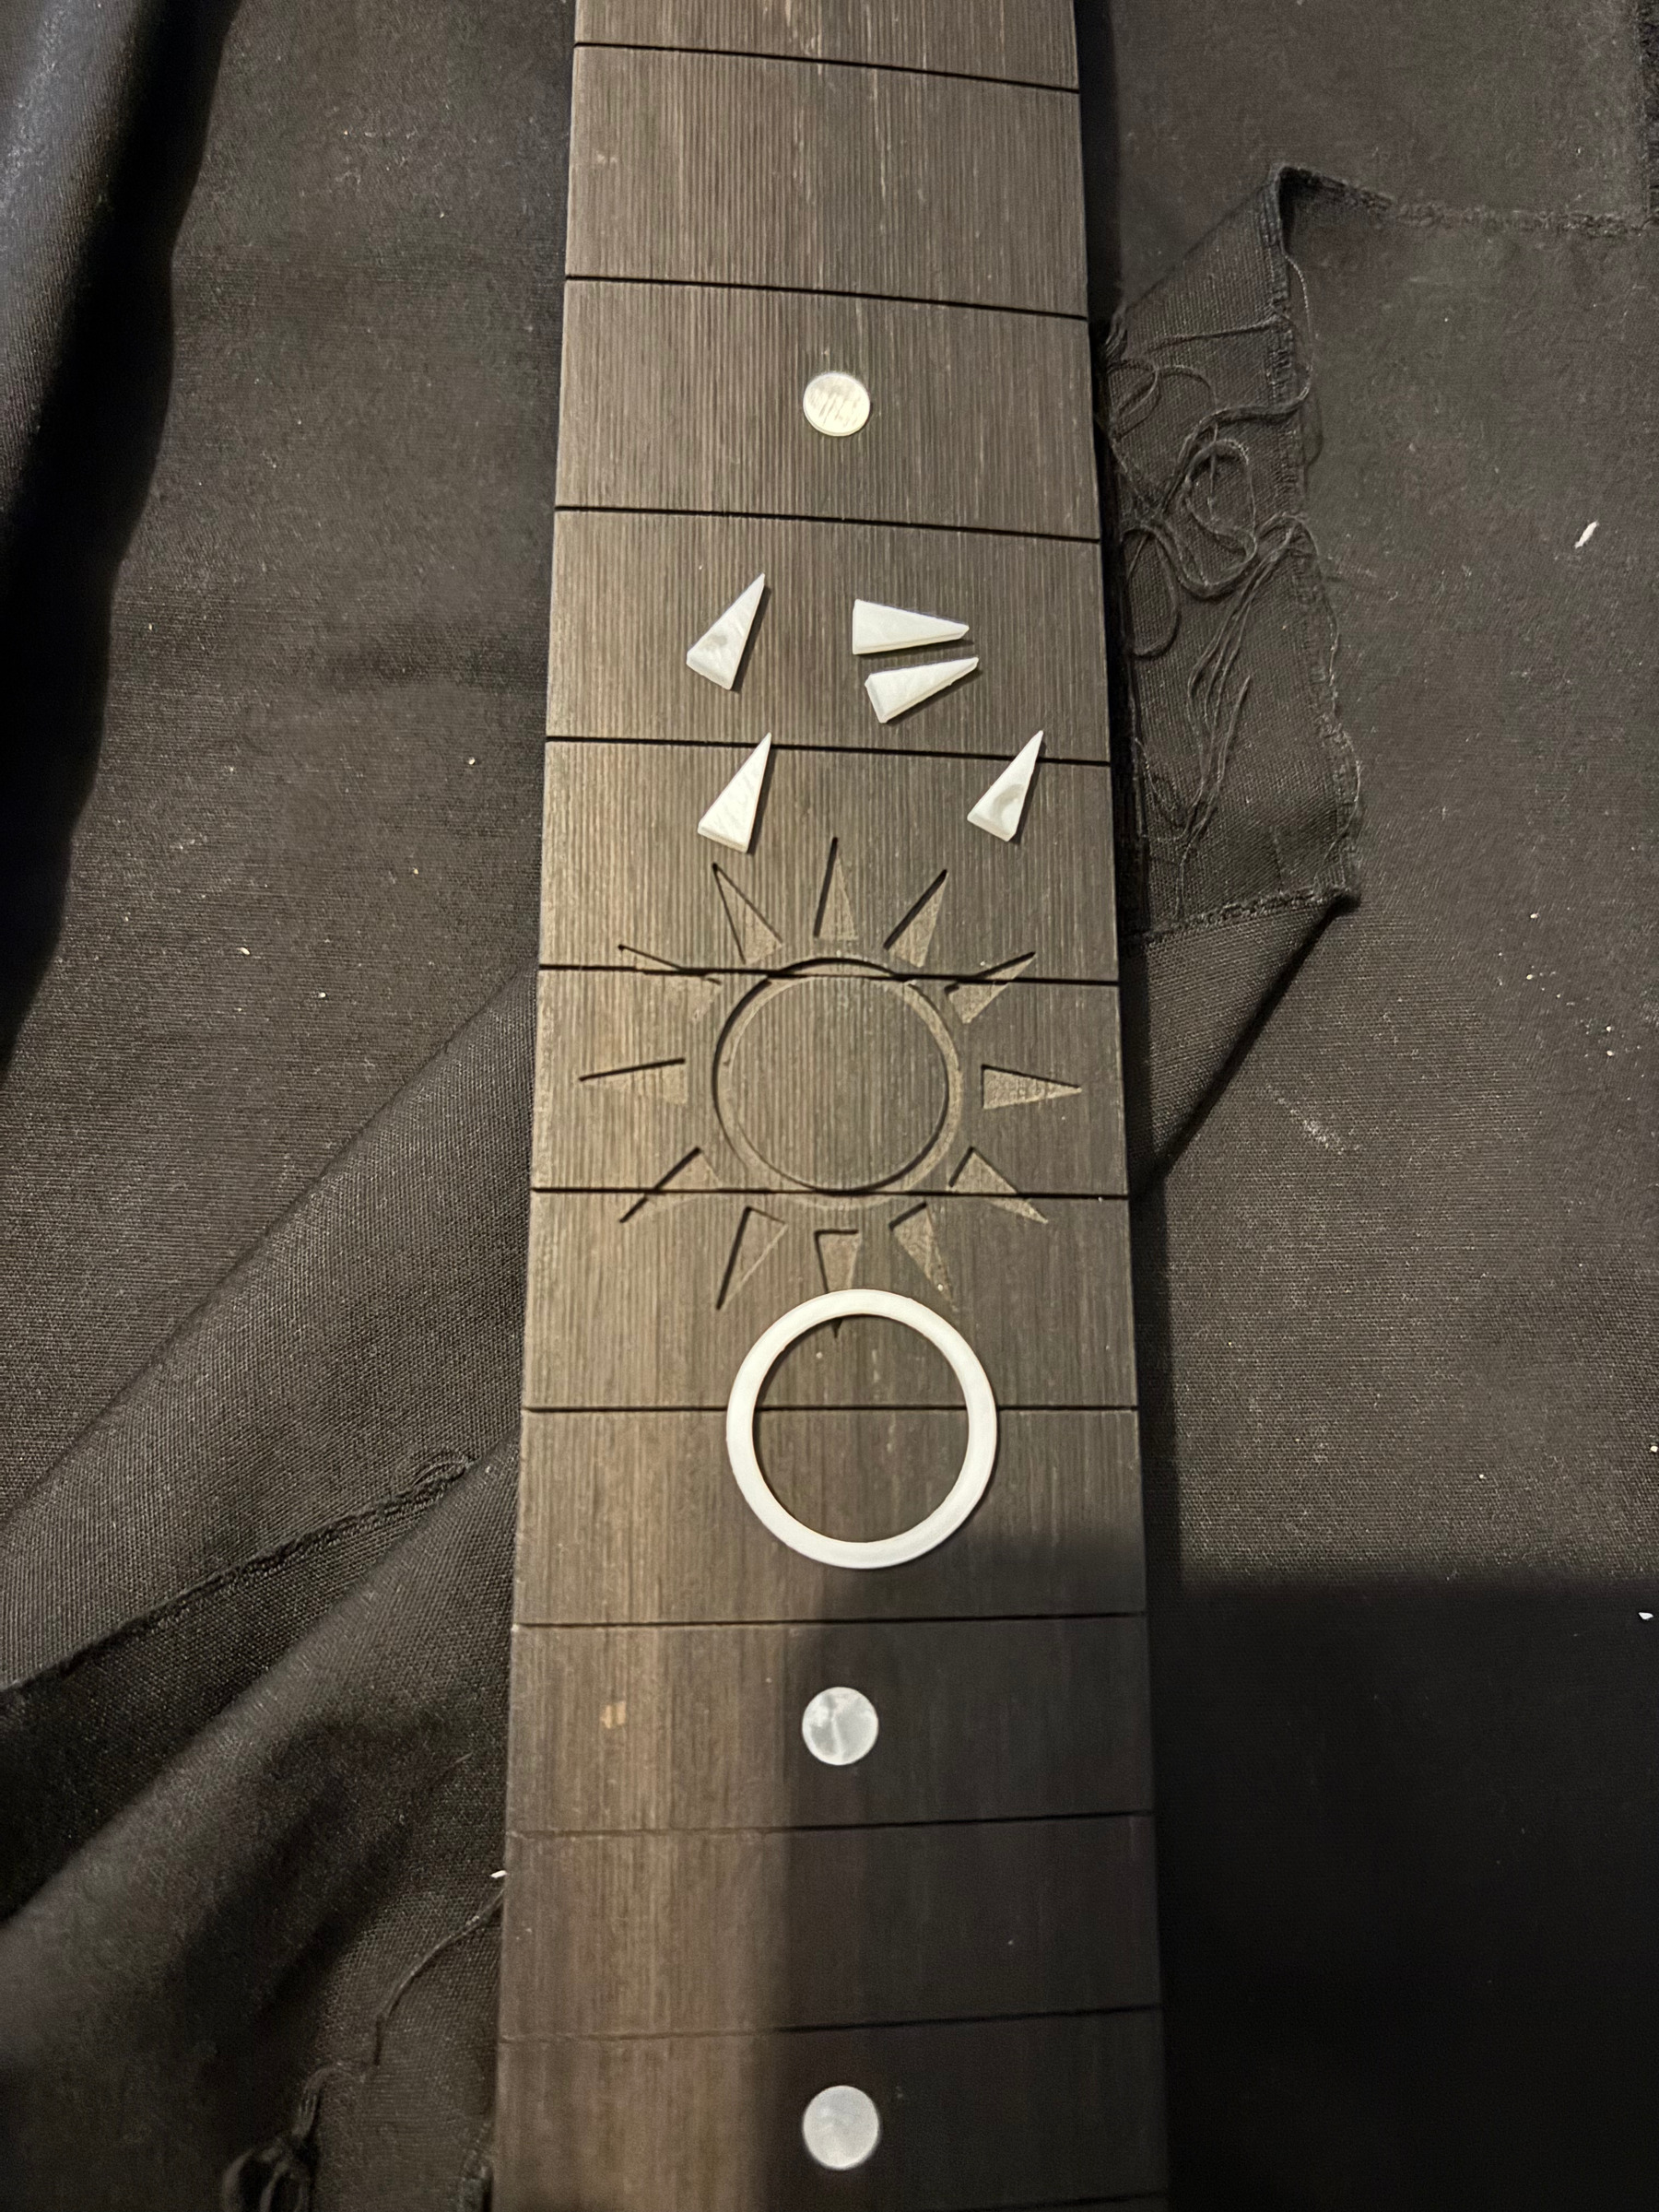
A sun cut into an ebony fingerboard, with the mother-of-pearl rays already cut beside it
The recess cut and the rays already shaped, before they go in.
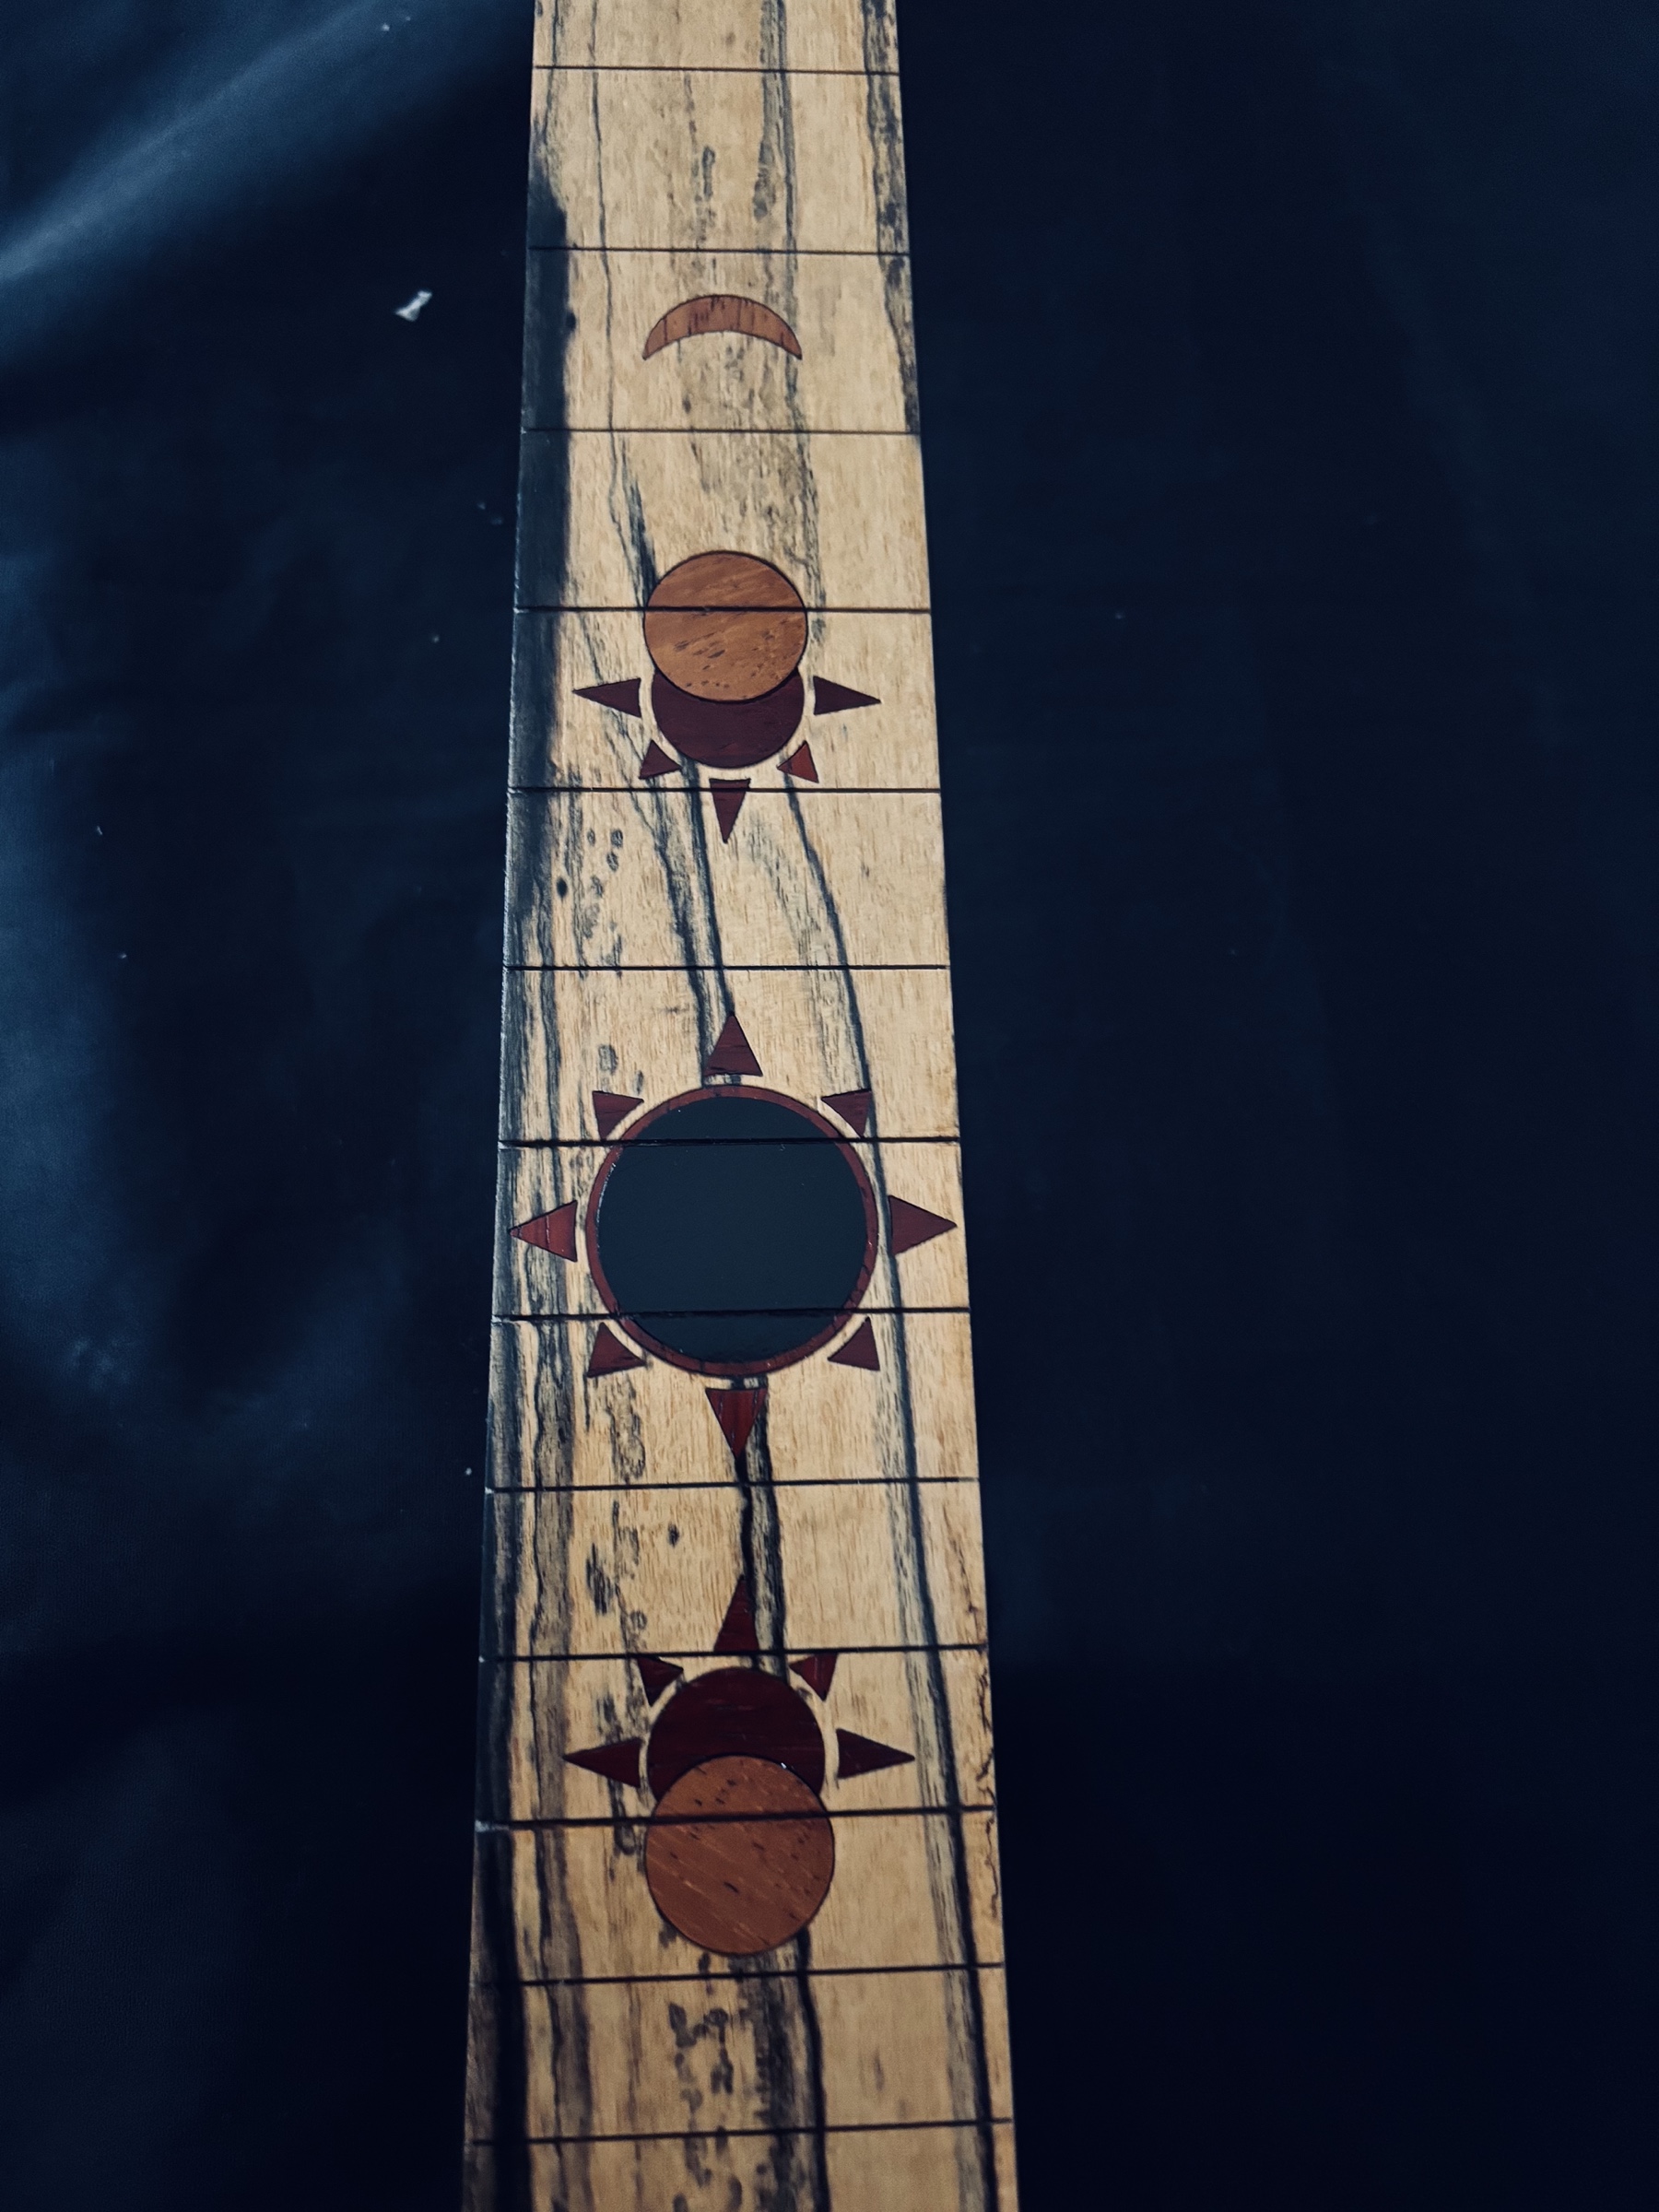
Finished sun and moon inlays on a Pale Moon ebony fingerboard
Finished and levelled: now they sit flush with the wood.

The body

Hollowed and finished by hand

The pickup and electronics cavities follow the drawing to the hundredth. Edges, curves and f-holes are finished by hand, with rasp and scraper.
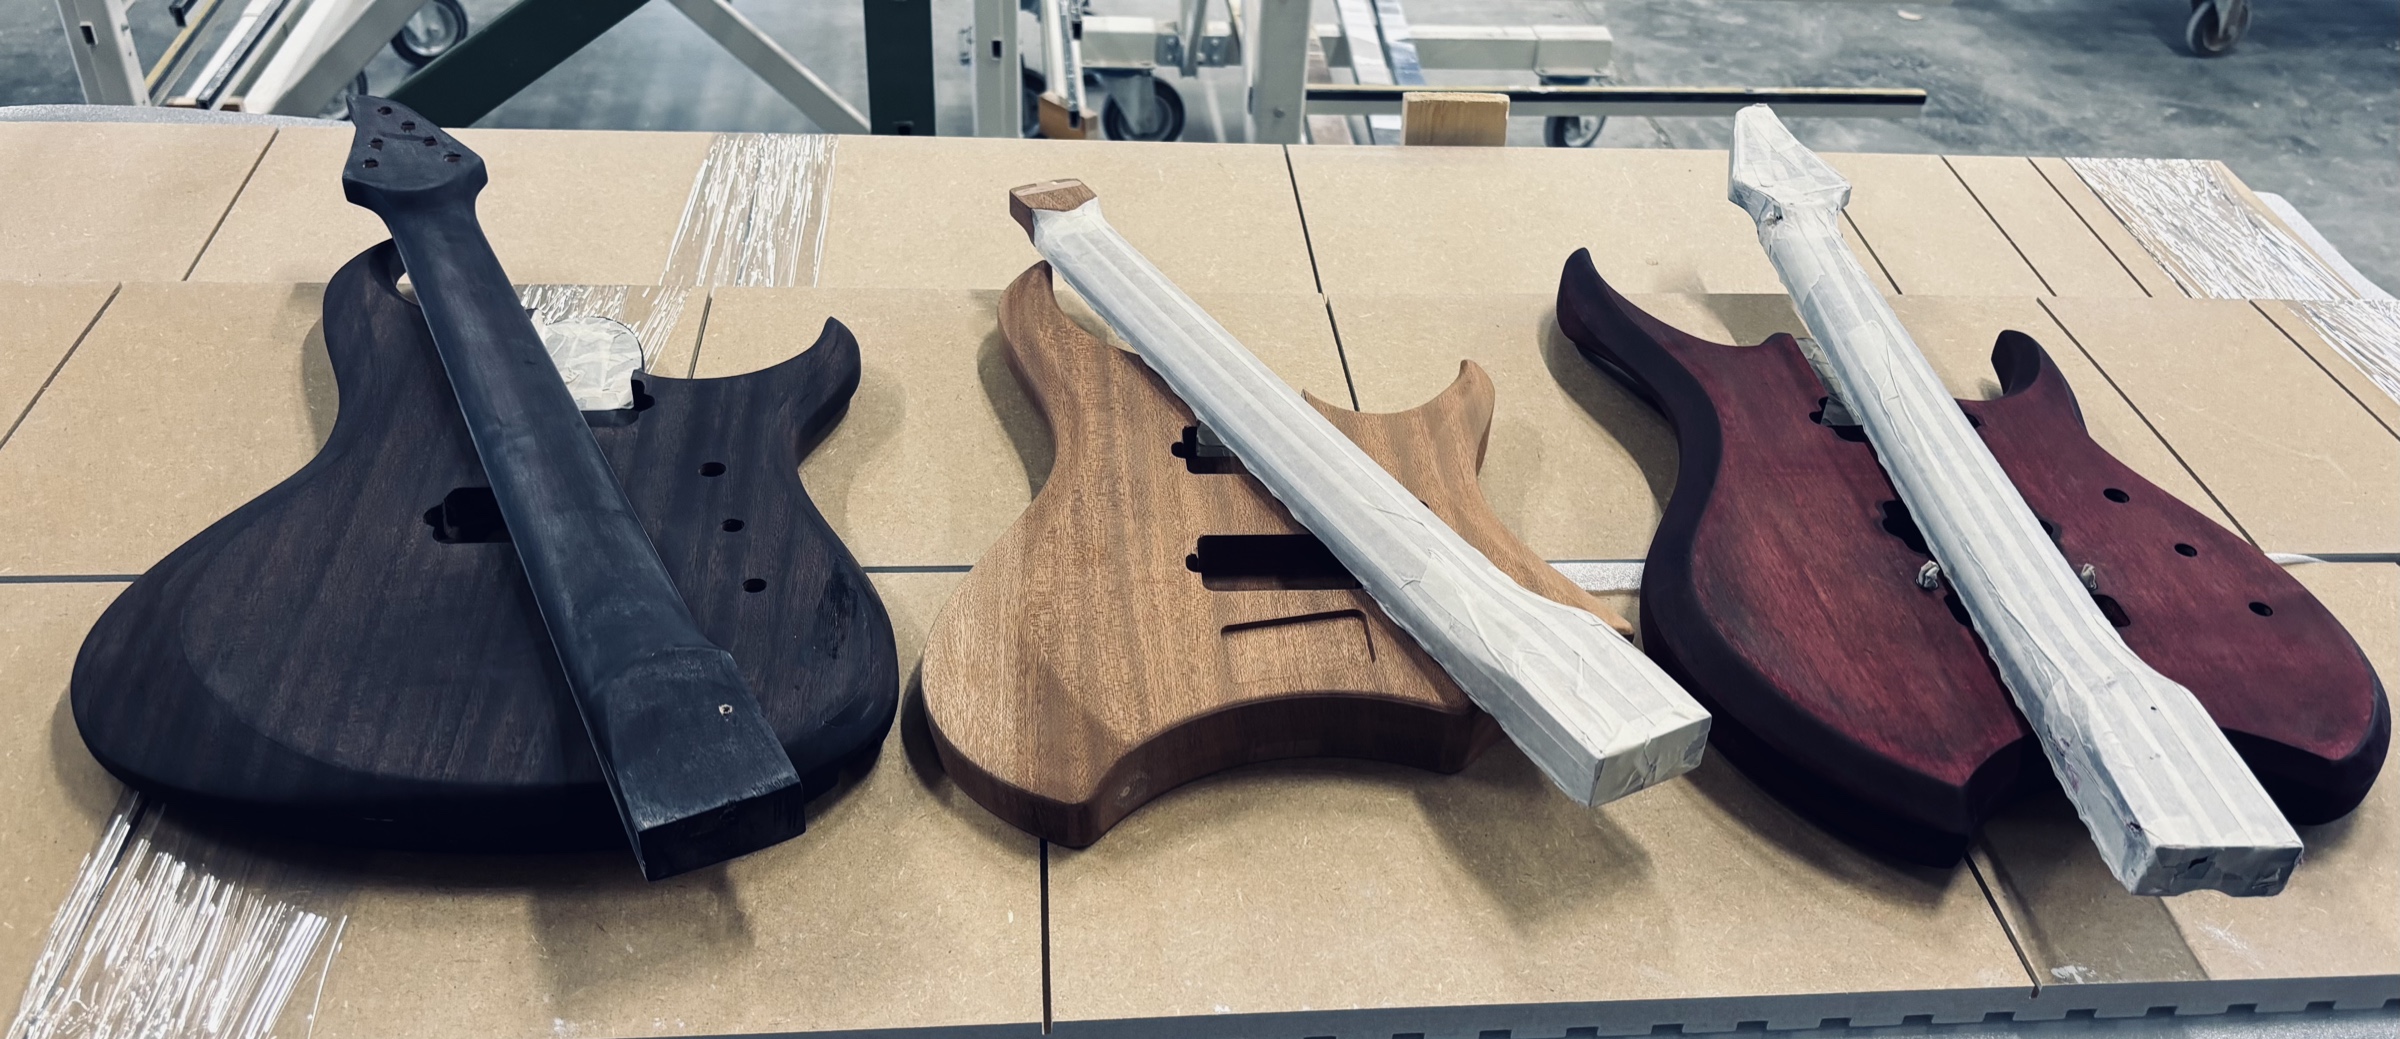
Three guitar bodies in different woods, resting on the bench
Three guitar bodies, three different woods, three different outlines.
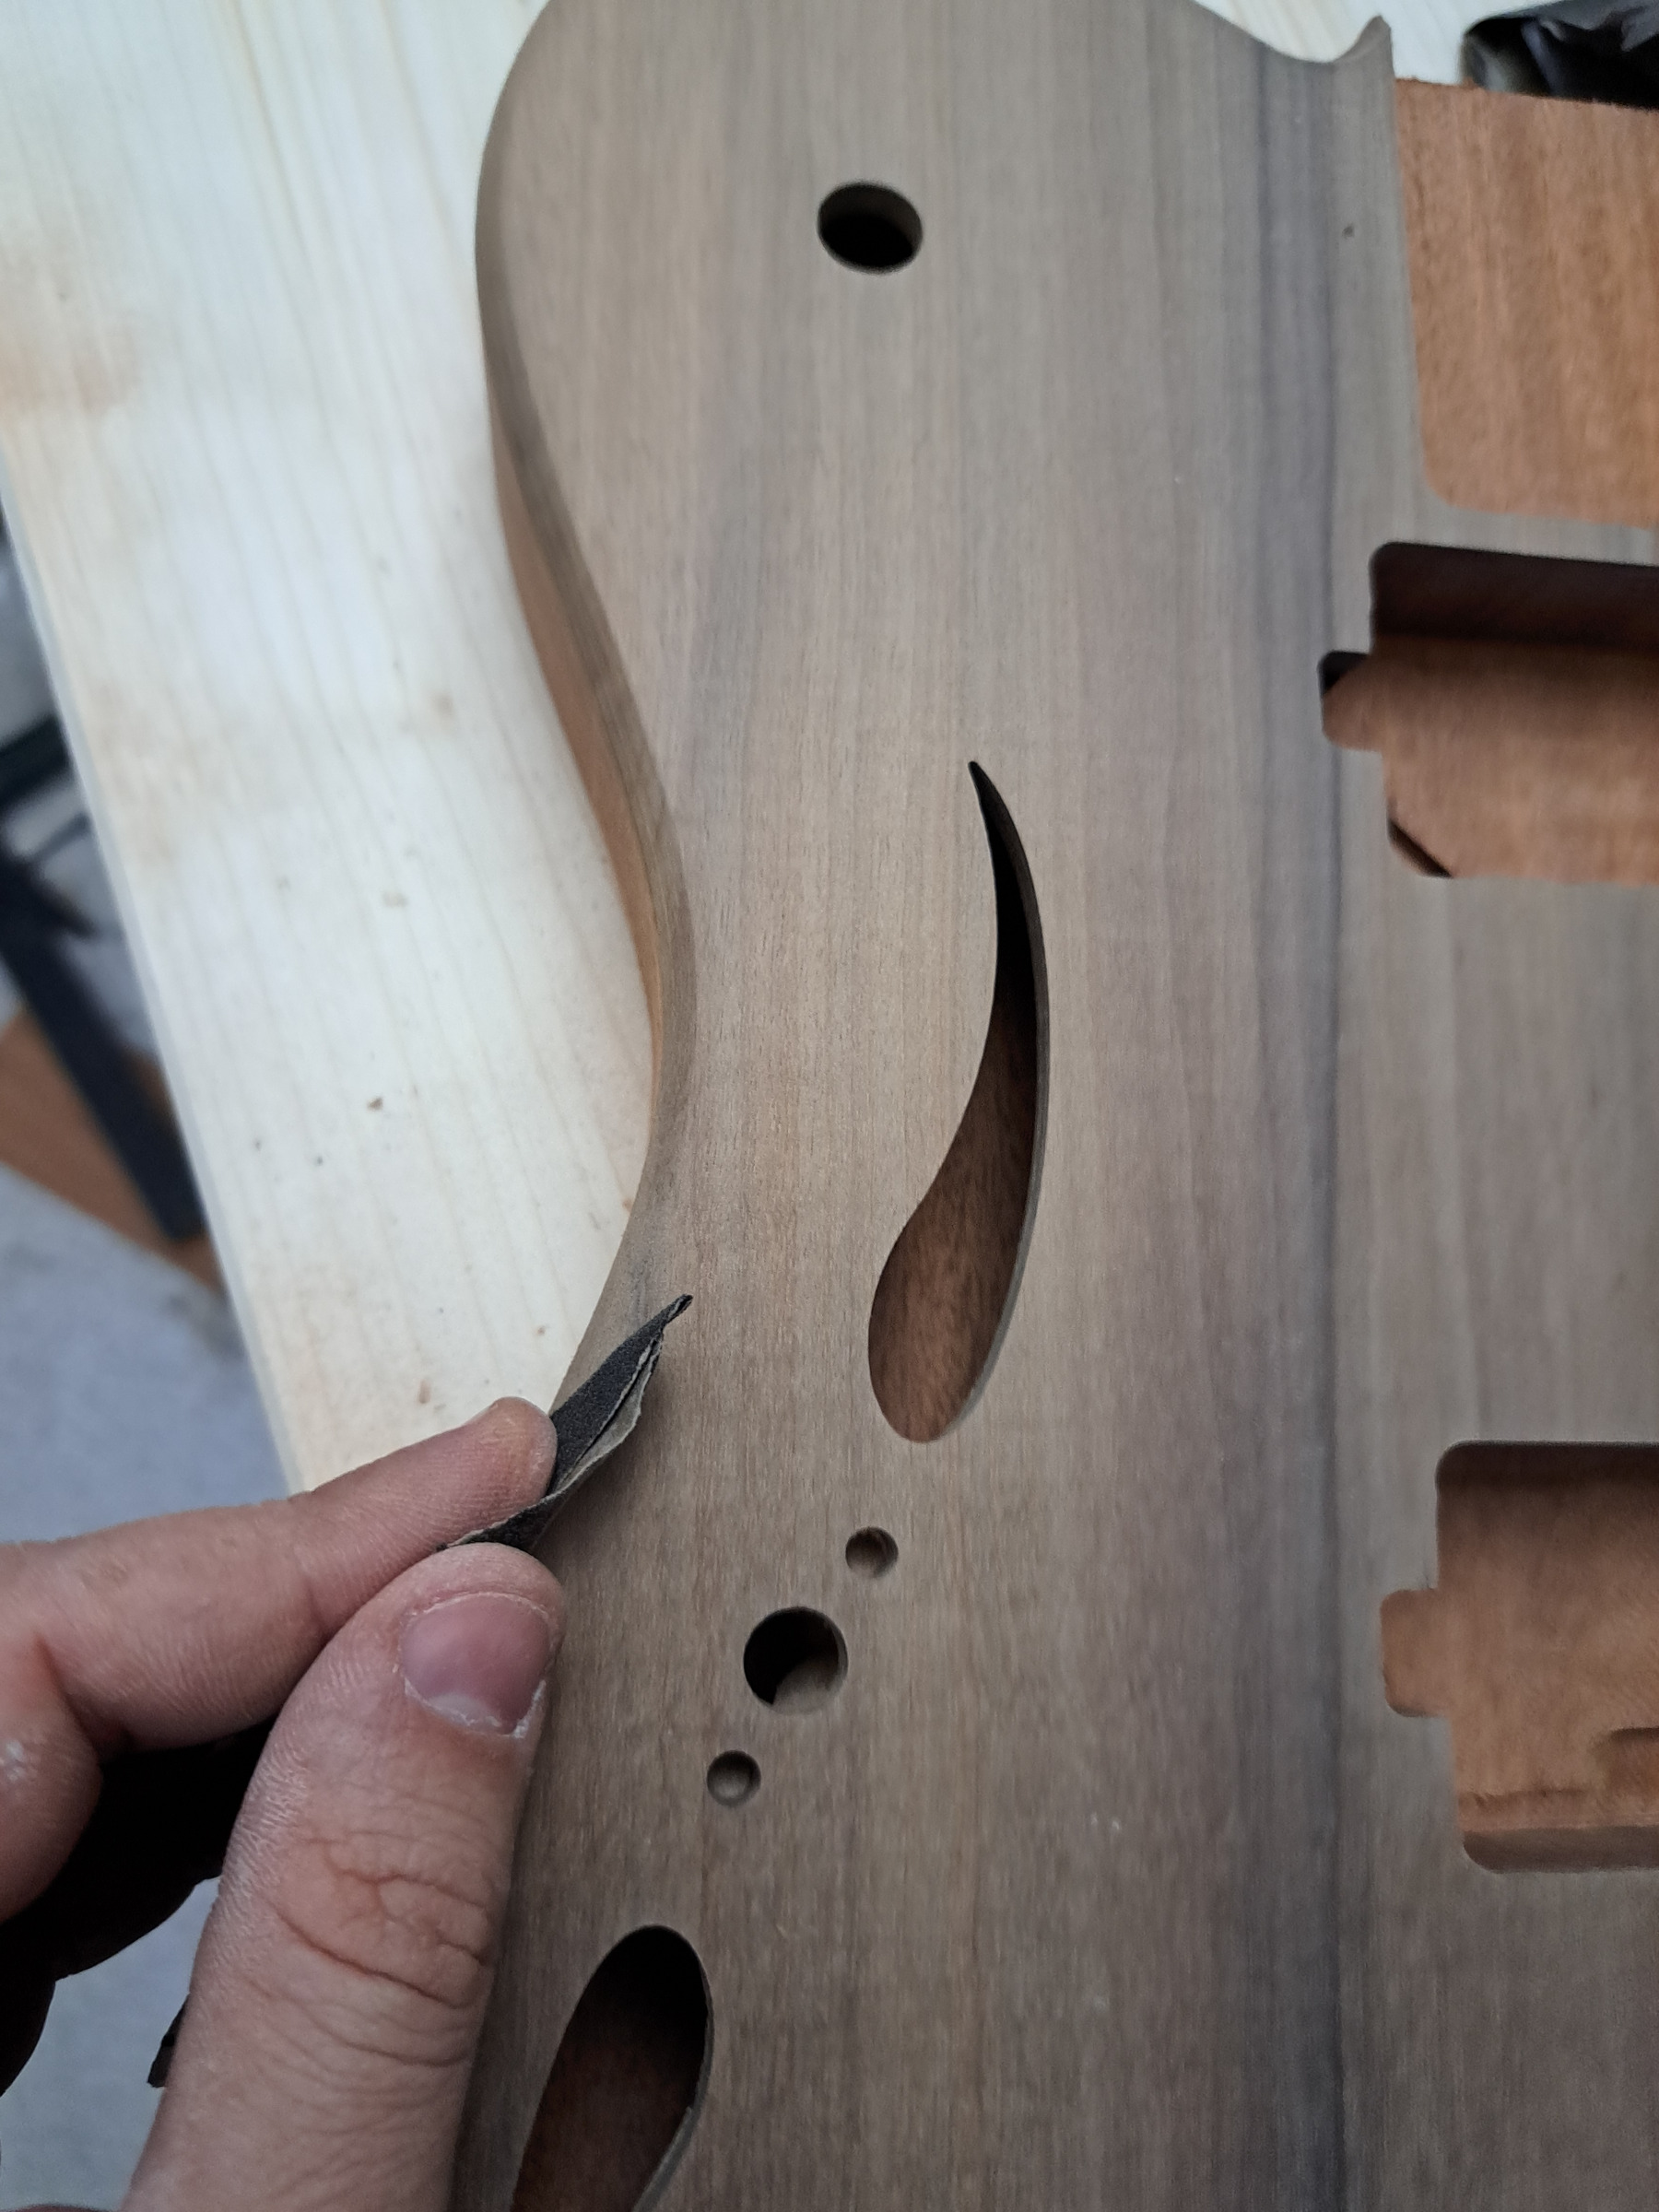
An f-hole being finished with a scraper on a semi-hollow walnut body
The rim of an f-hole only ever closes by hand.
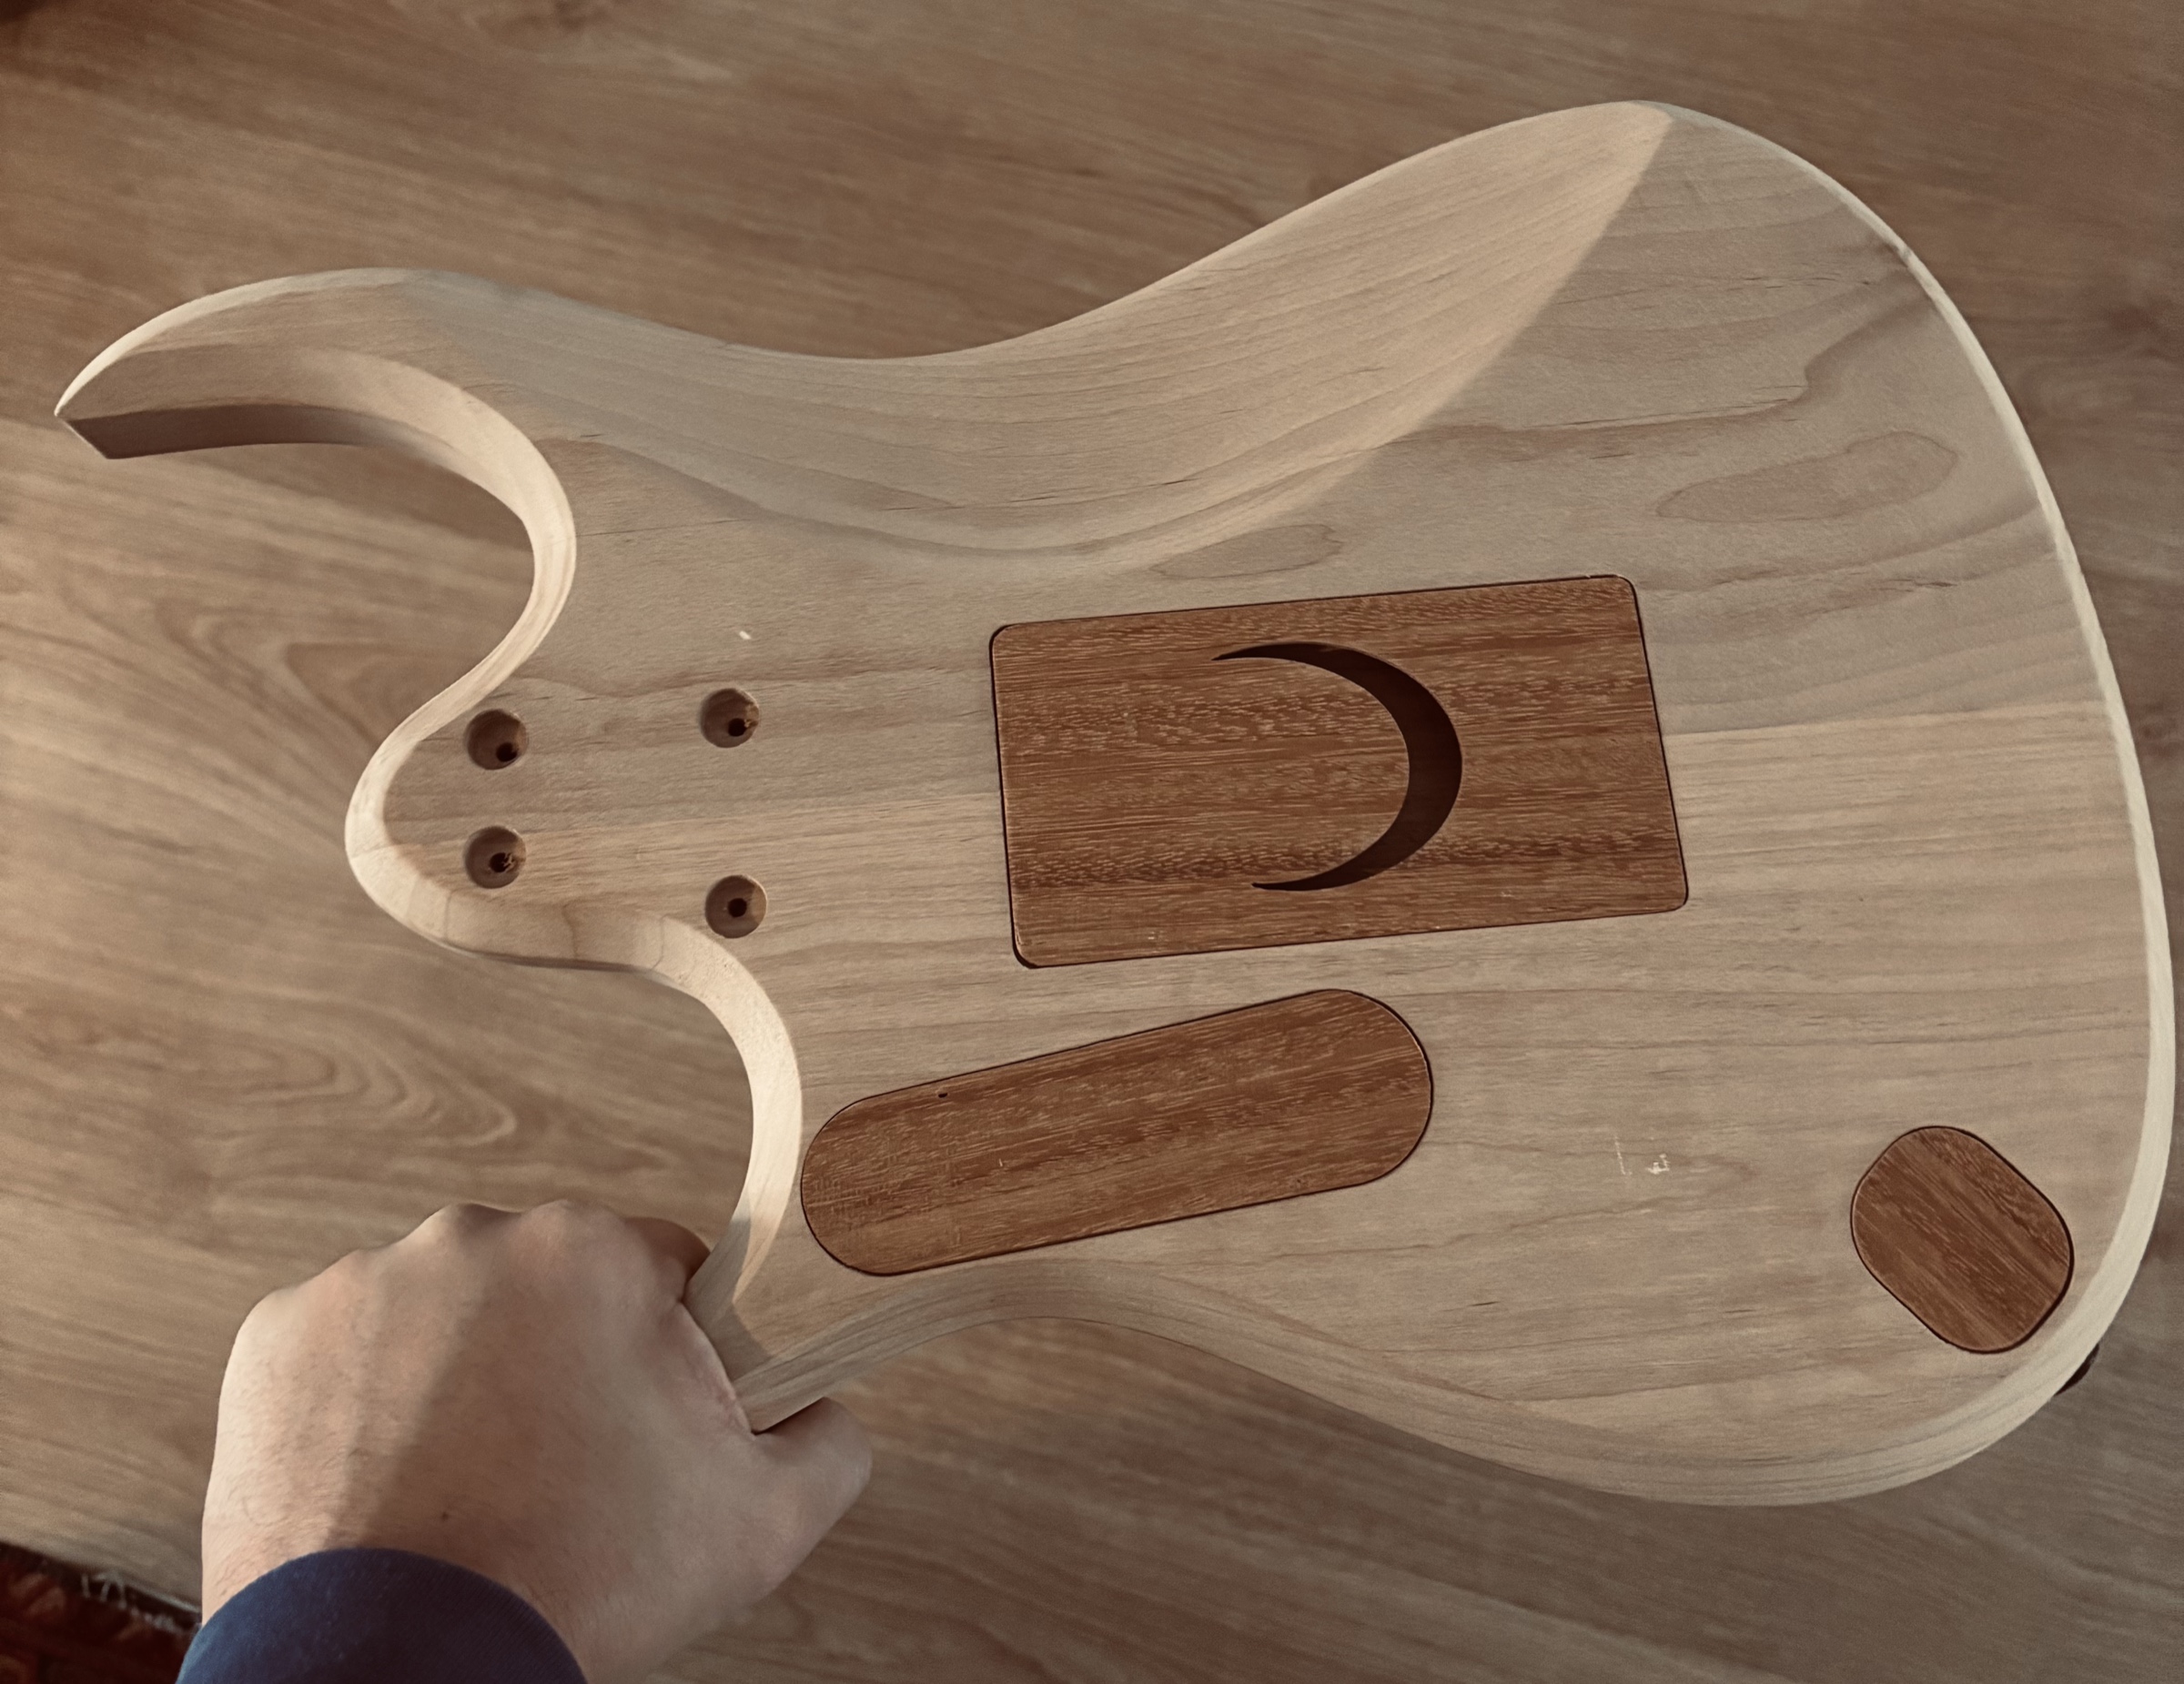
The back of a raw body held in one hand, with wooden cavity covers and a carved moon
The back: even the cavity covers are wood.
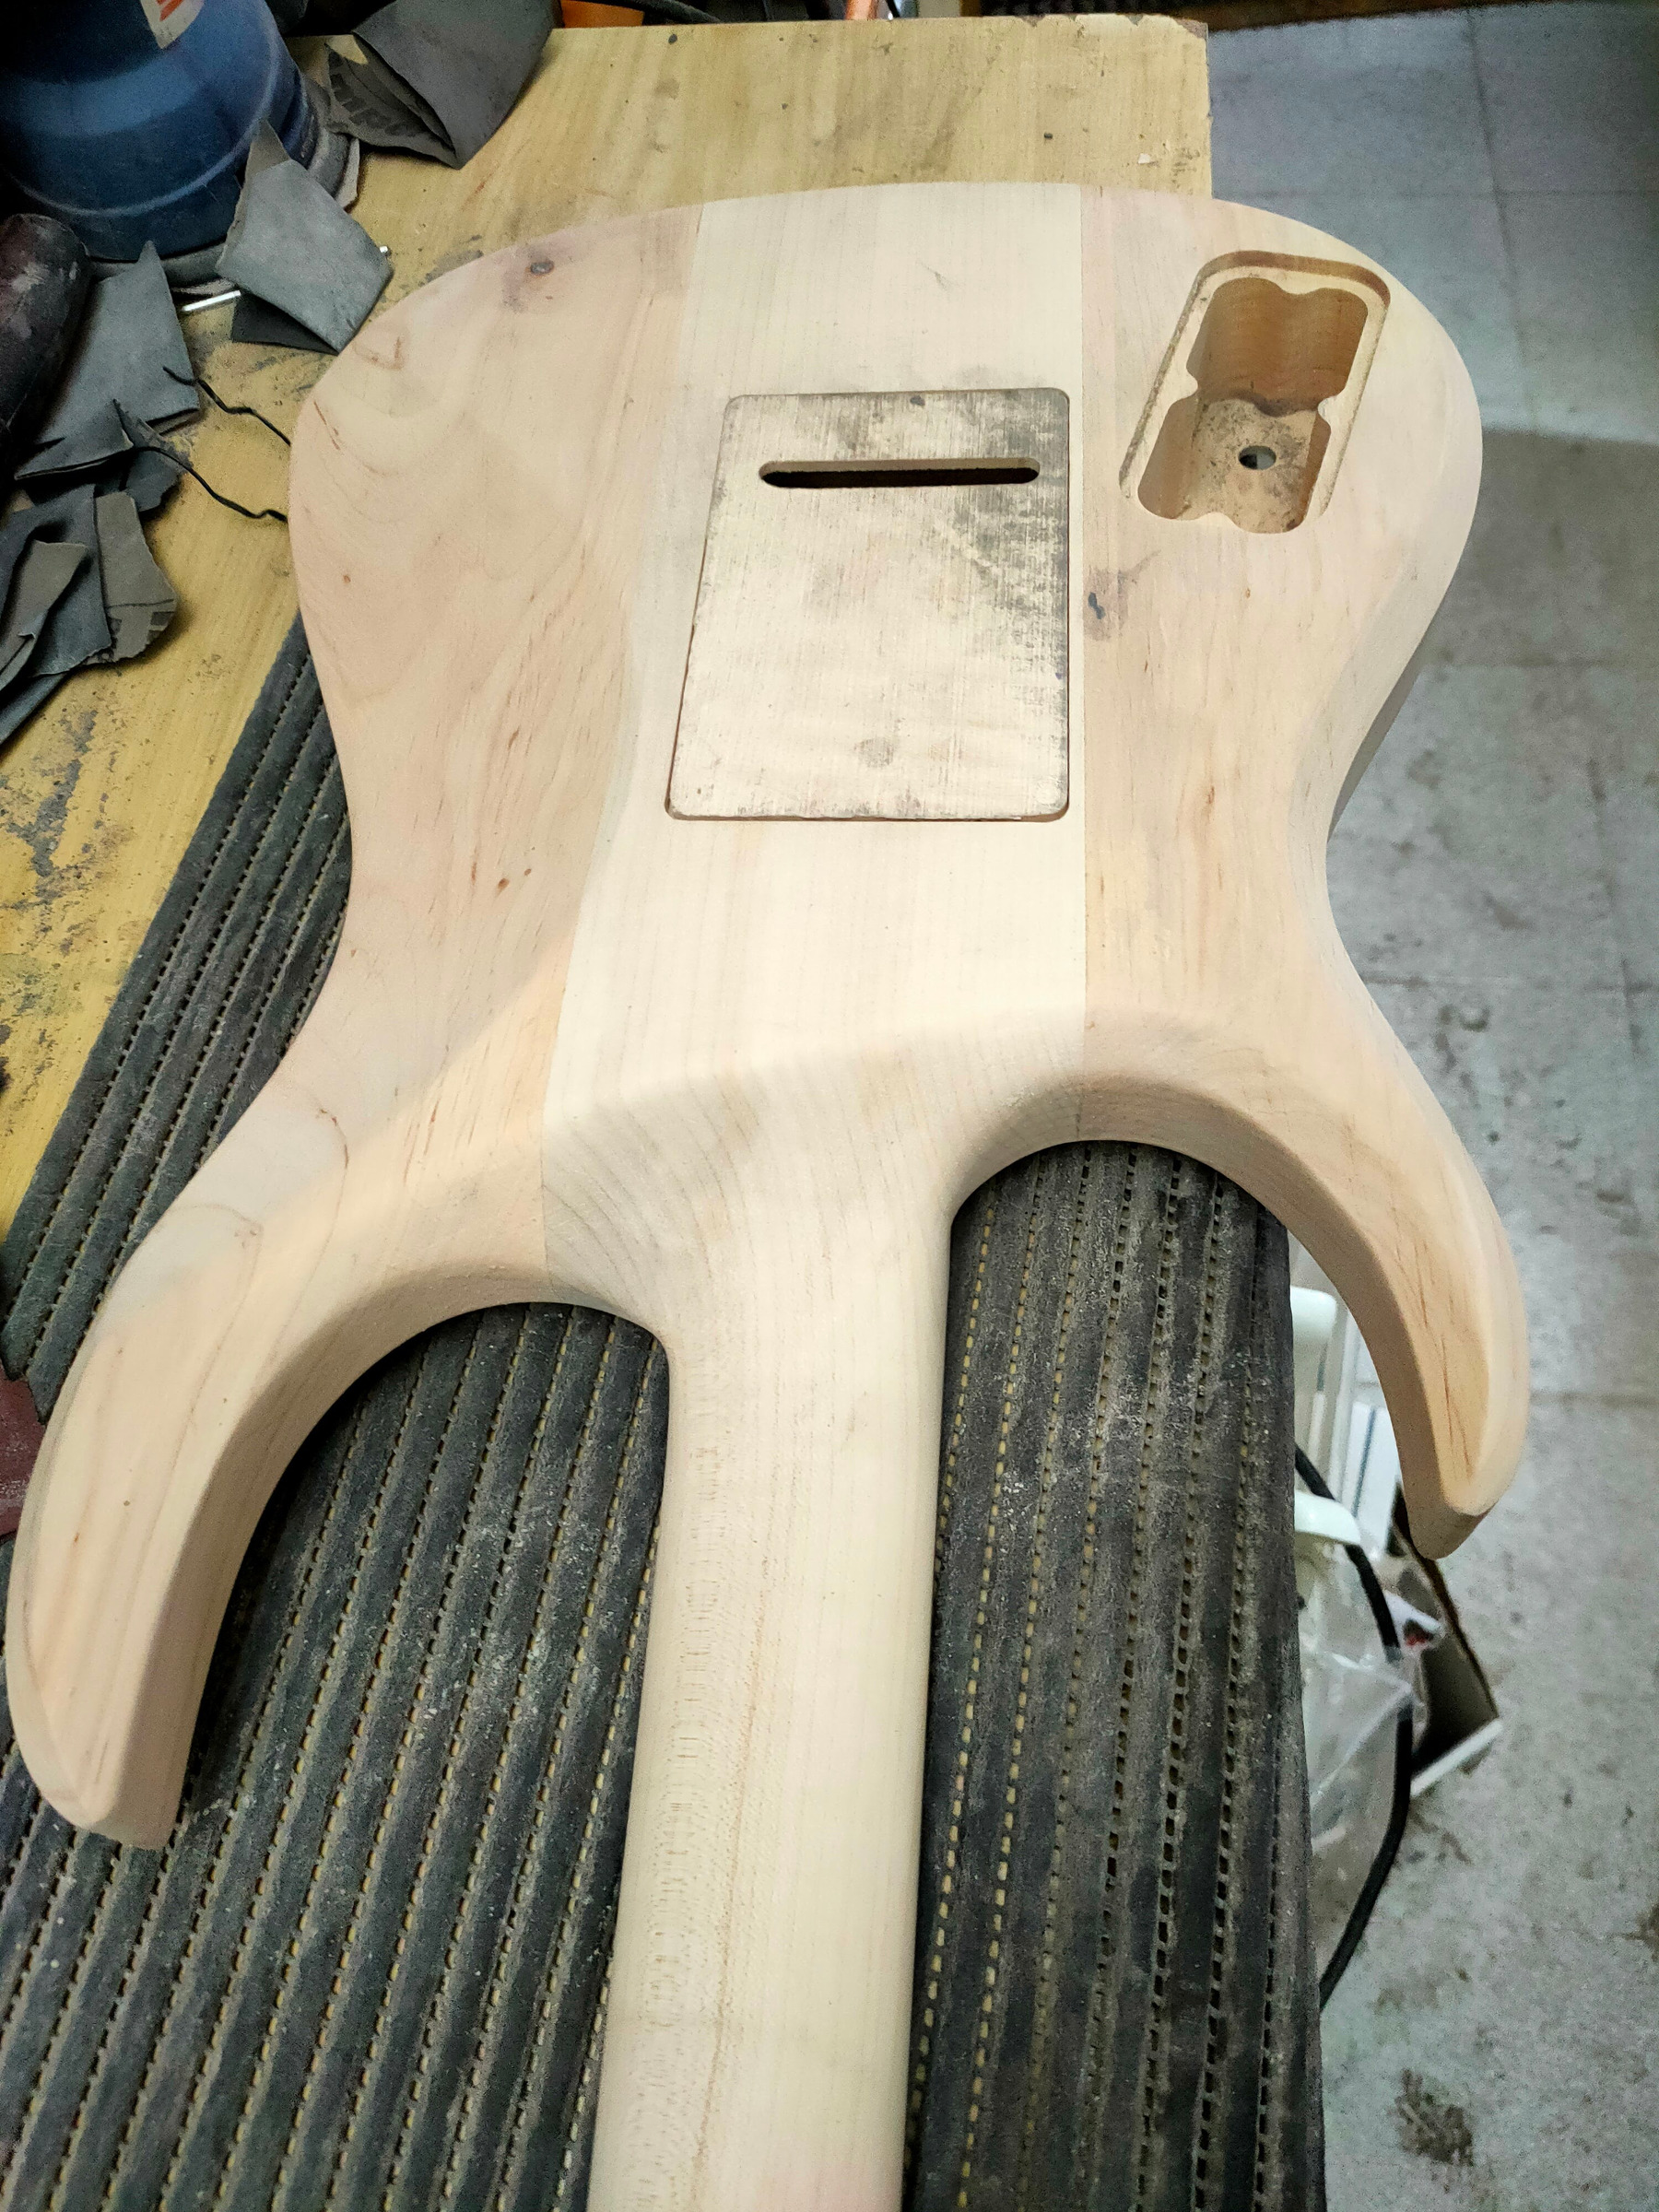
The back of a sanded raw body, on the bench grid
The raw body, sanded before the finish.

The finish

One coat at a time, and sanding in between

The colours are mixed in the workshop, tested on the actual wood. Then the polyurethane goes on, one coat at a time, sanded in between: drying times can't be shortened.
Seven seconds in the booth, filmed while the work was going on.
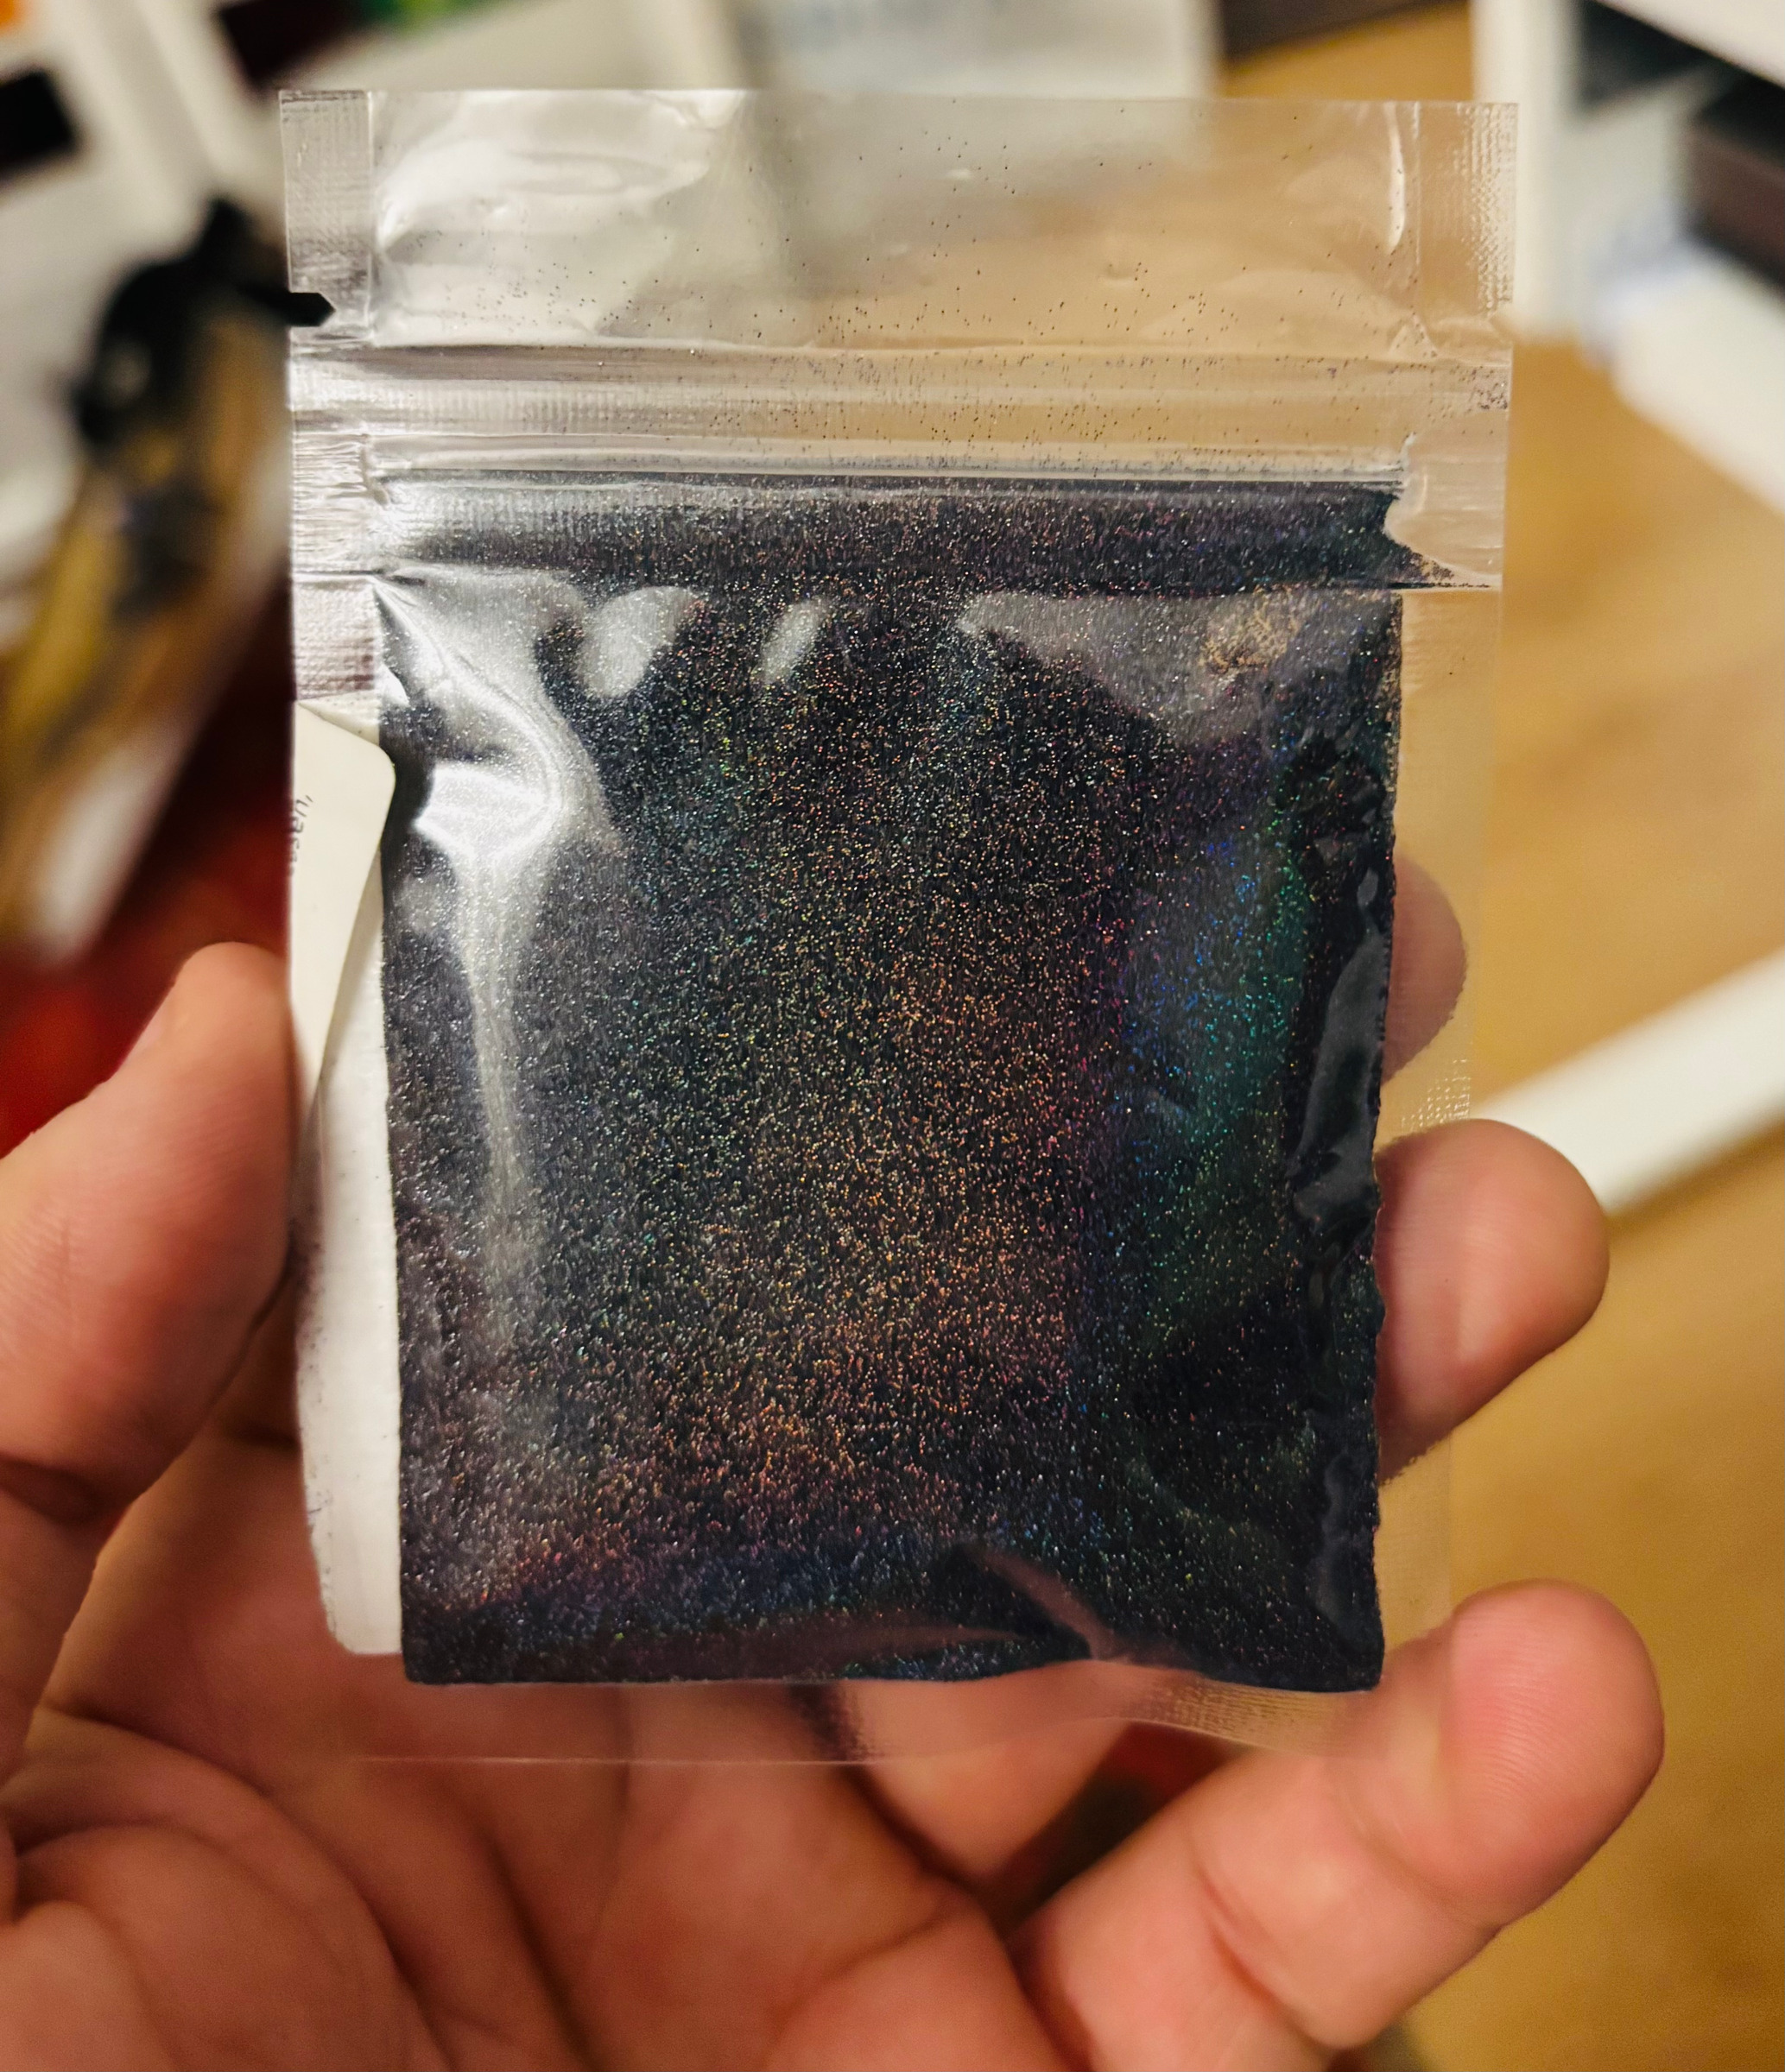
A small bag of dark pigment with iridescent glints, held in one hand
The pigments arrive as powder and are mixed in the workshop.
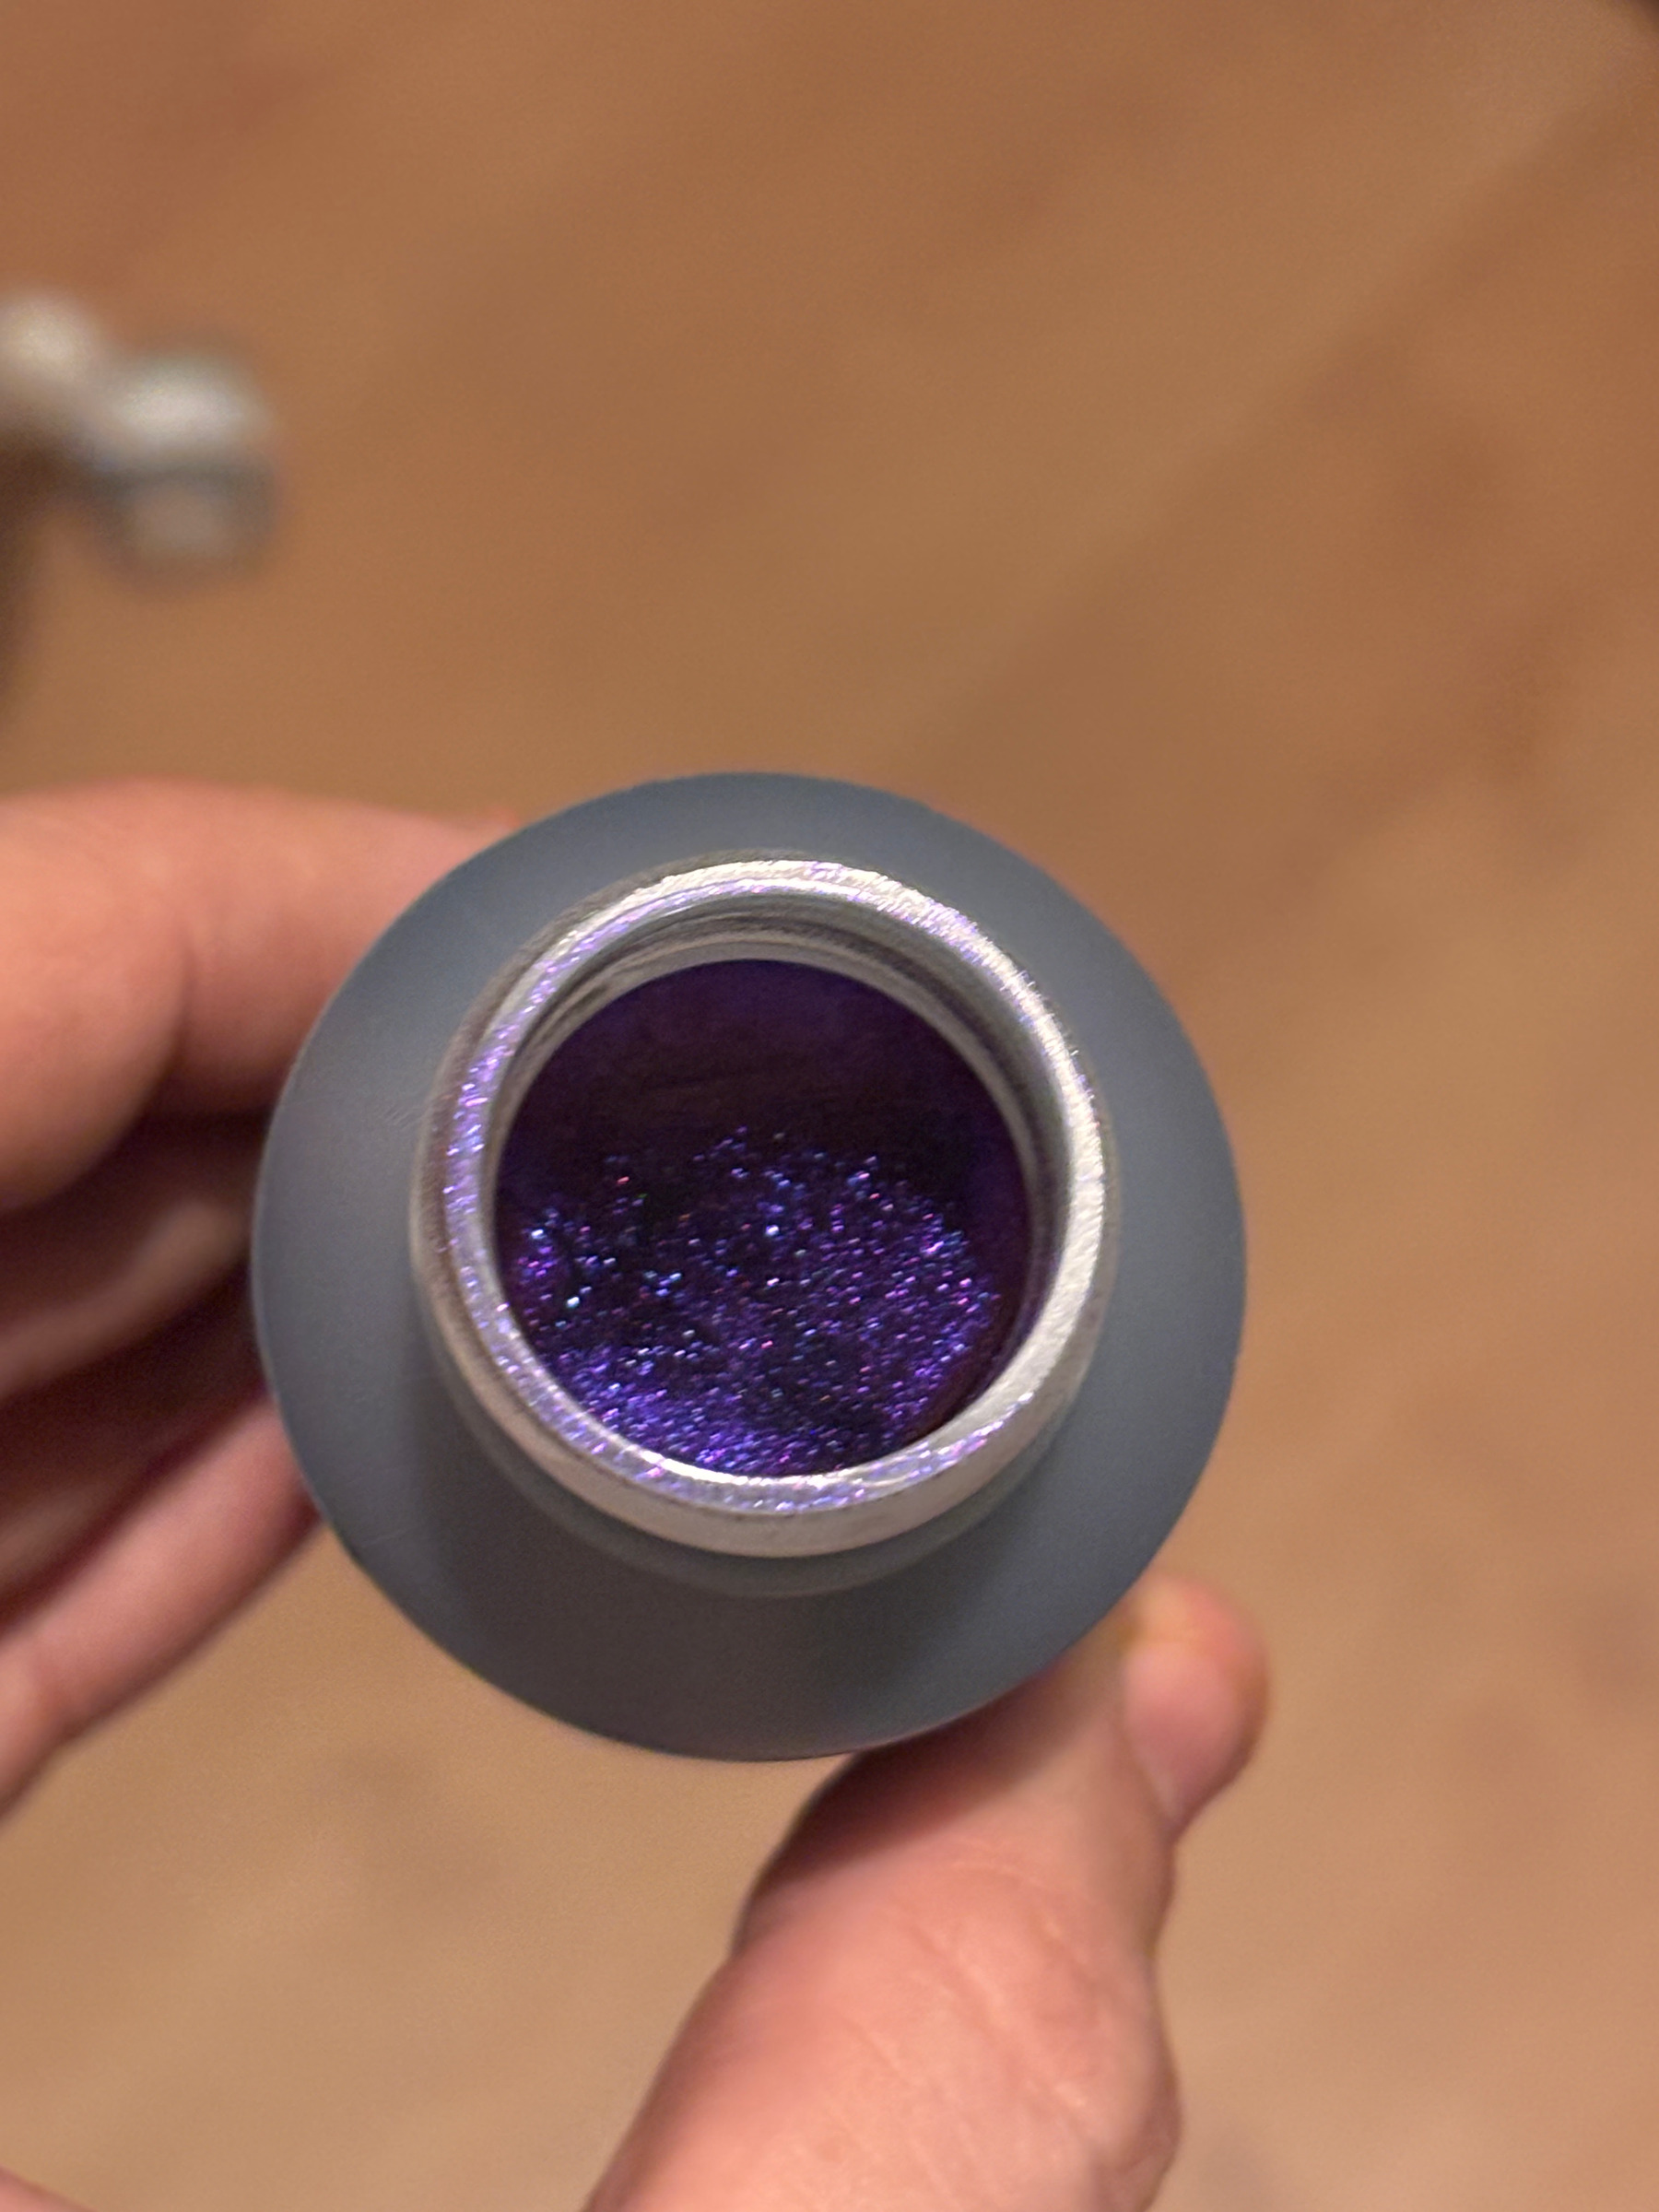
A small jar of metallic violet pigment, held in one hand
A metallic violet, before it goes into the finish.
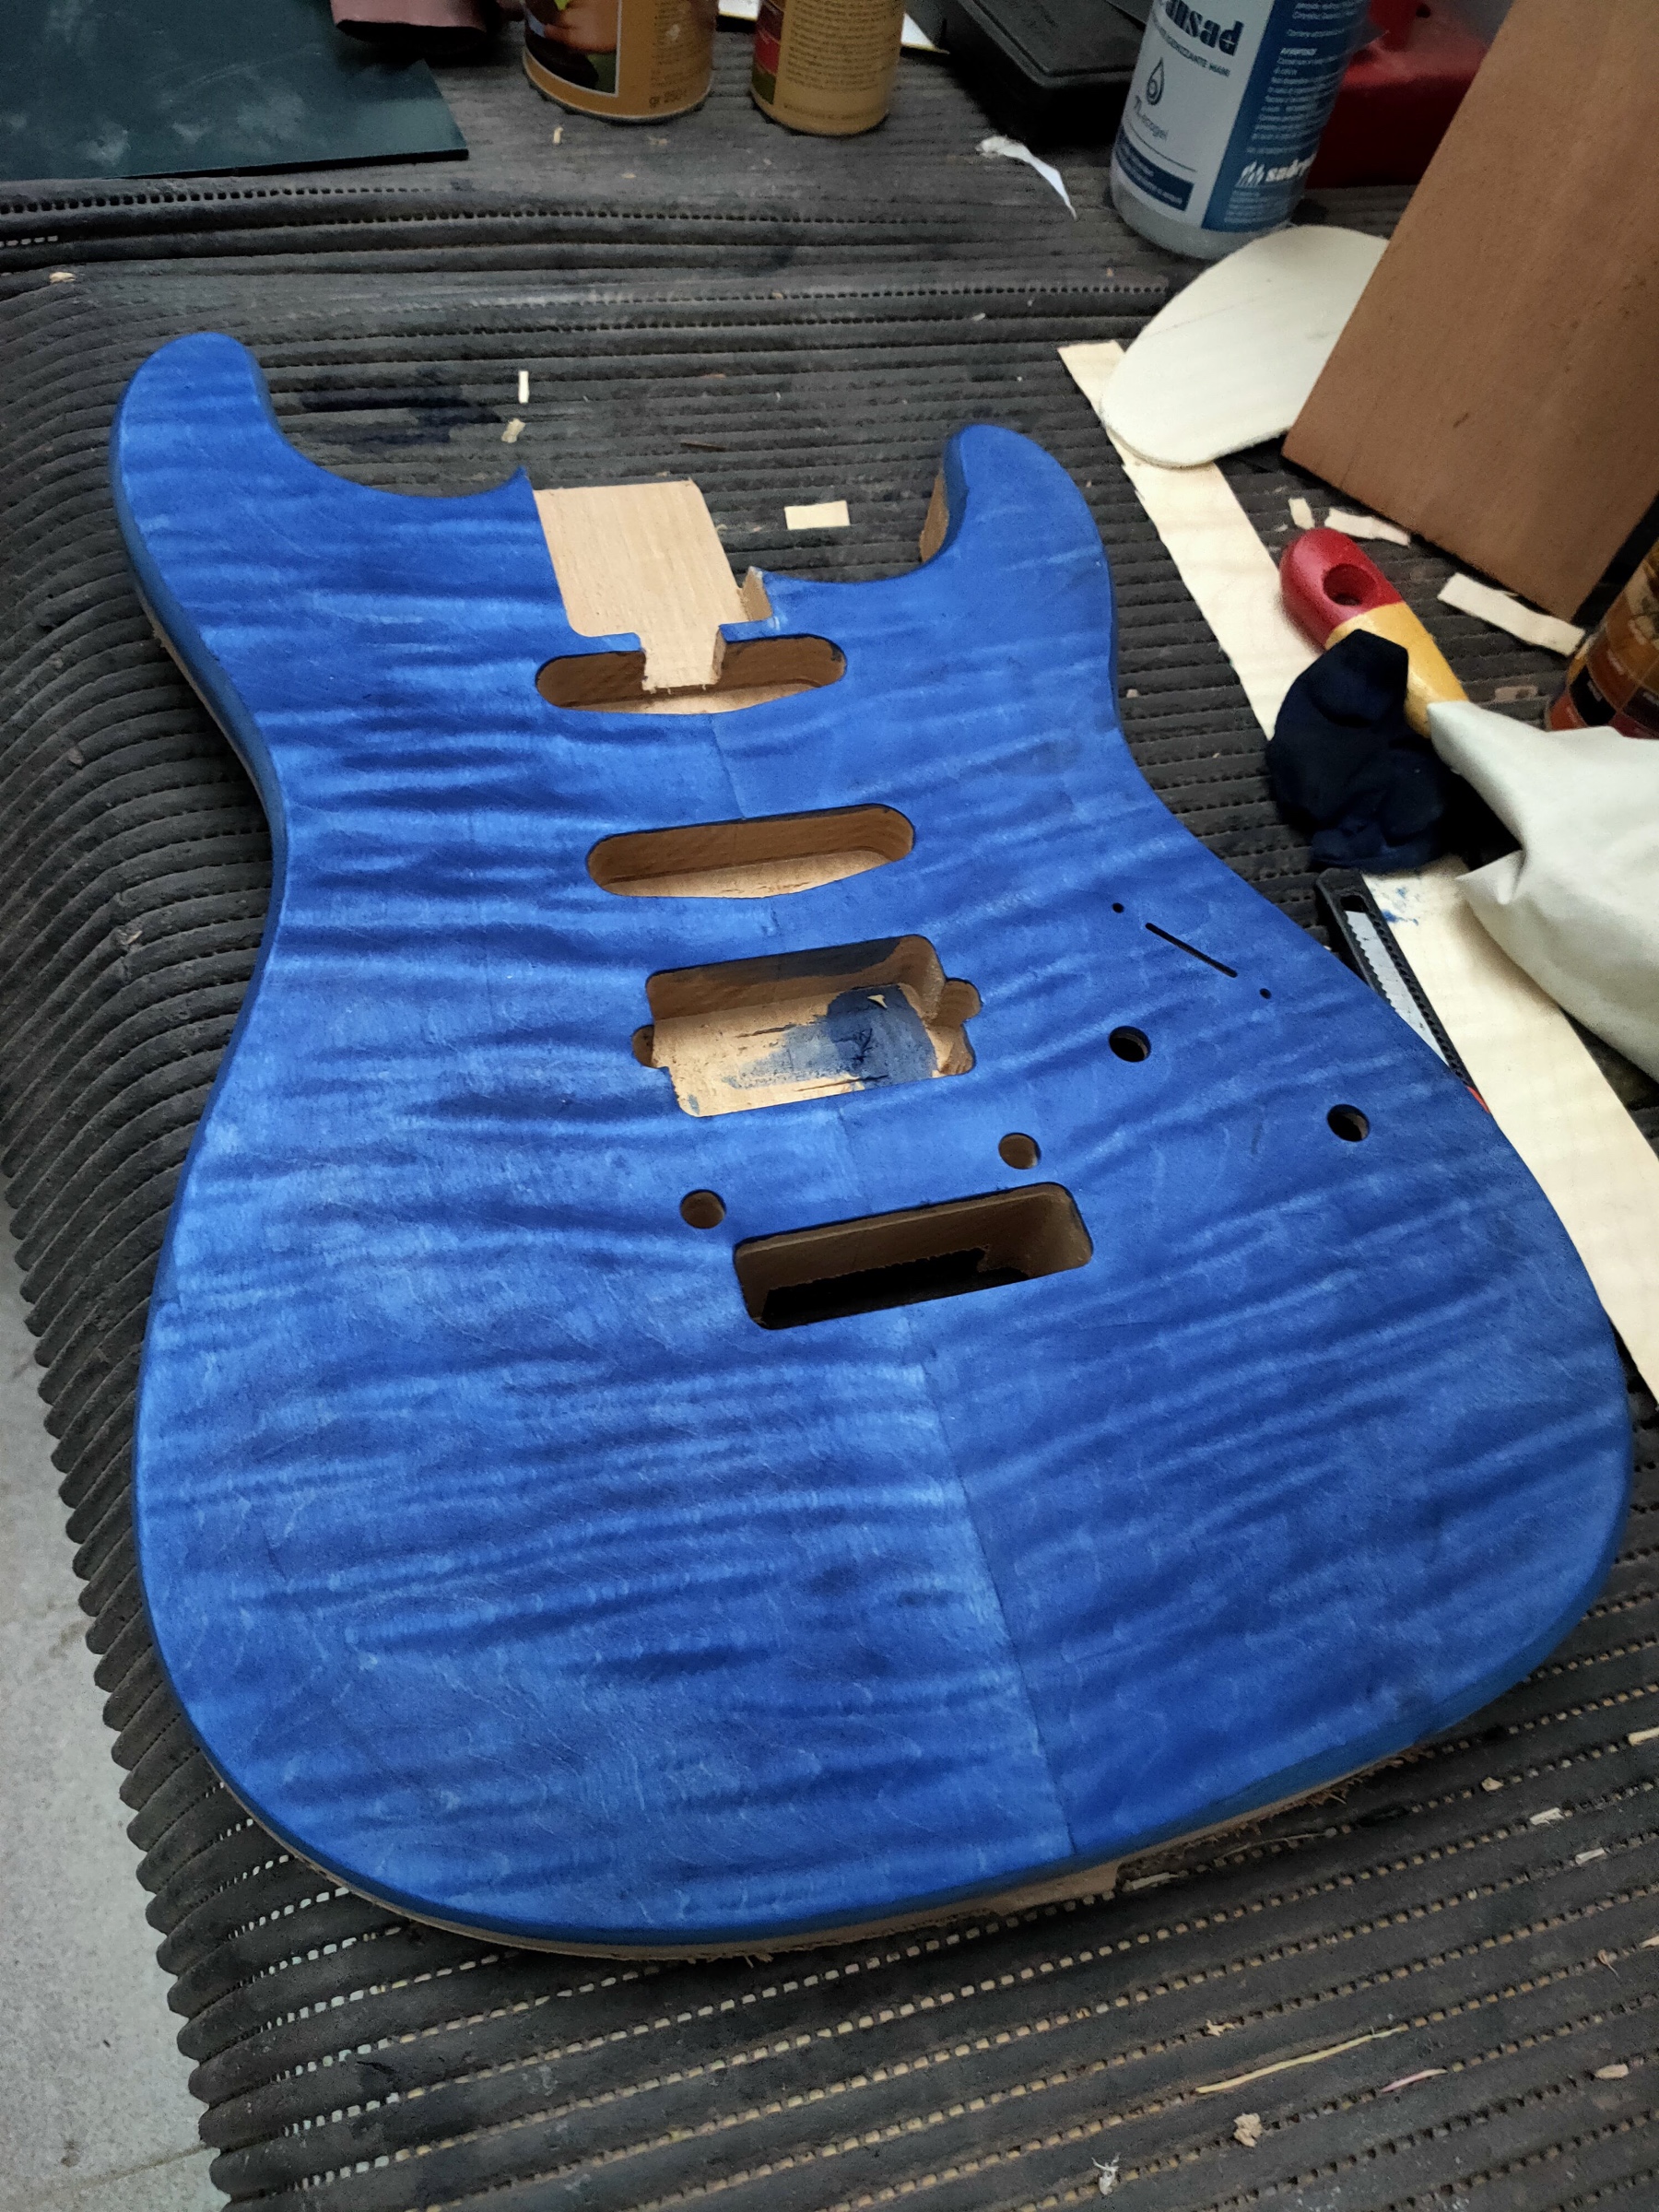
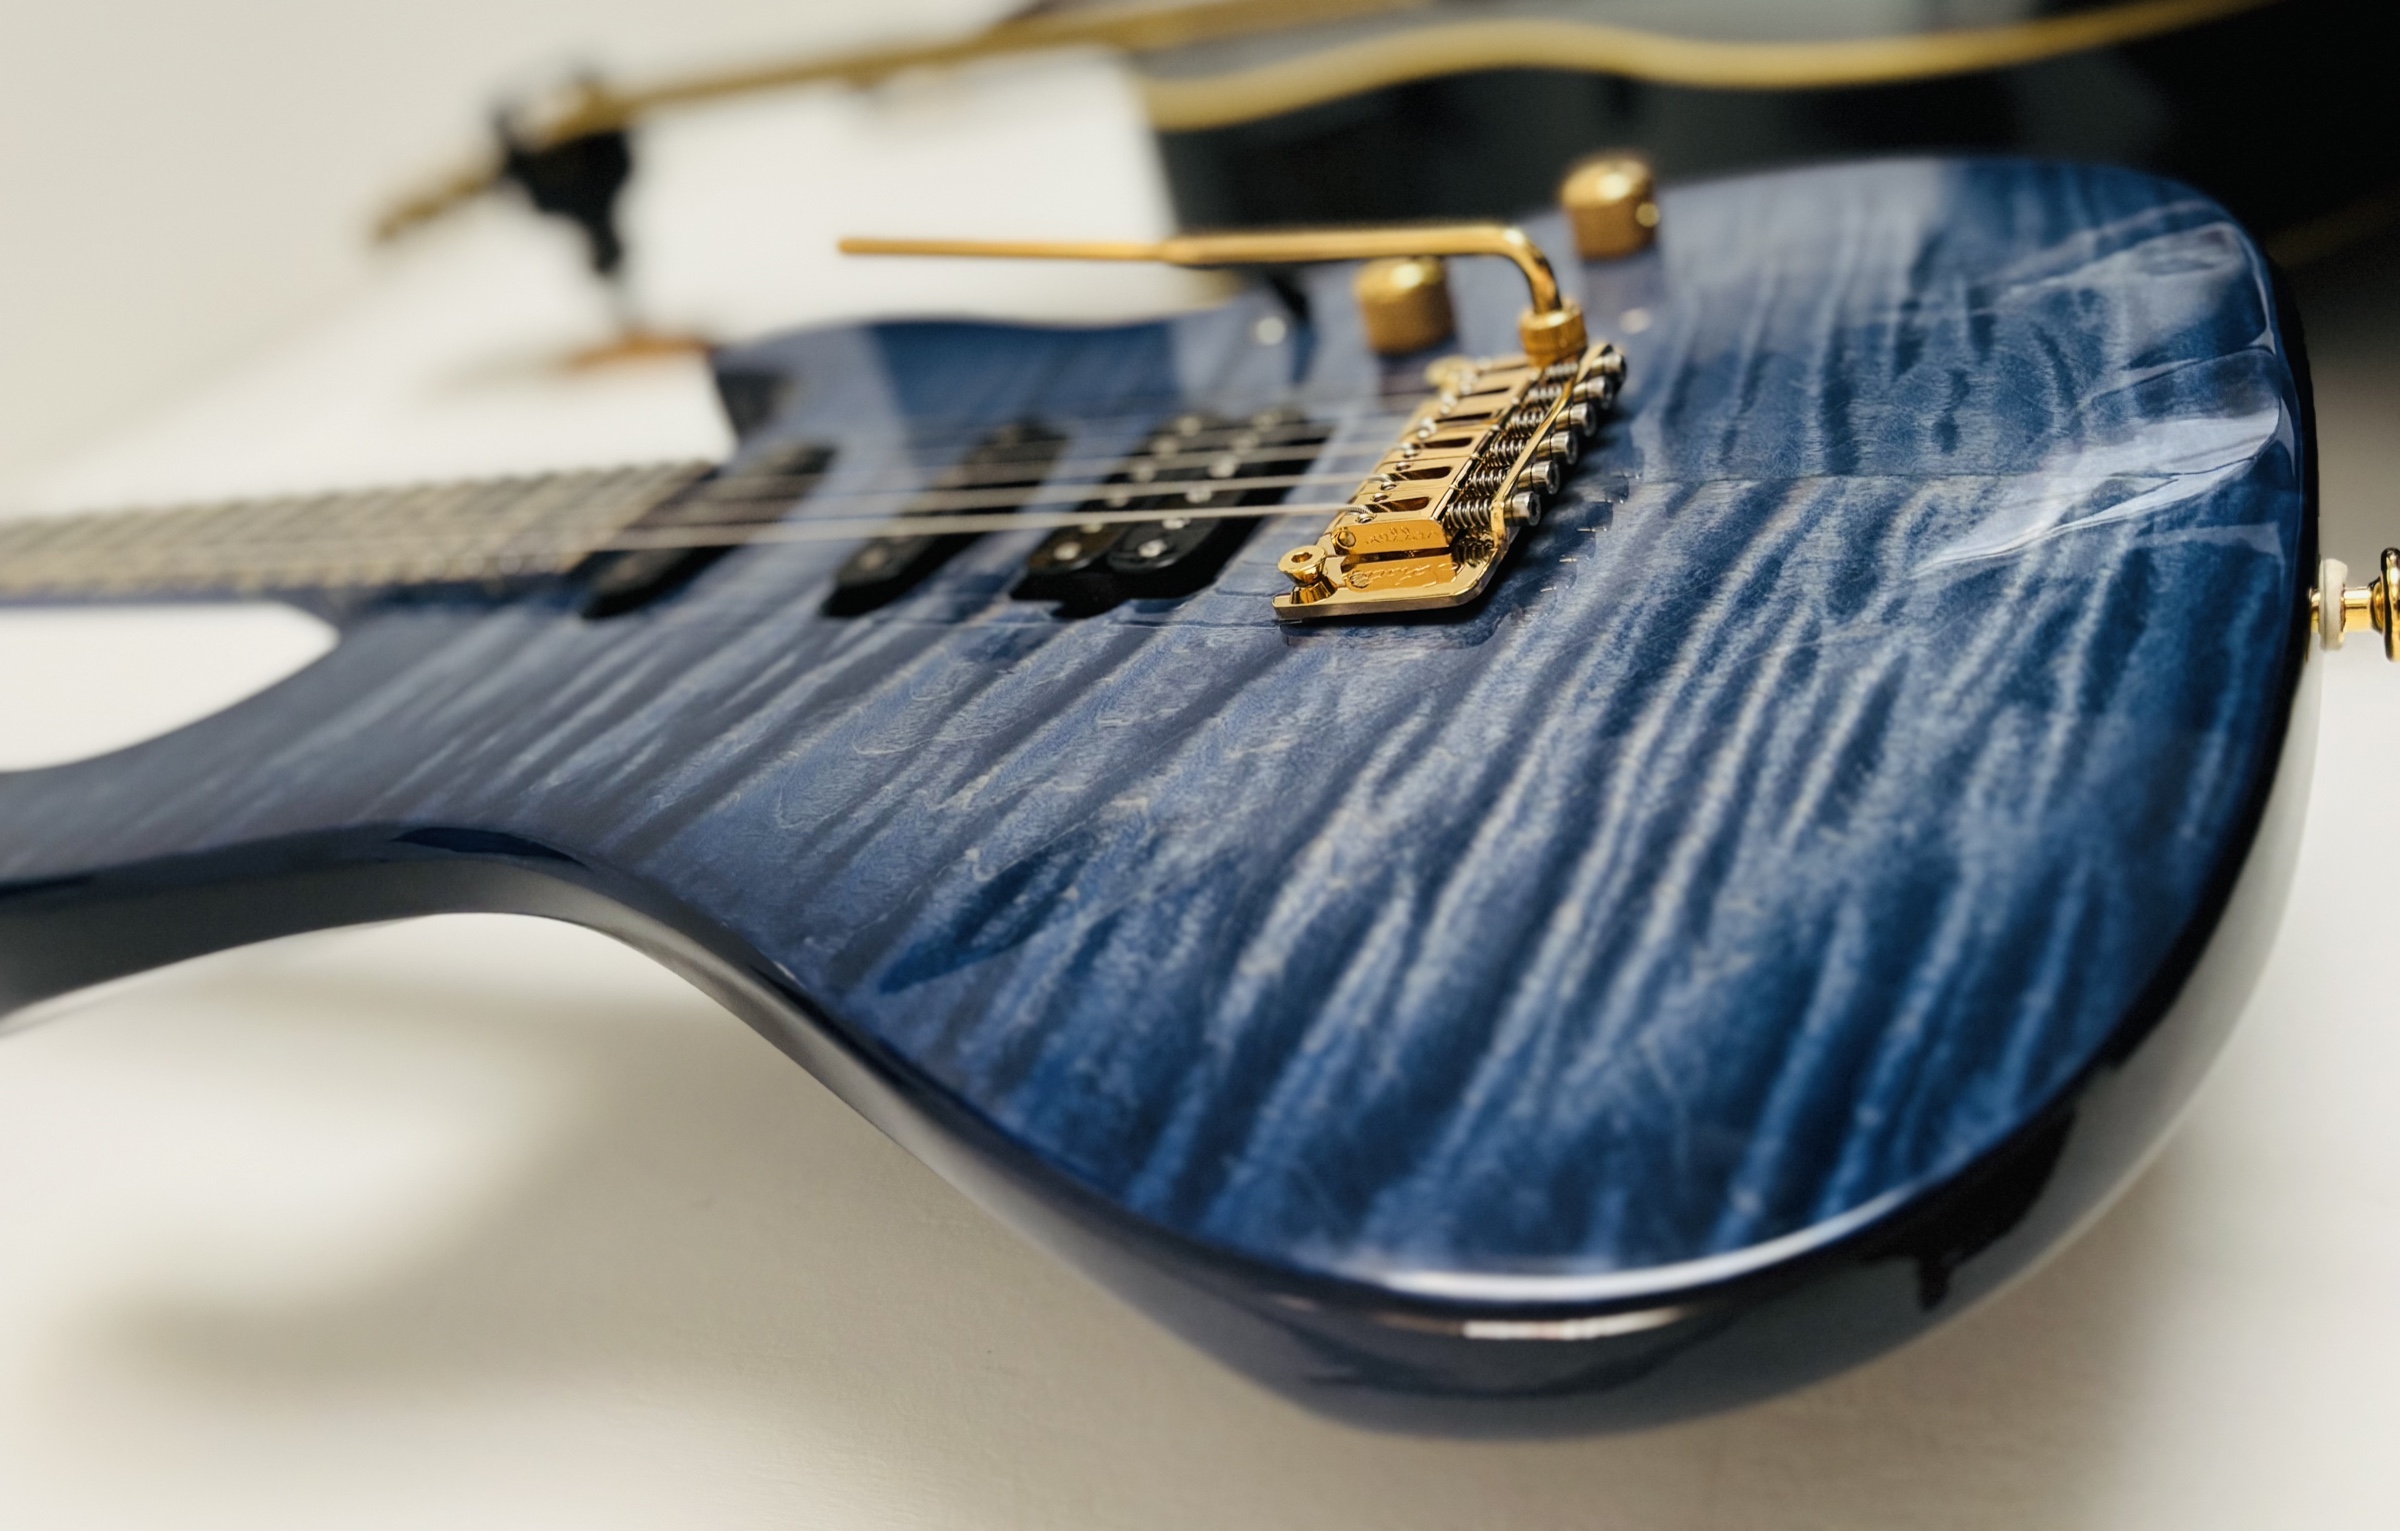
A body with a flamed top stained blue, on the bench grid
The stain goes on before the finish, and brings out the figure of the wood.
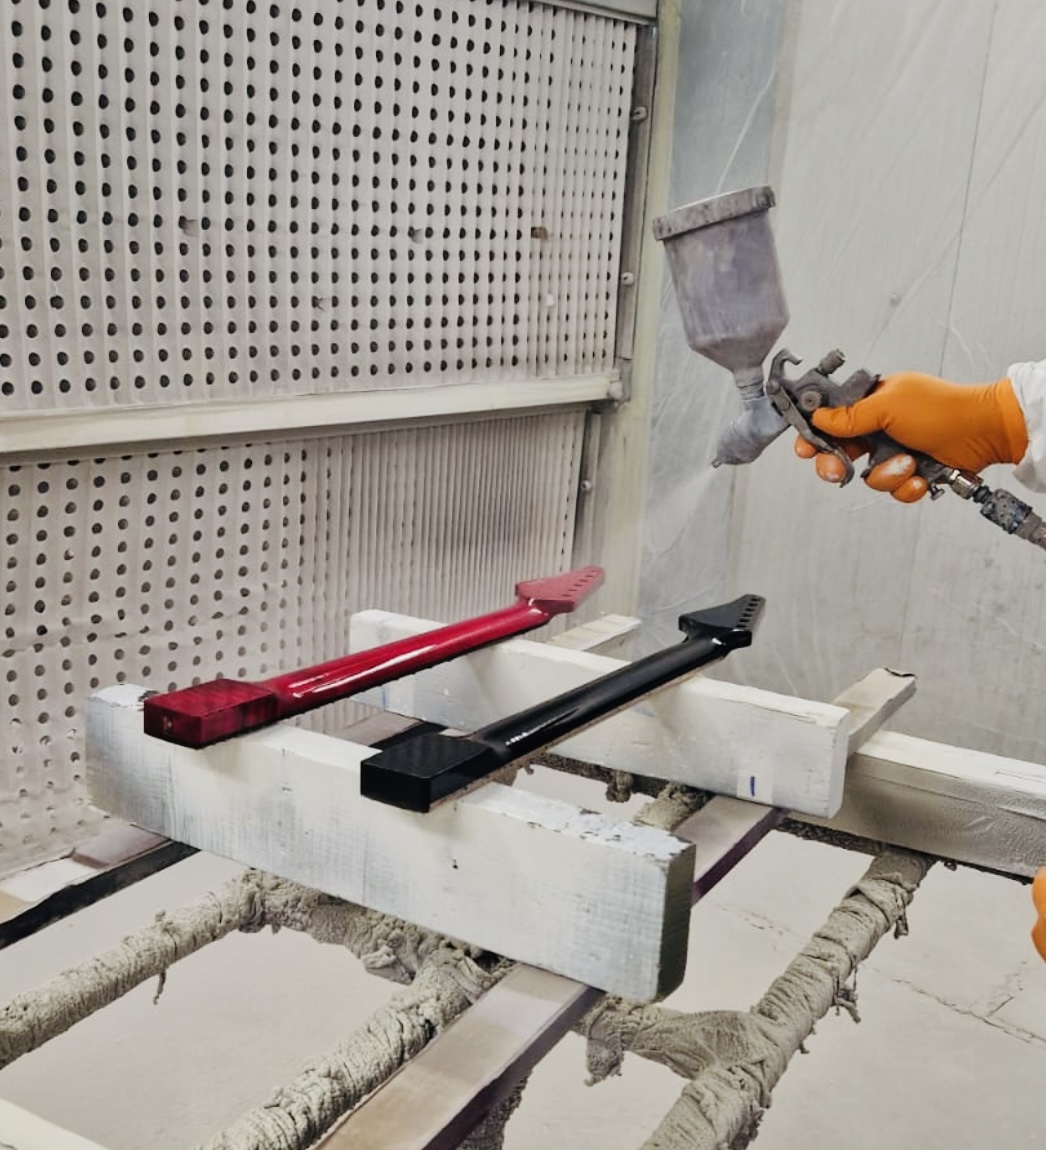
A gloved hand spray-finishing two necks, one red and one black, in the booth
Two necks in the booth, one thin coat at a time.
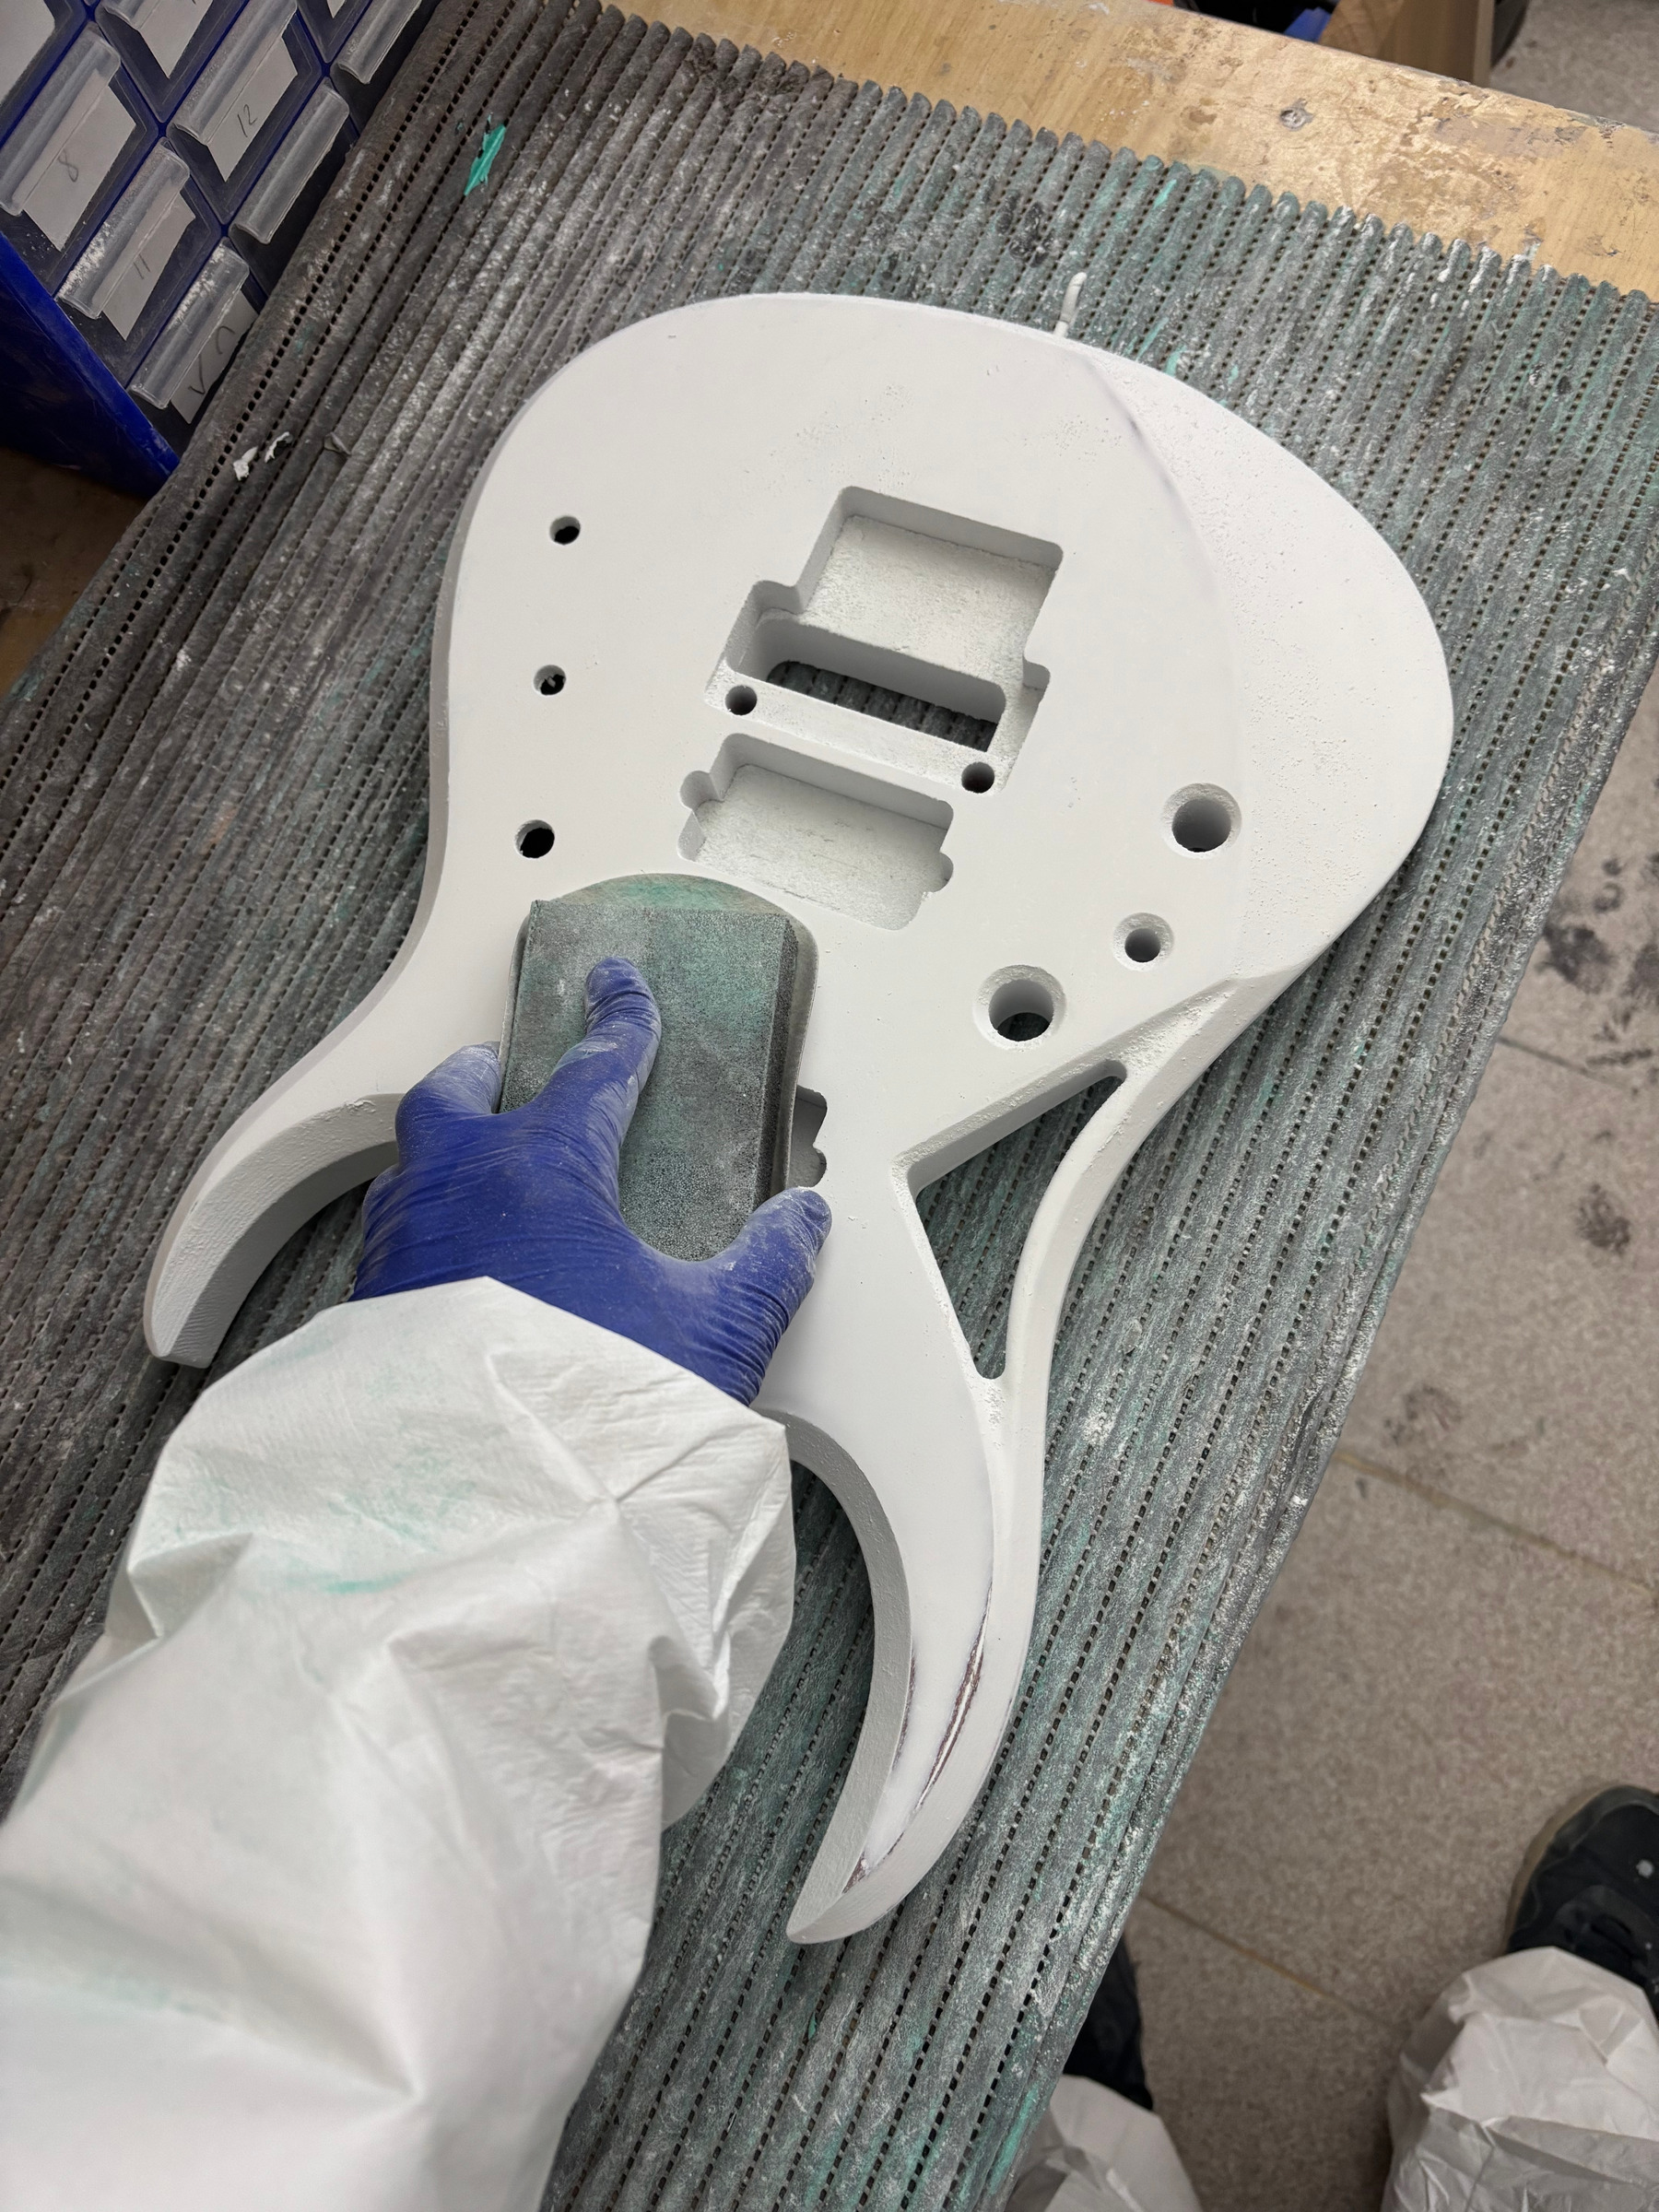
A gloved hand sanding a white body on the bench grid
Sanding, between two coats.
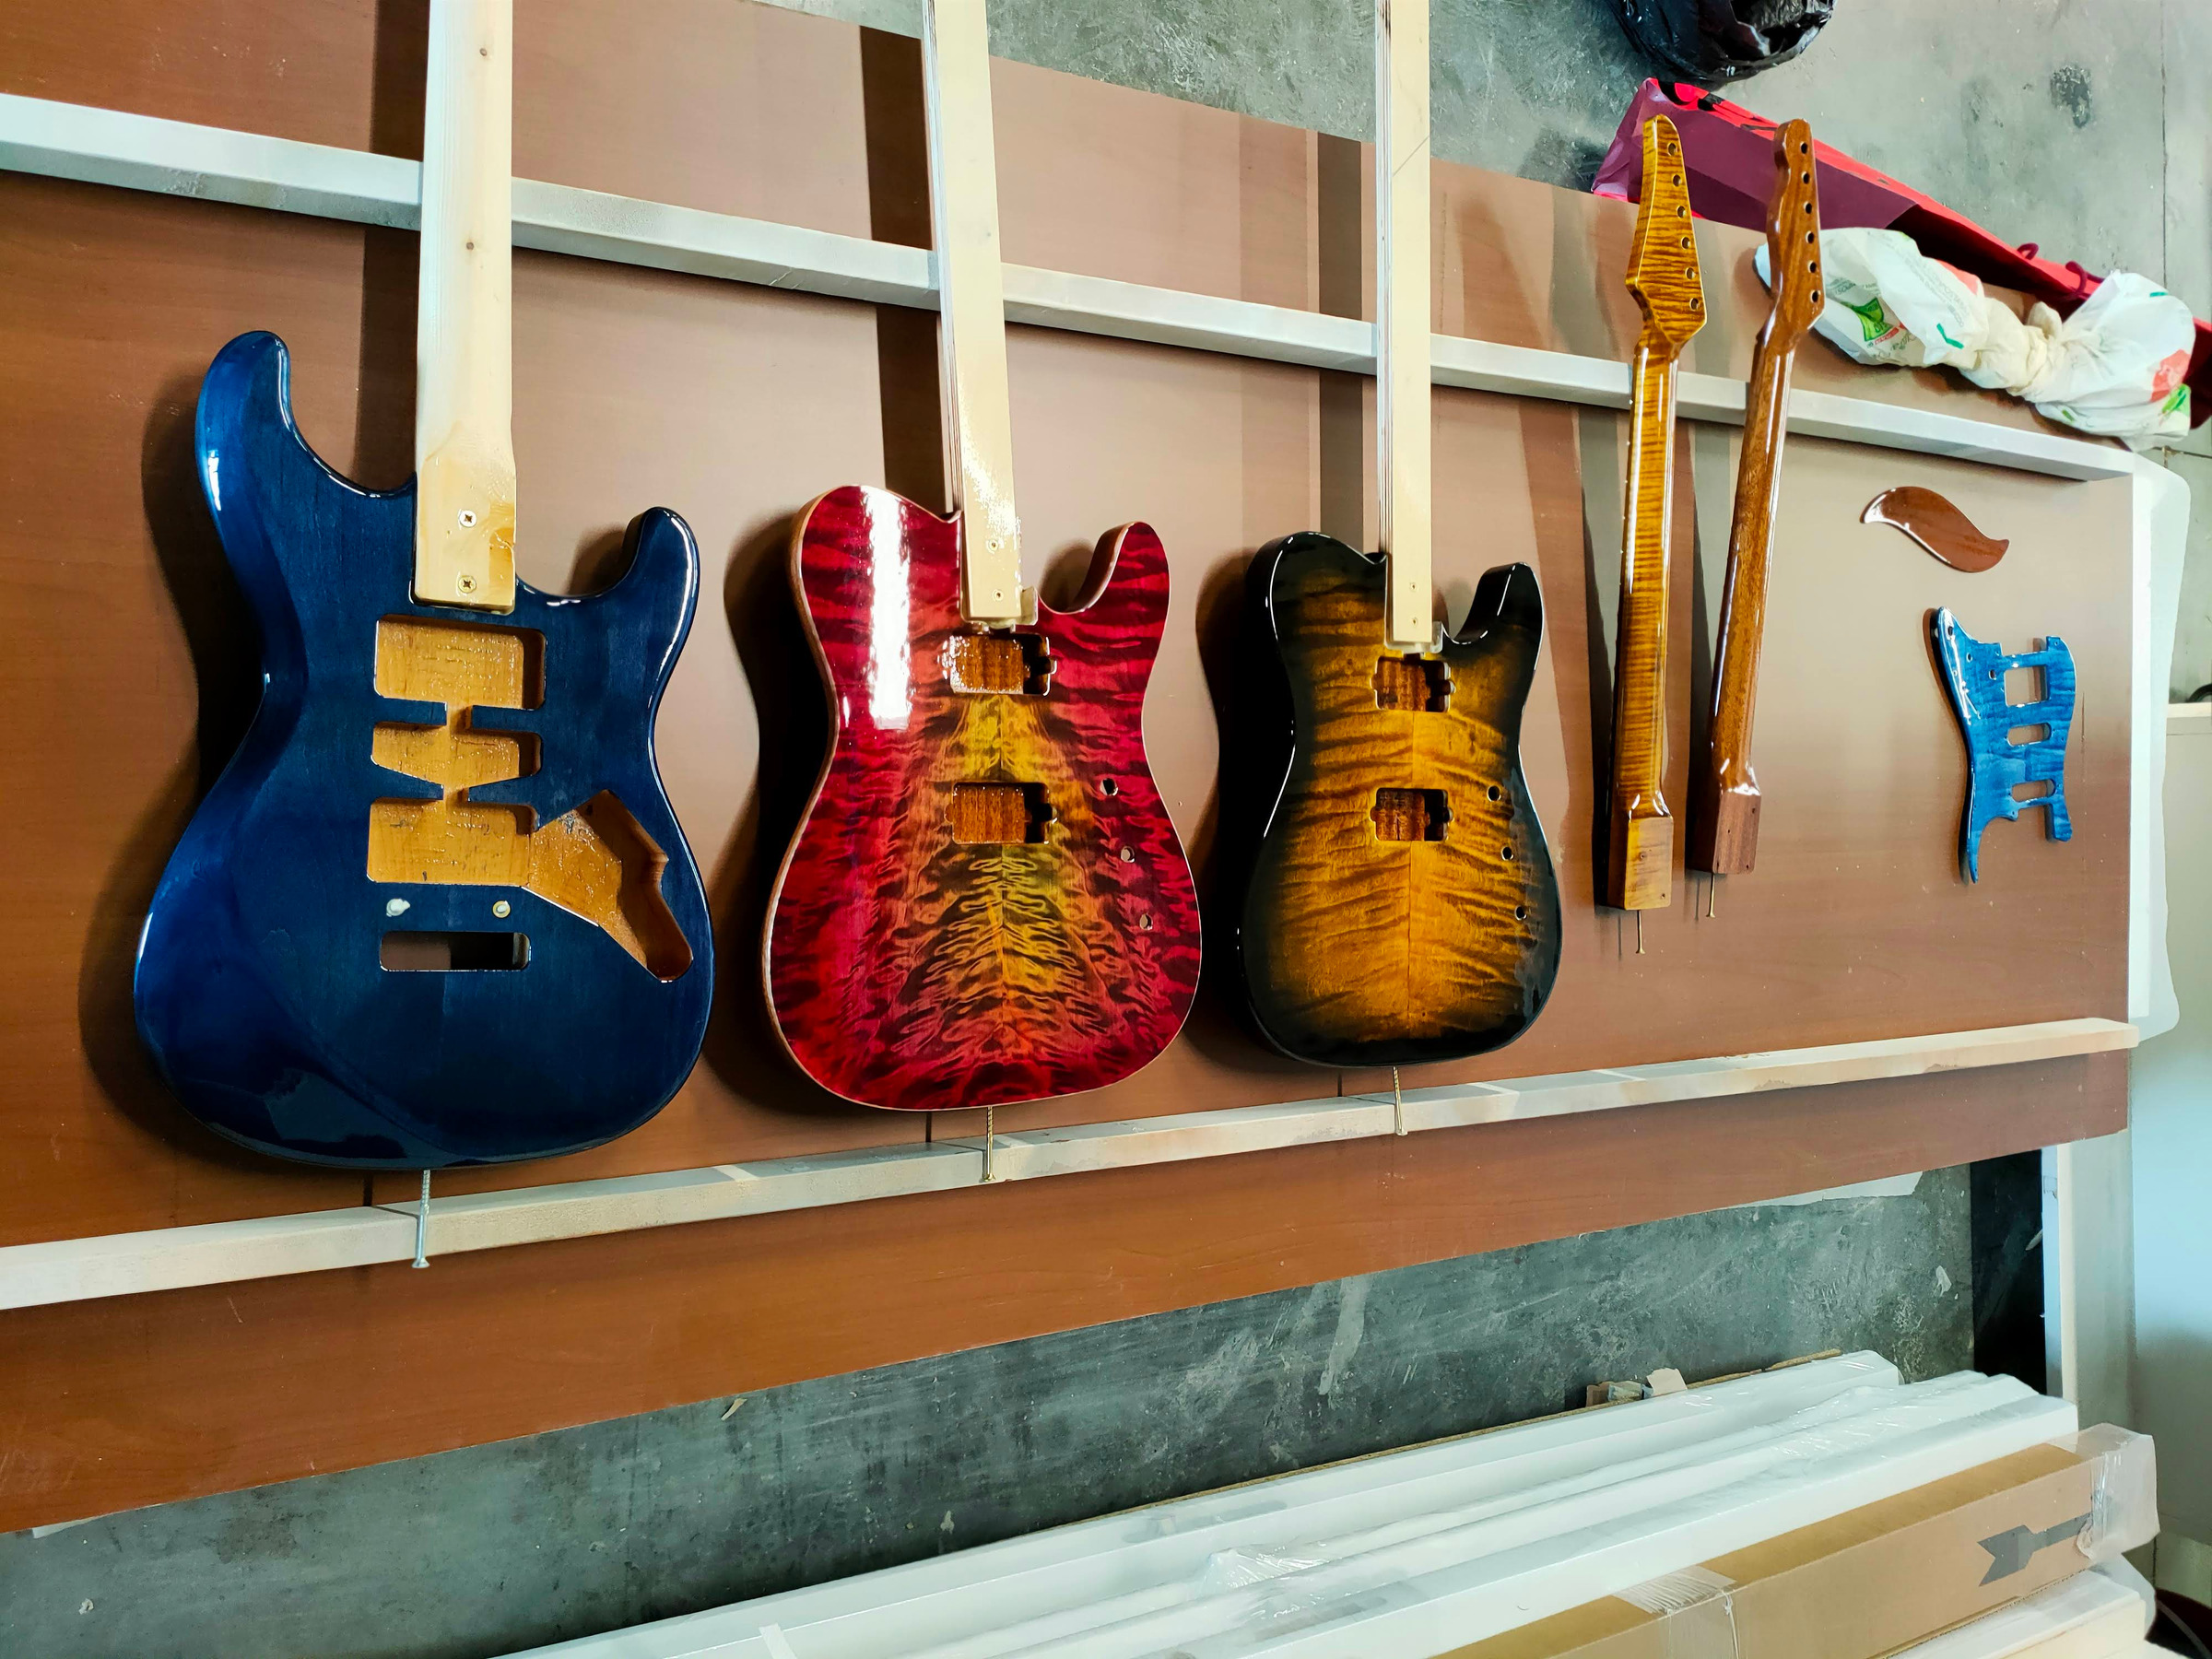
Three guitar bodies hanging to dry on a rack, along with two necks
Drying. From here nothing gets touched for days.

The assembly

The electronics, to a De Gattis design

The circuit is called De Gattis Custom Circuitry: a single board, built to a De Gattis design, with the 50's/Modern switch and the pickup controls. It is tested before it goes into the body.
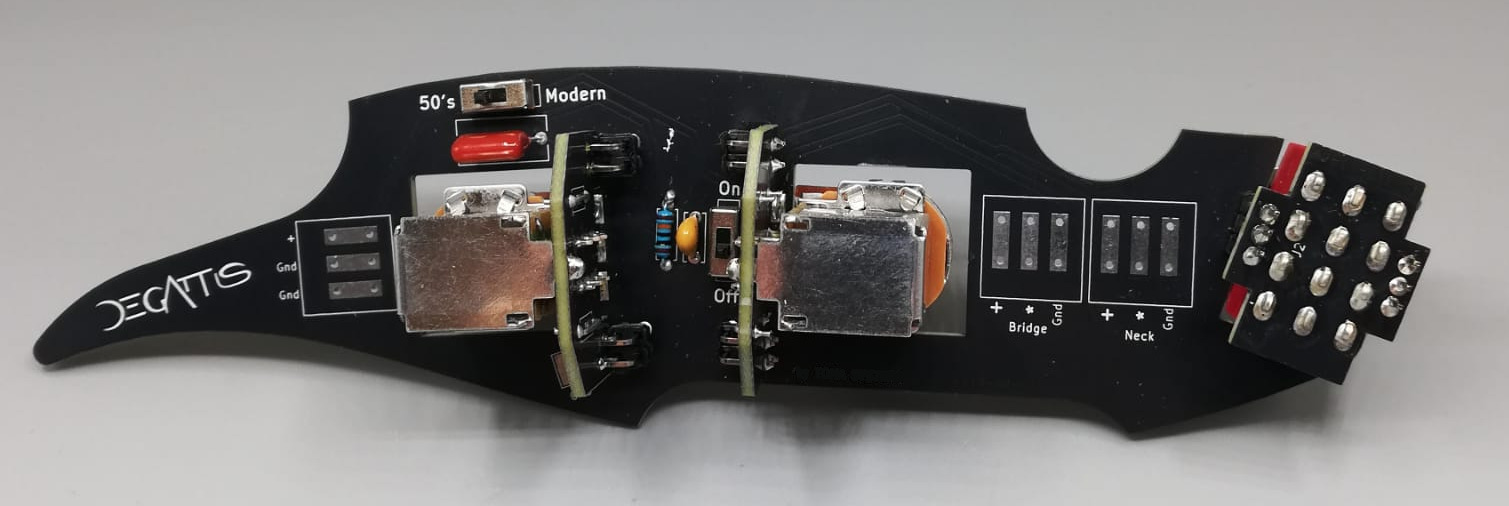
The De Gattis Custom Circuitry board, with the mark engraved on it and the pickup controls
The board, built and tested, before it goes into the body.
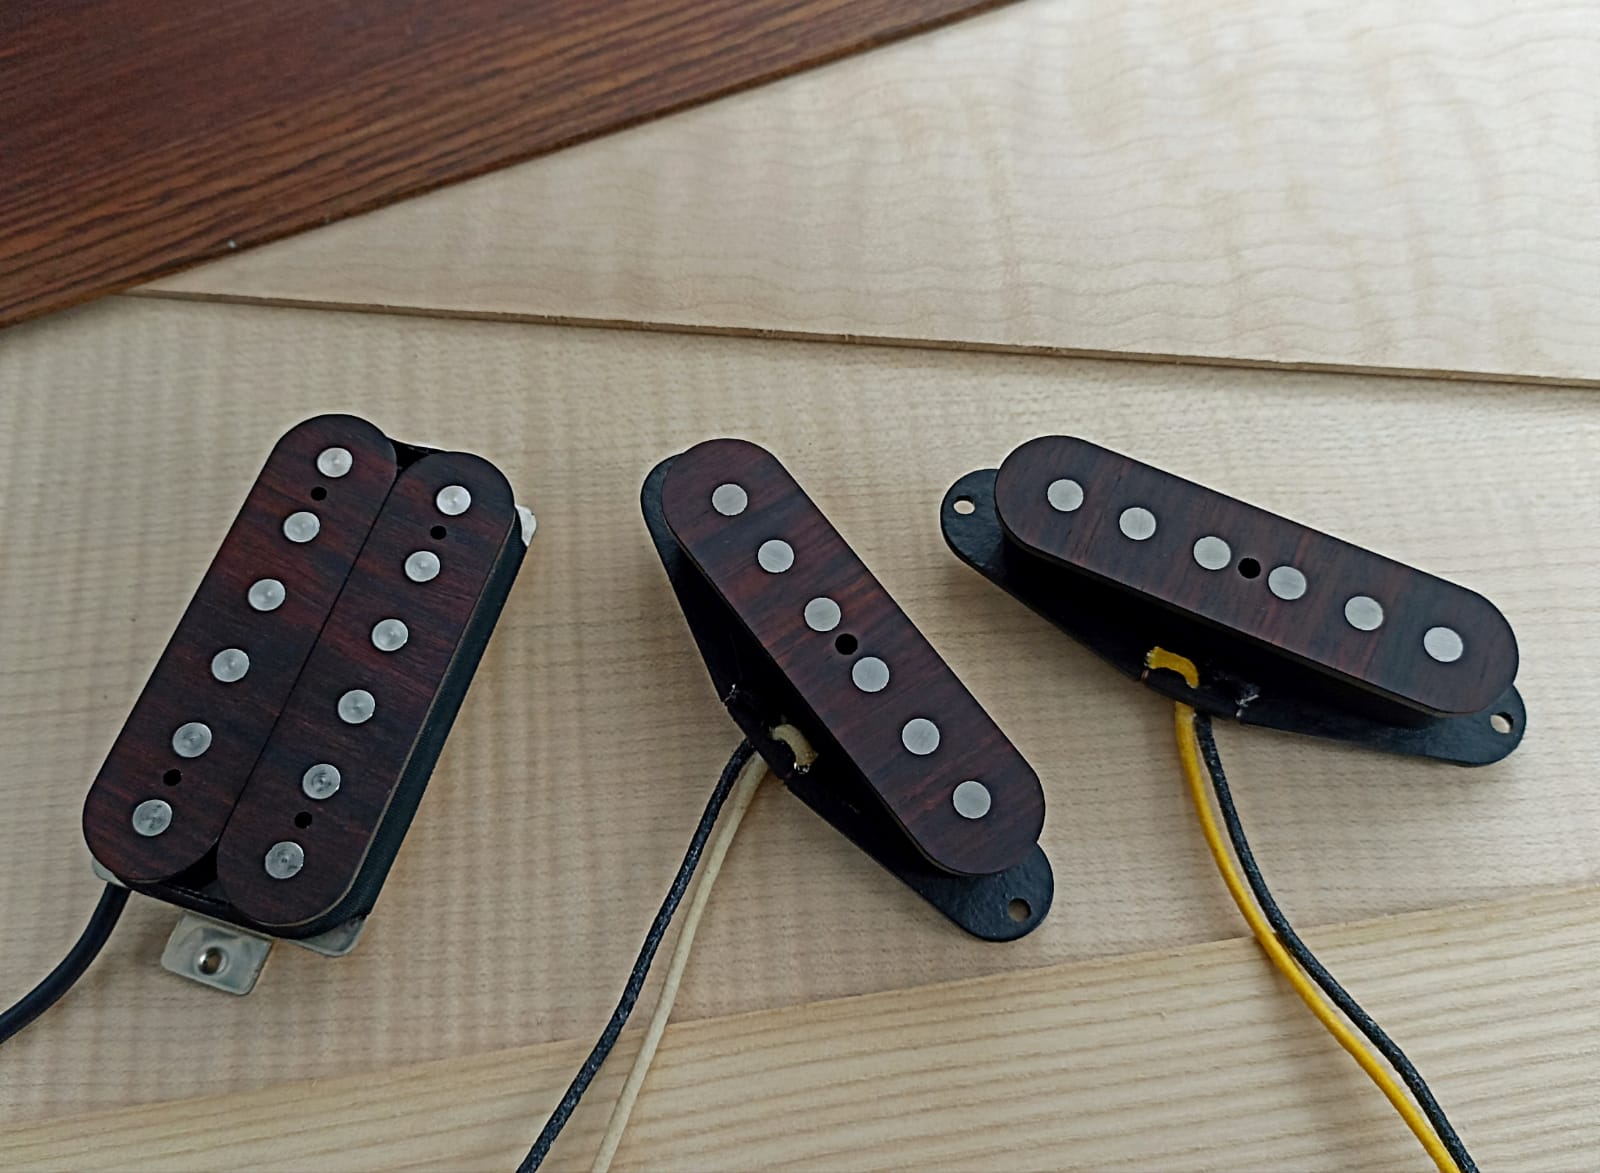
Three pickups with wooden covers, resting on pale wooden boards
The pickups, with their wooden covers, before they go into the body.
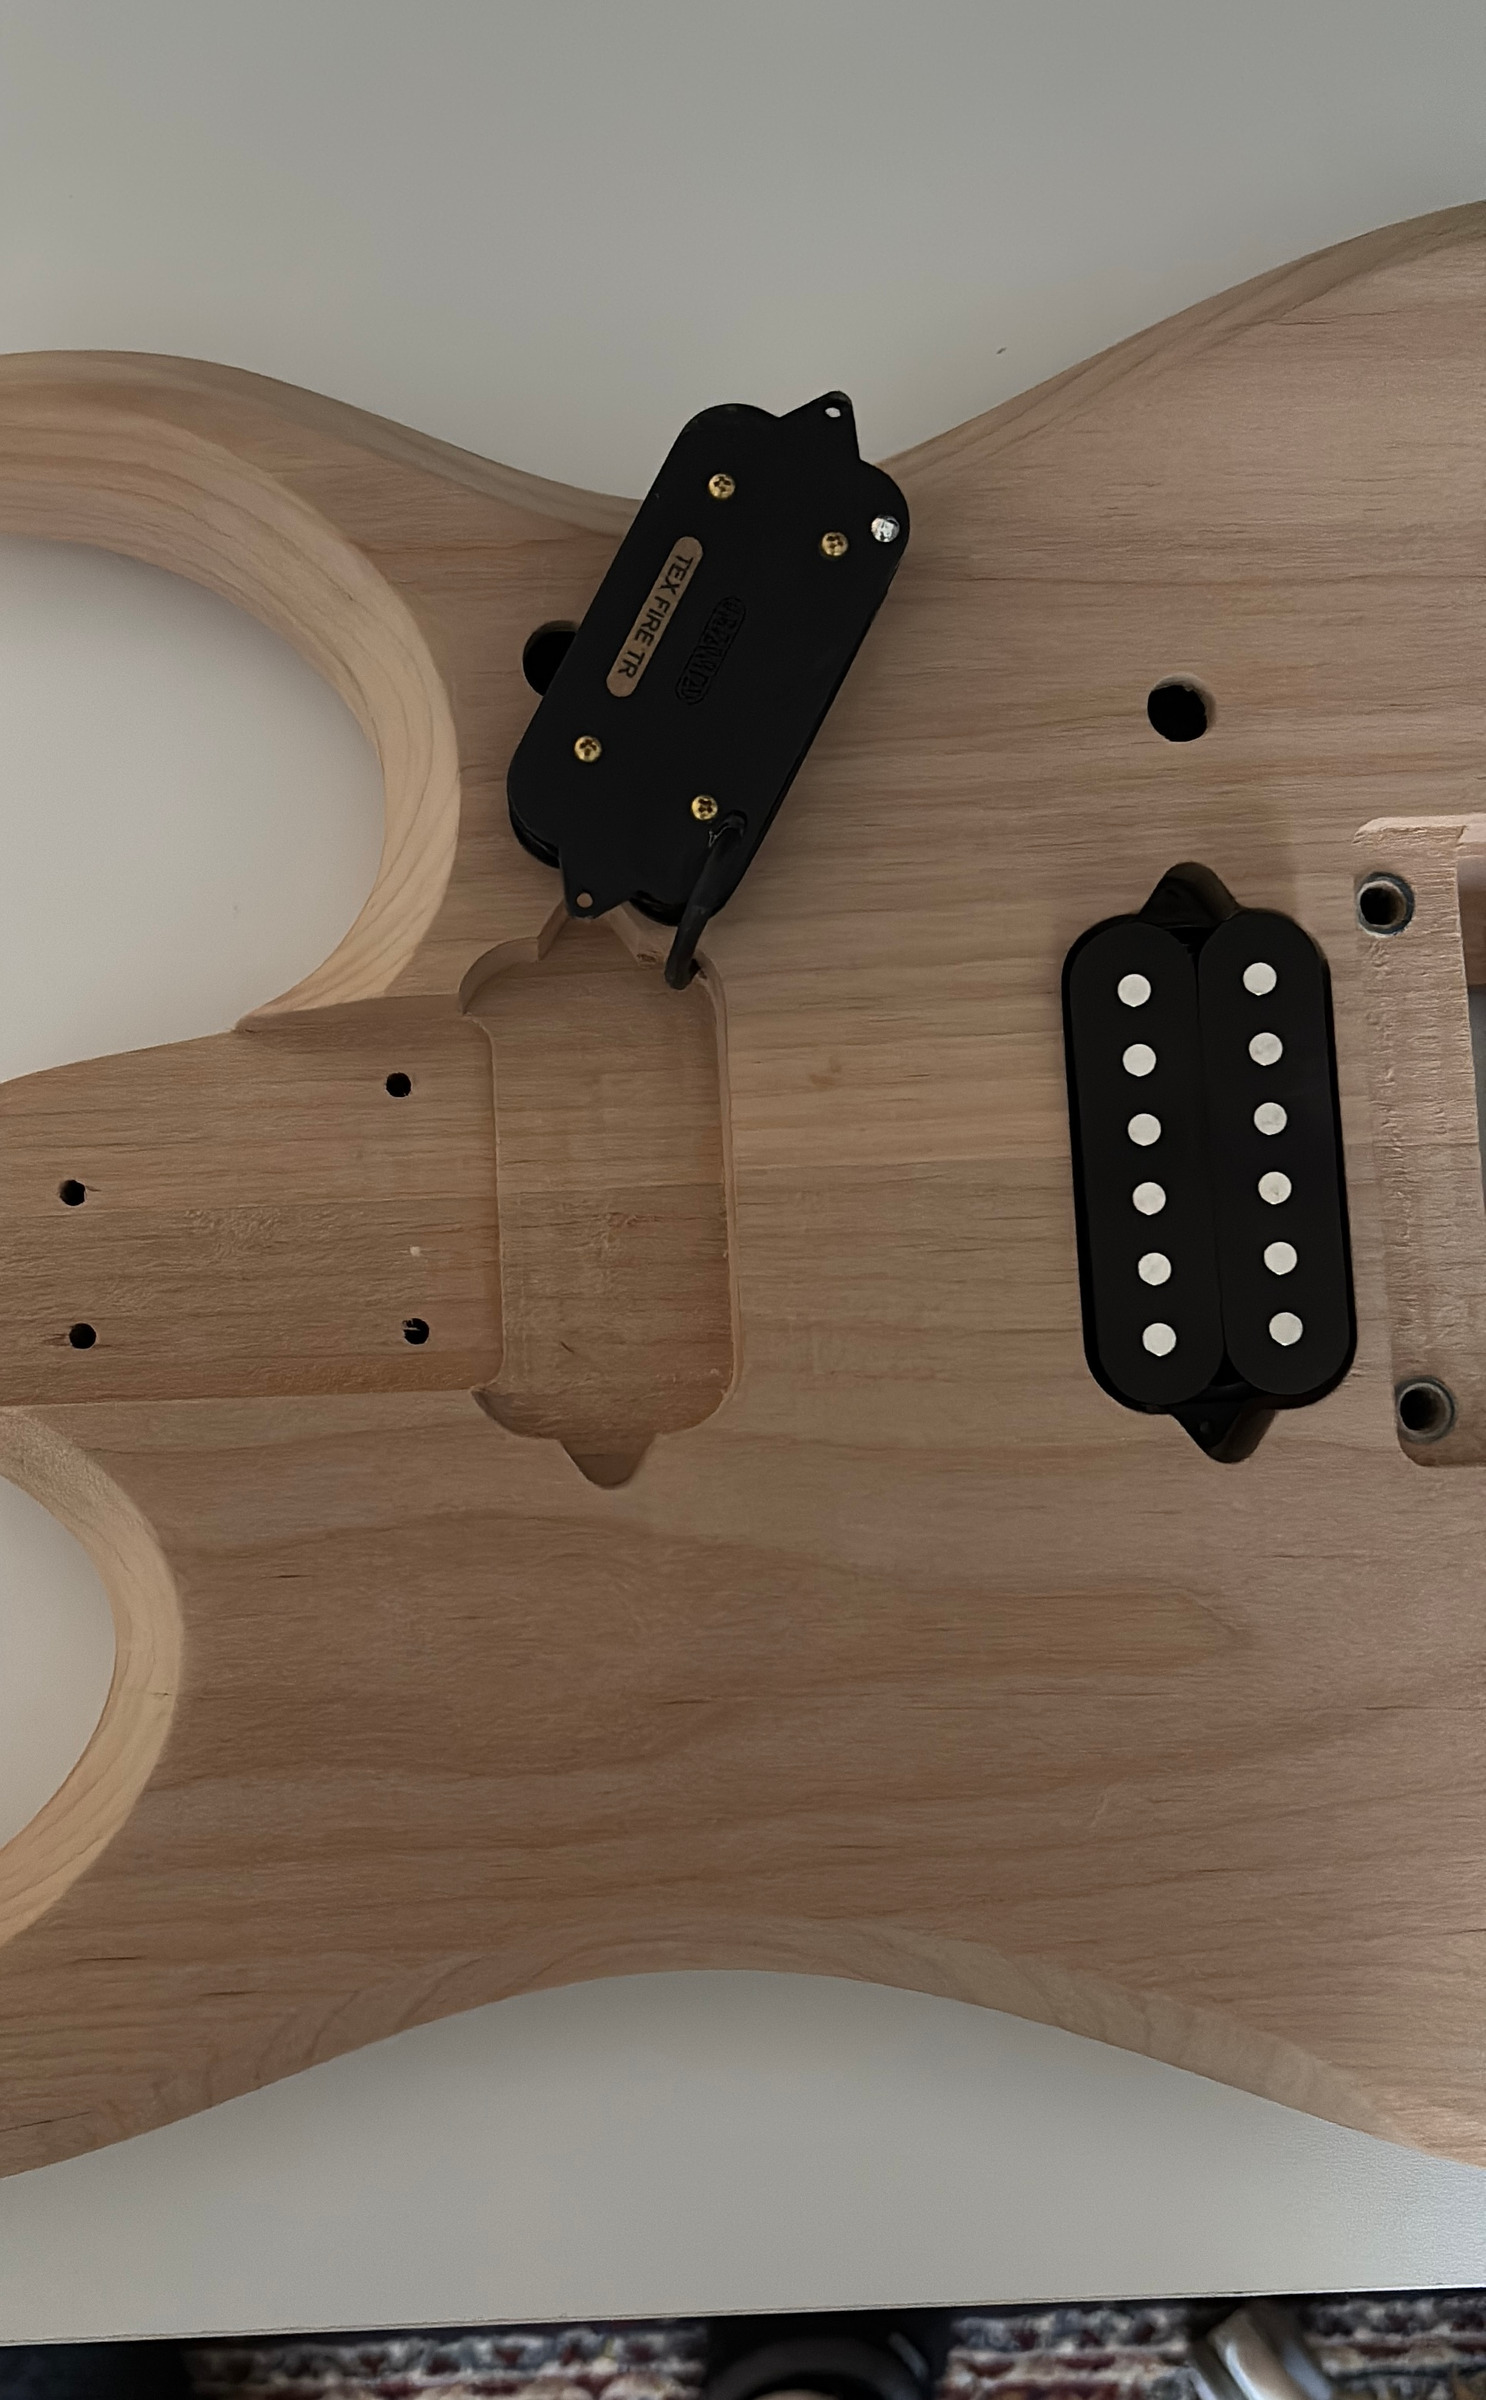
Two black pickups resting in their cavities, on a raw body
The pickups tried in their cavities, before assembly.
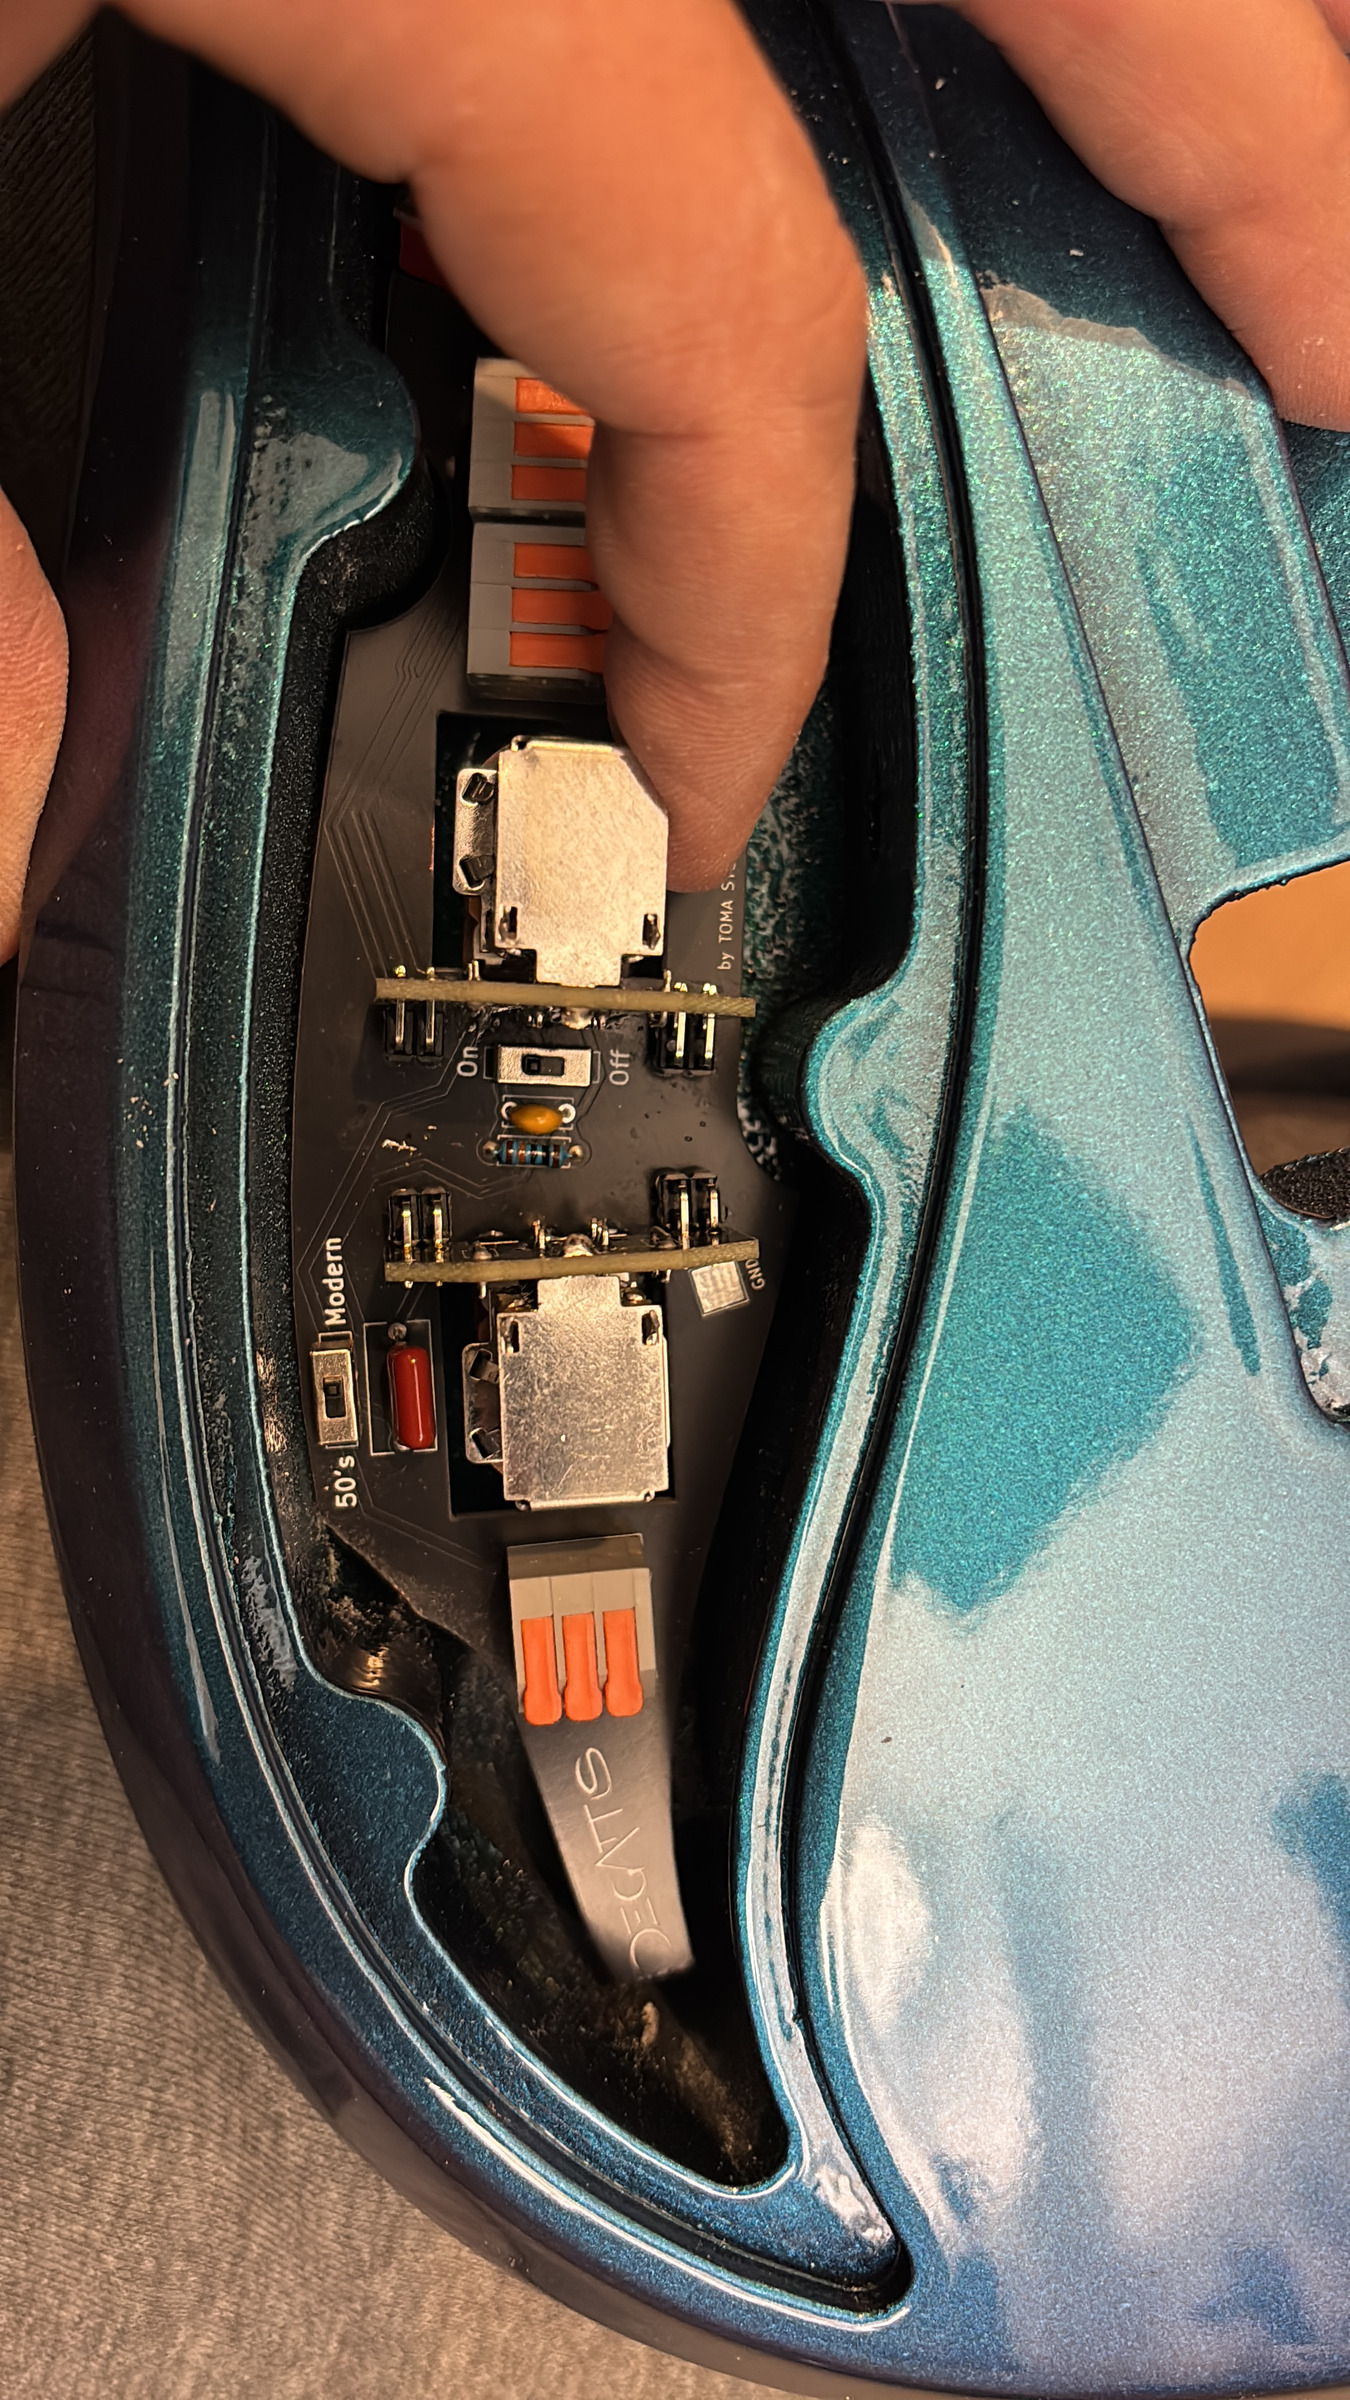
A hand setting the circuit board into the cavity of a teal body
The board goes into the body, already tested.

The final check

Before it leaves, it gets tested

Strings, tuners, the circuit checked with a tester, the setup. Then the instrument goes into the workshop register, which follows it over the years.
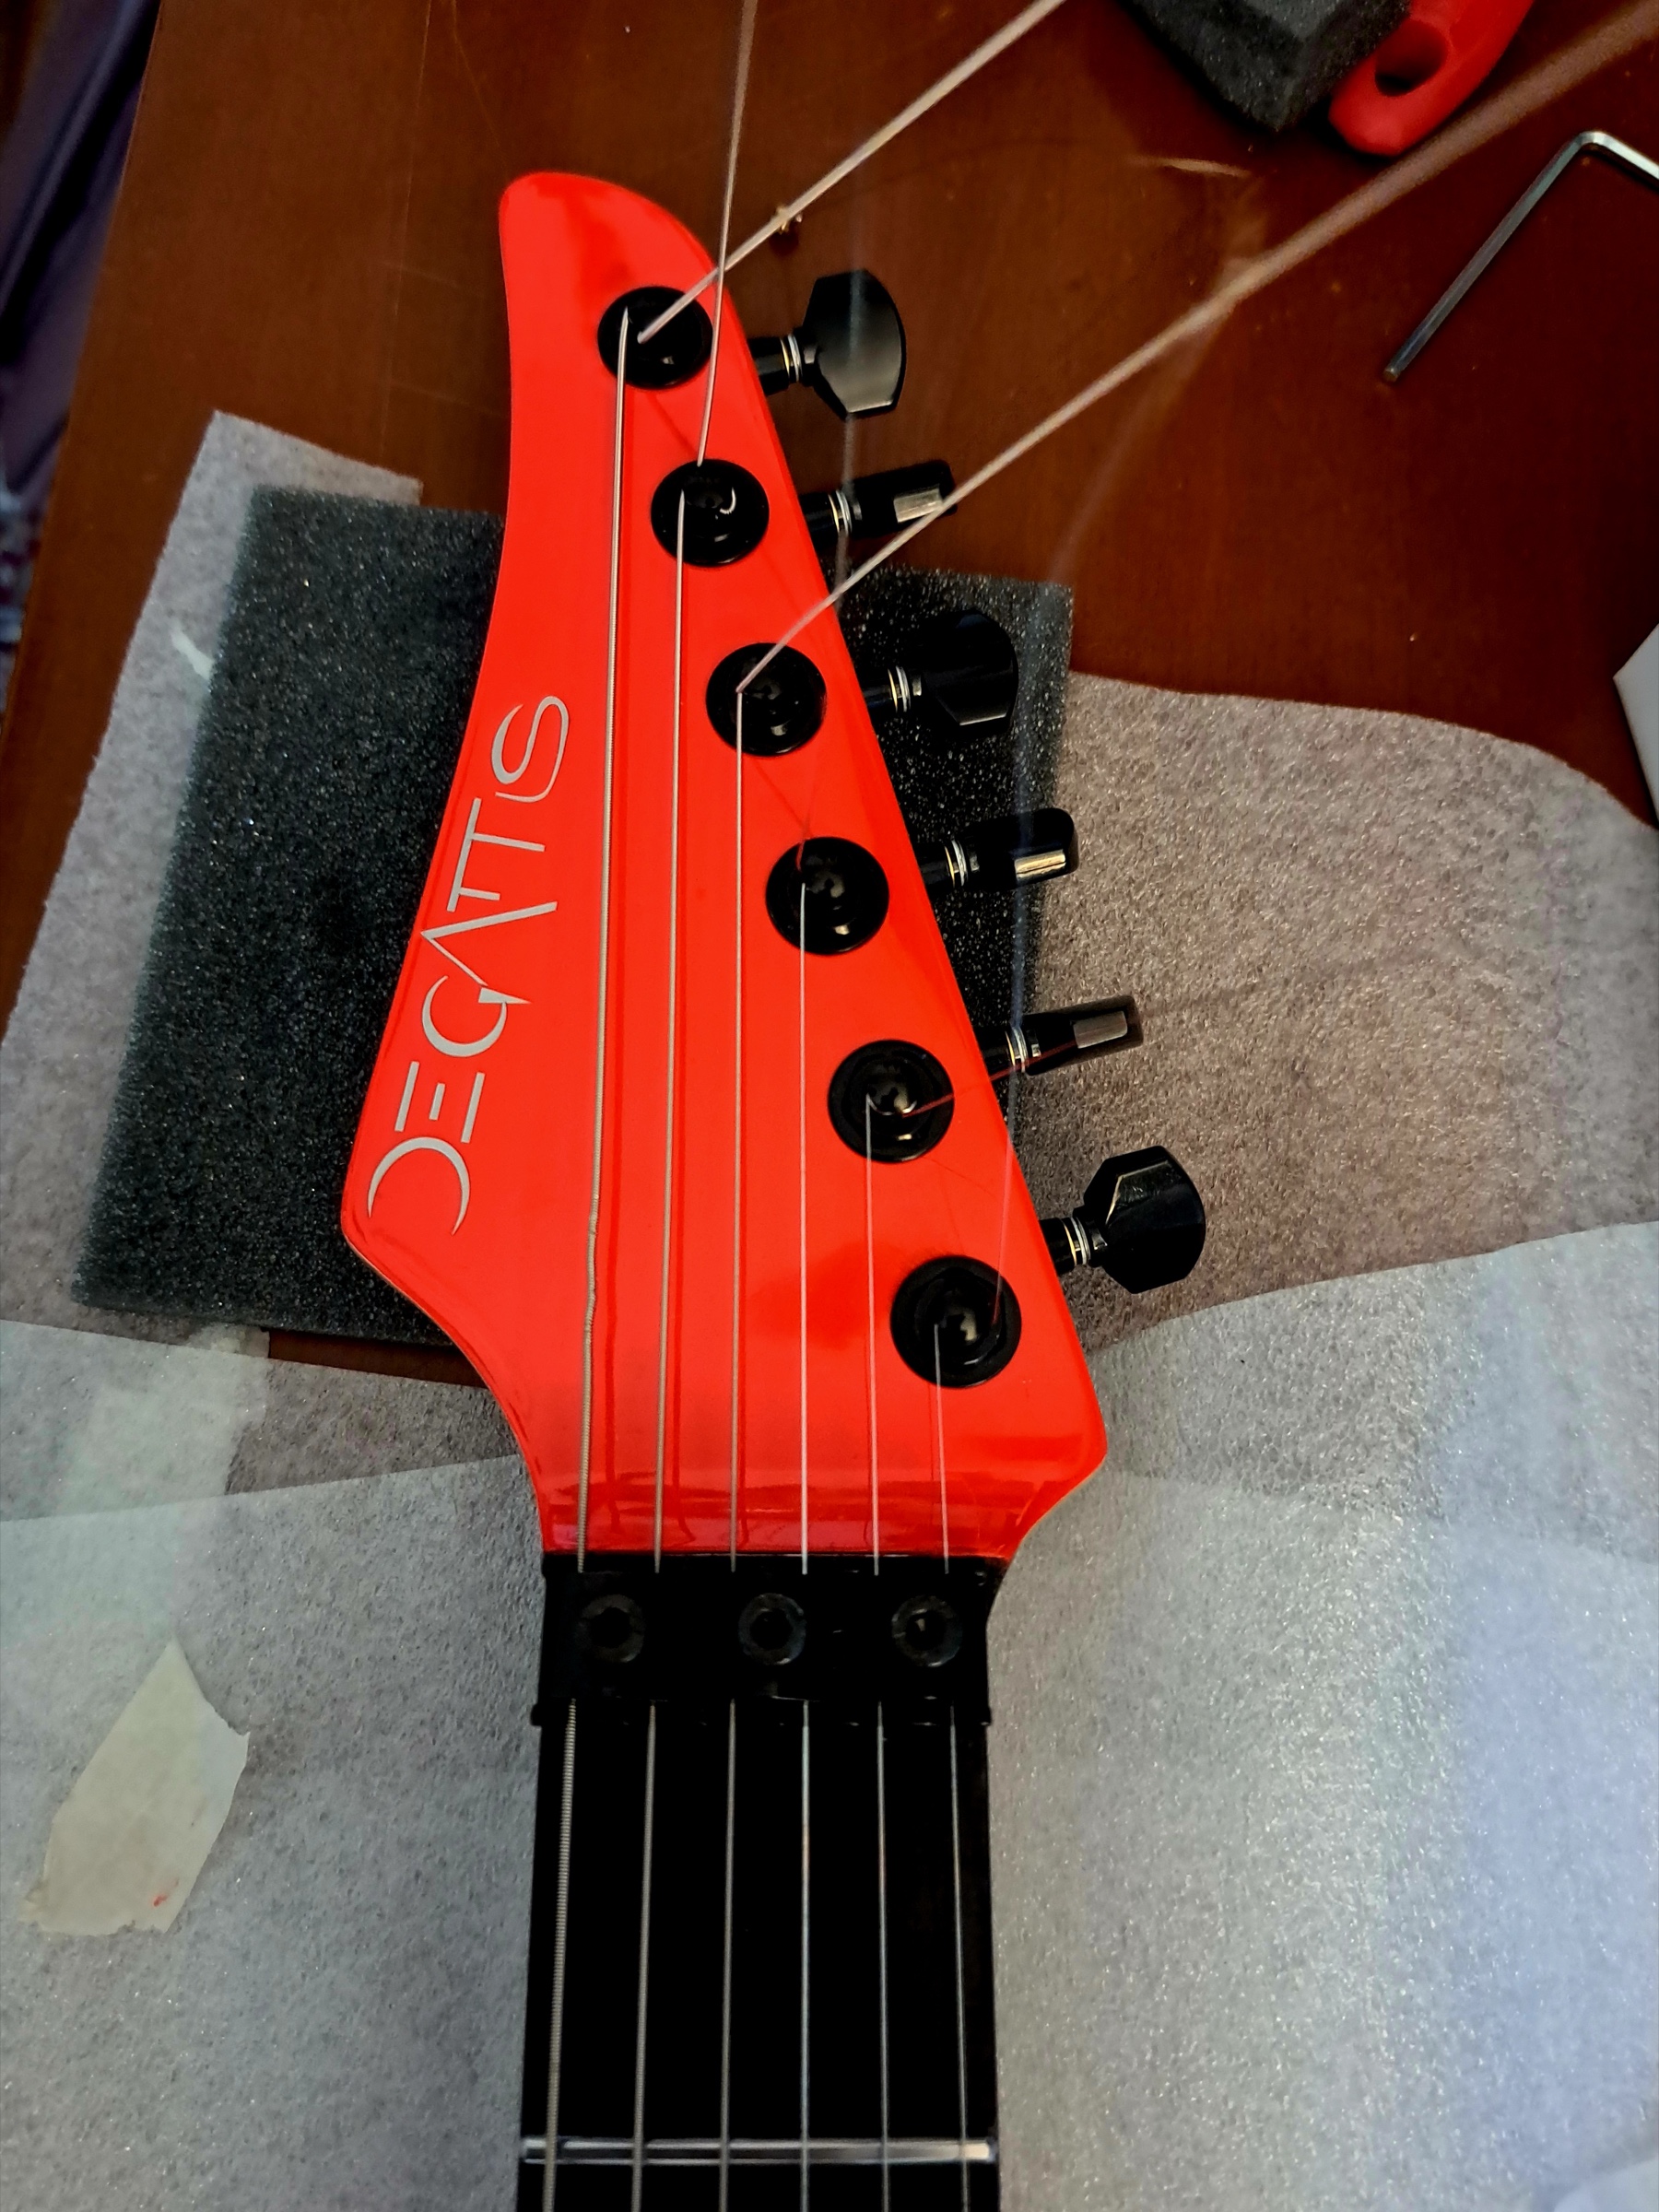
A red headstock with the De Gattis mark, strings and tuners just fitted
Strings and tuners fitted, before the setup.
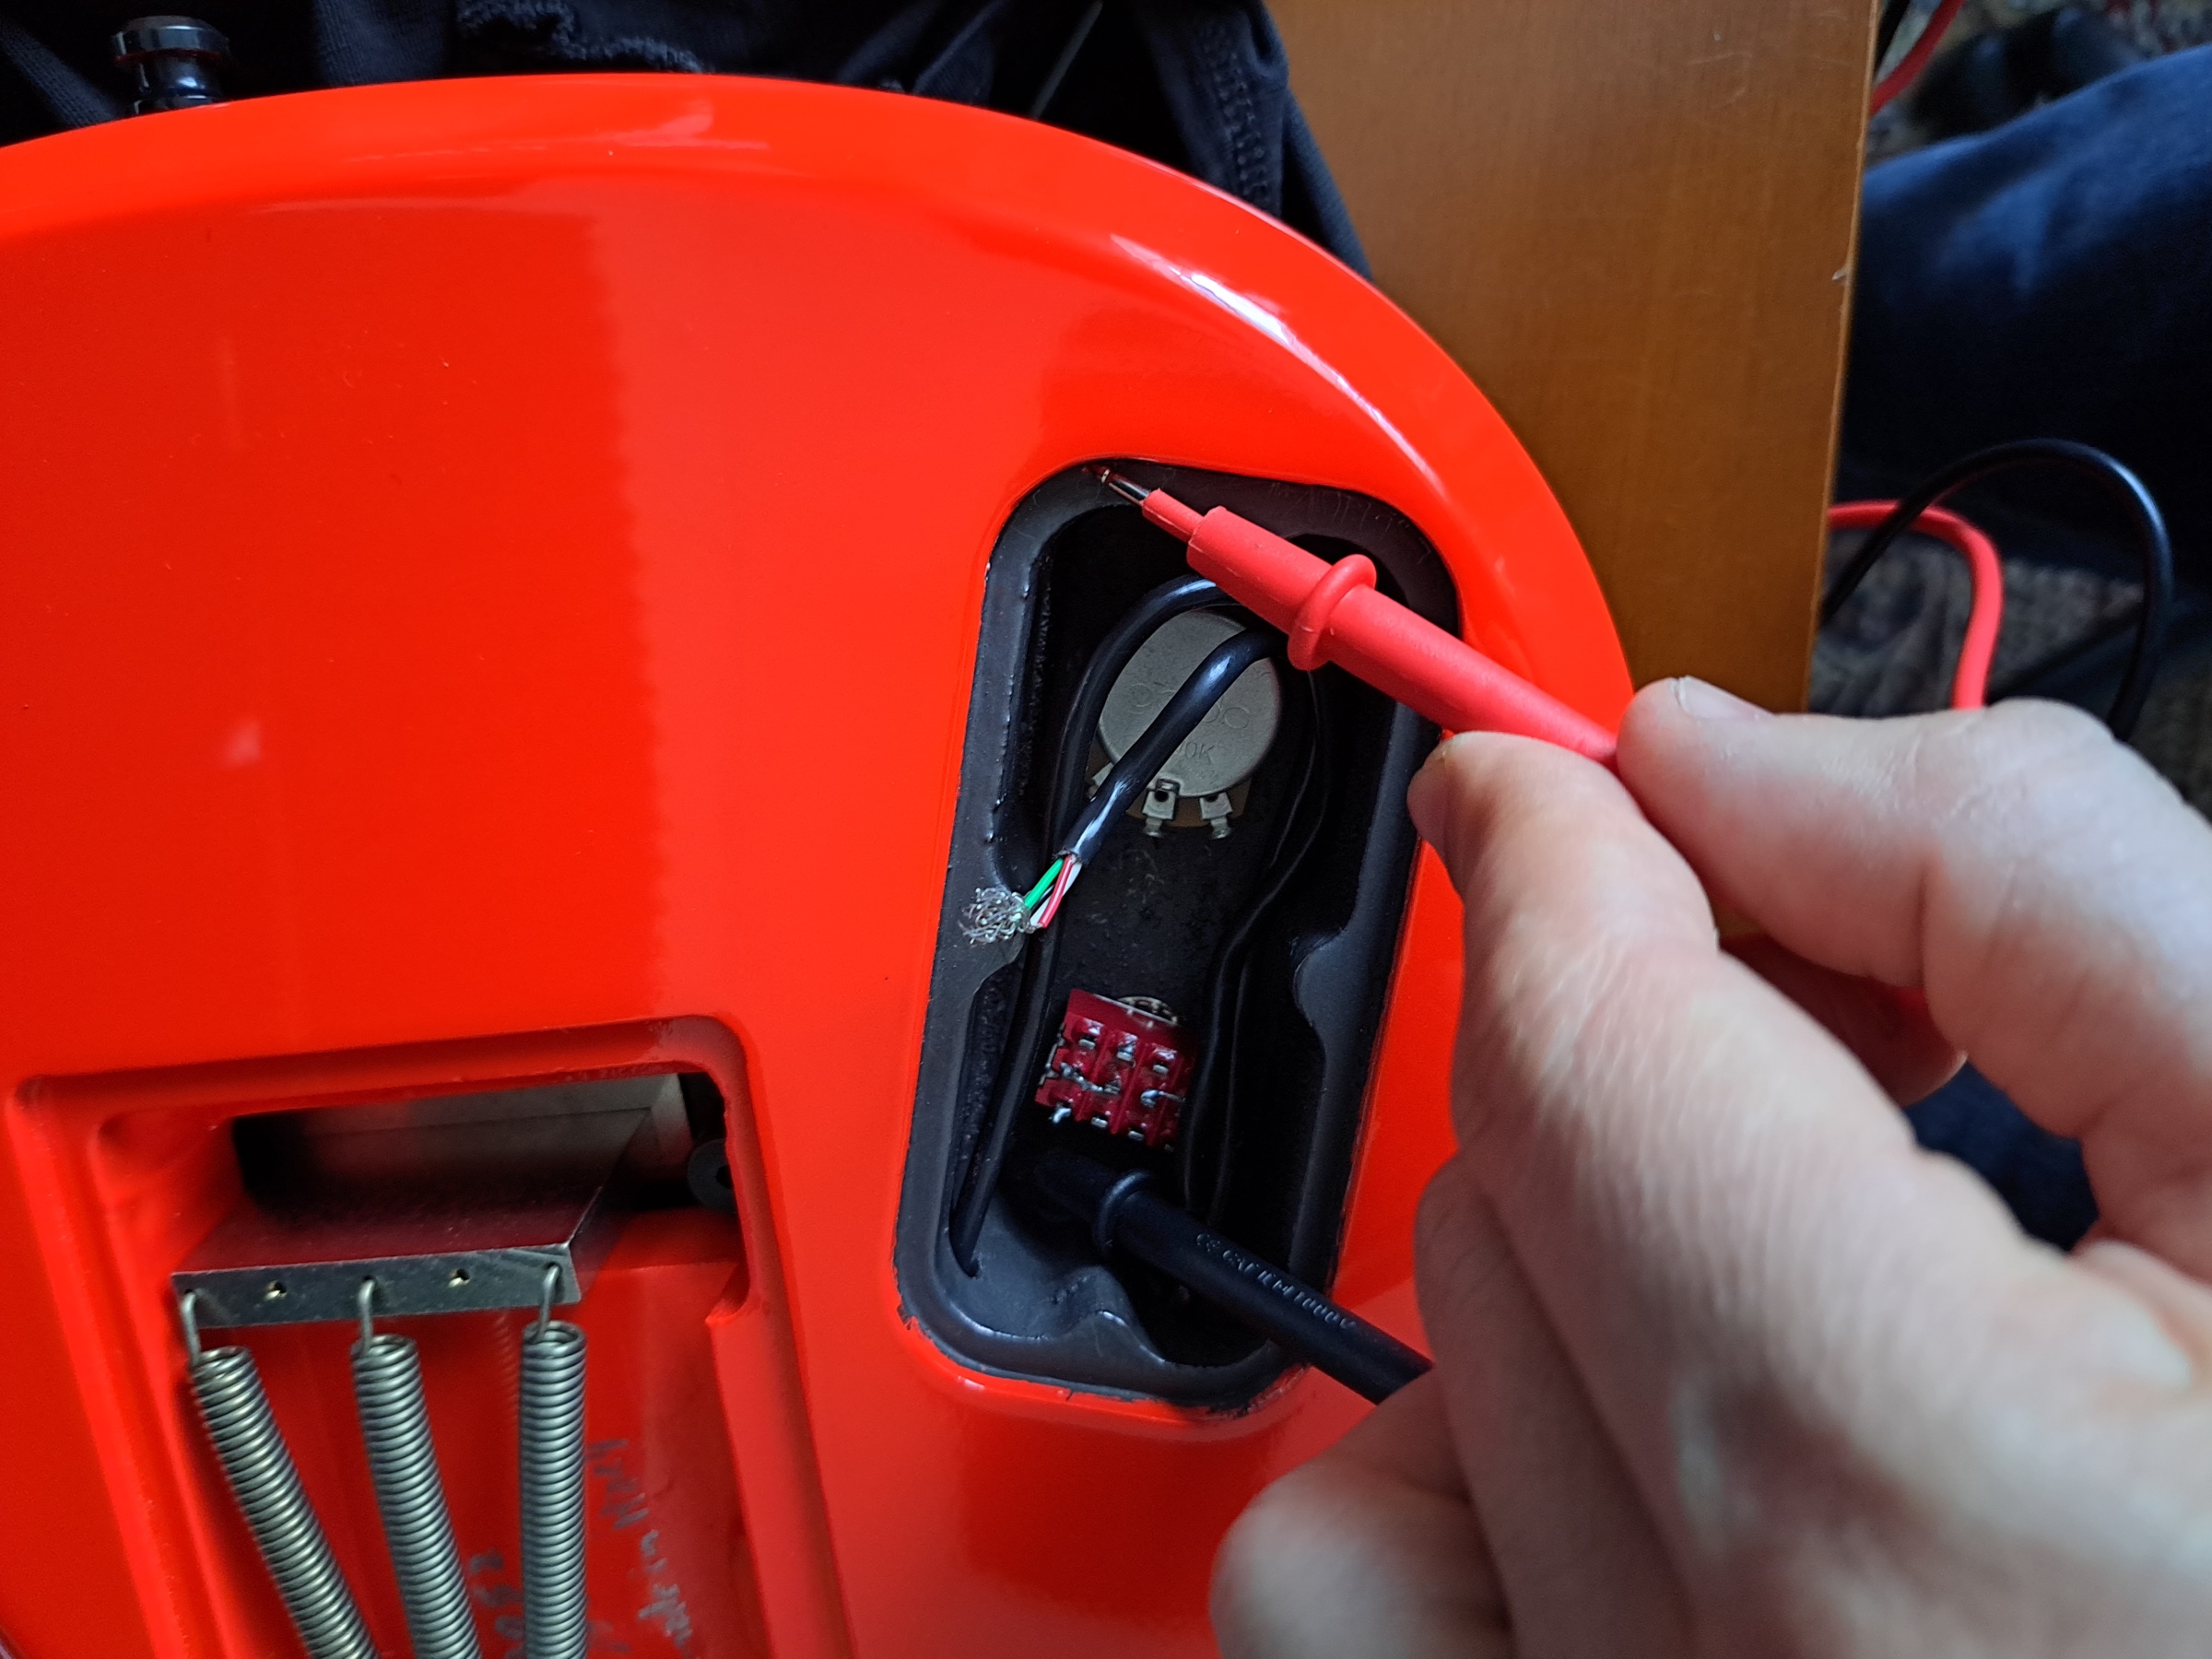
A hand checking the circuit with a tester, inside the cavity of a red body
Every contact checked with a tester before the cavity is closed.
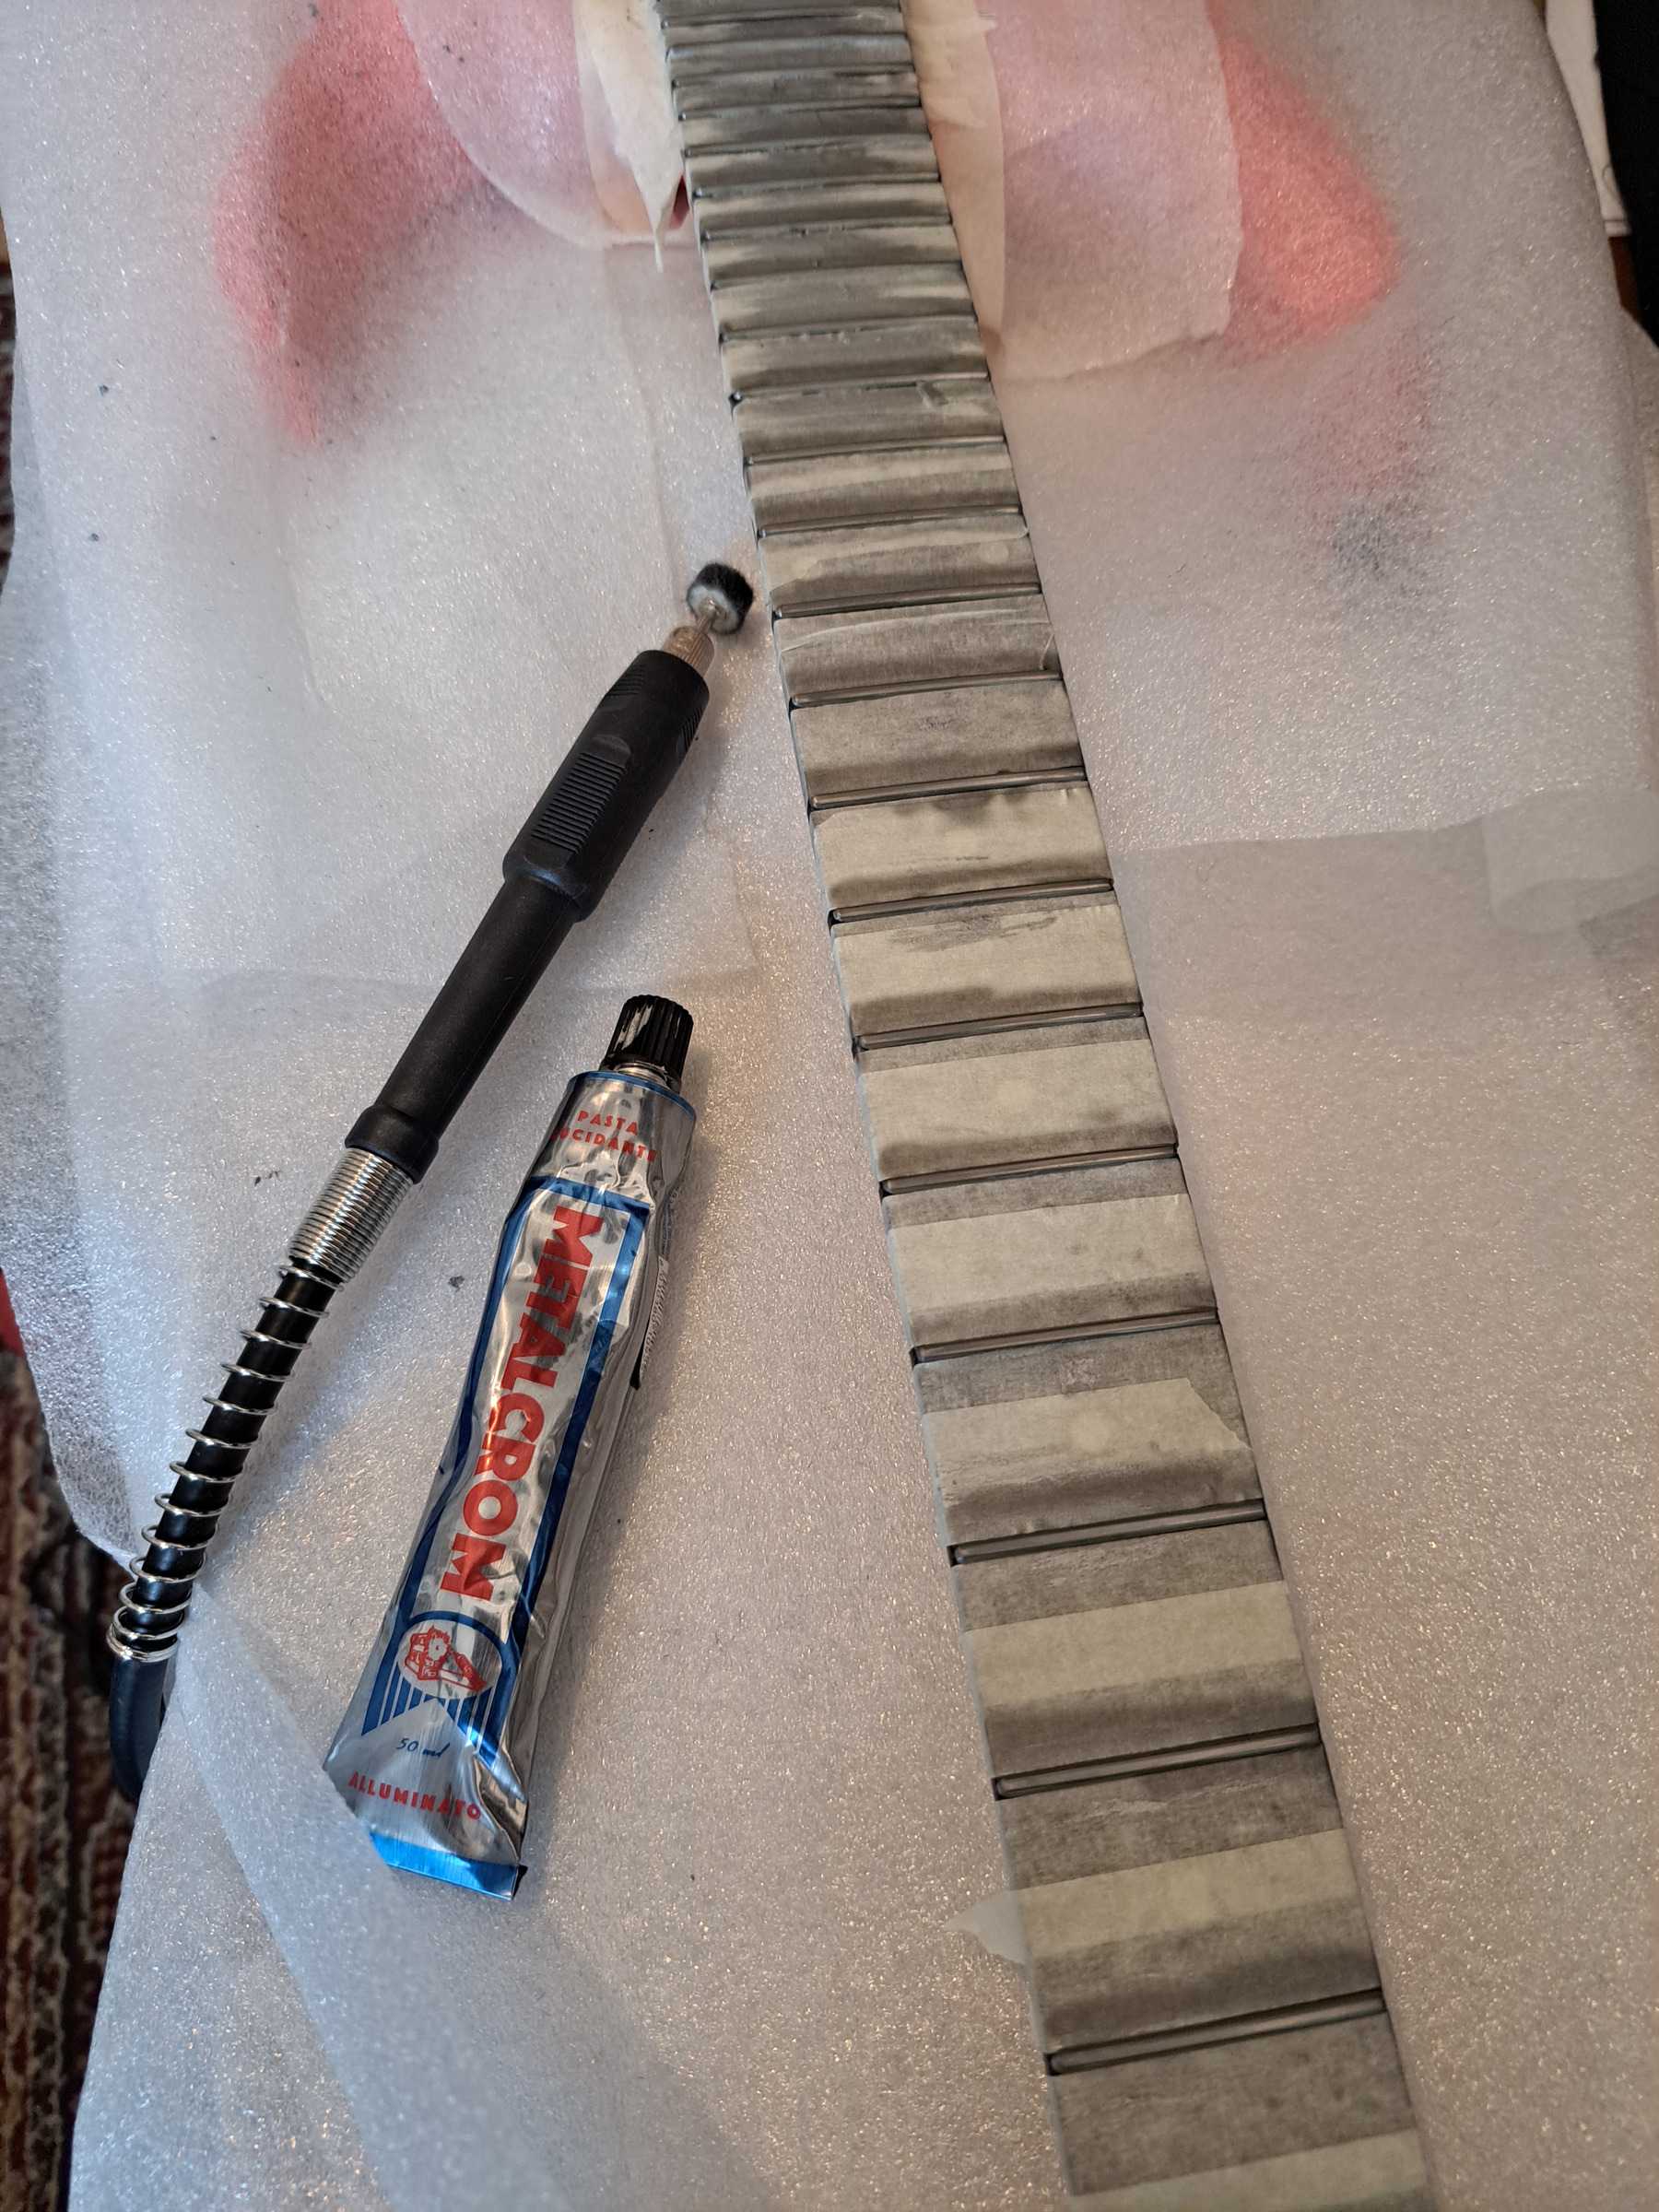
A fingerboard with masked frets, a rotary tool and a tube of polishing paste
The frets are polished one by one.

The signature

The name goes on the headstock, last

The mark is inlaid or engraved on the headstock, last of all. That is where two instruments from the same workshop tell themselves apart at a glance.
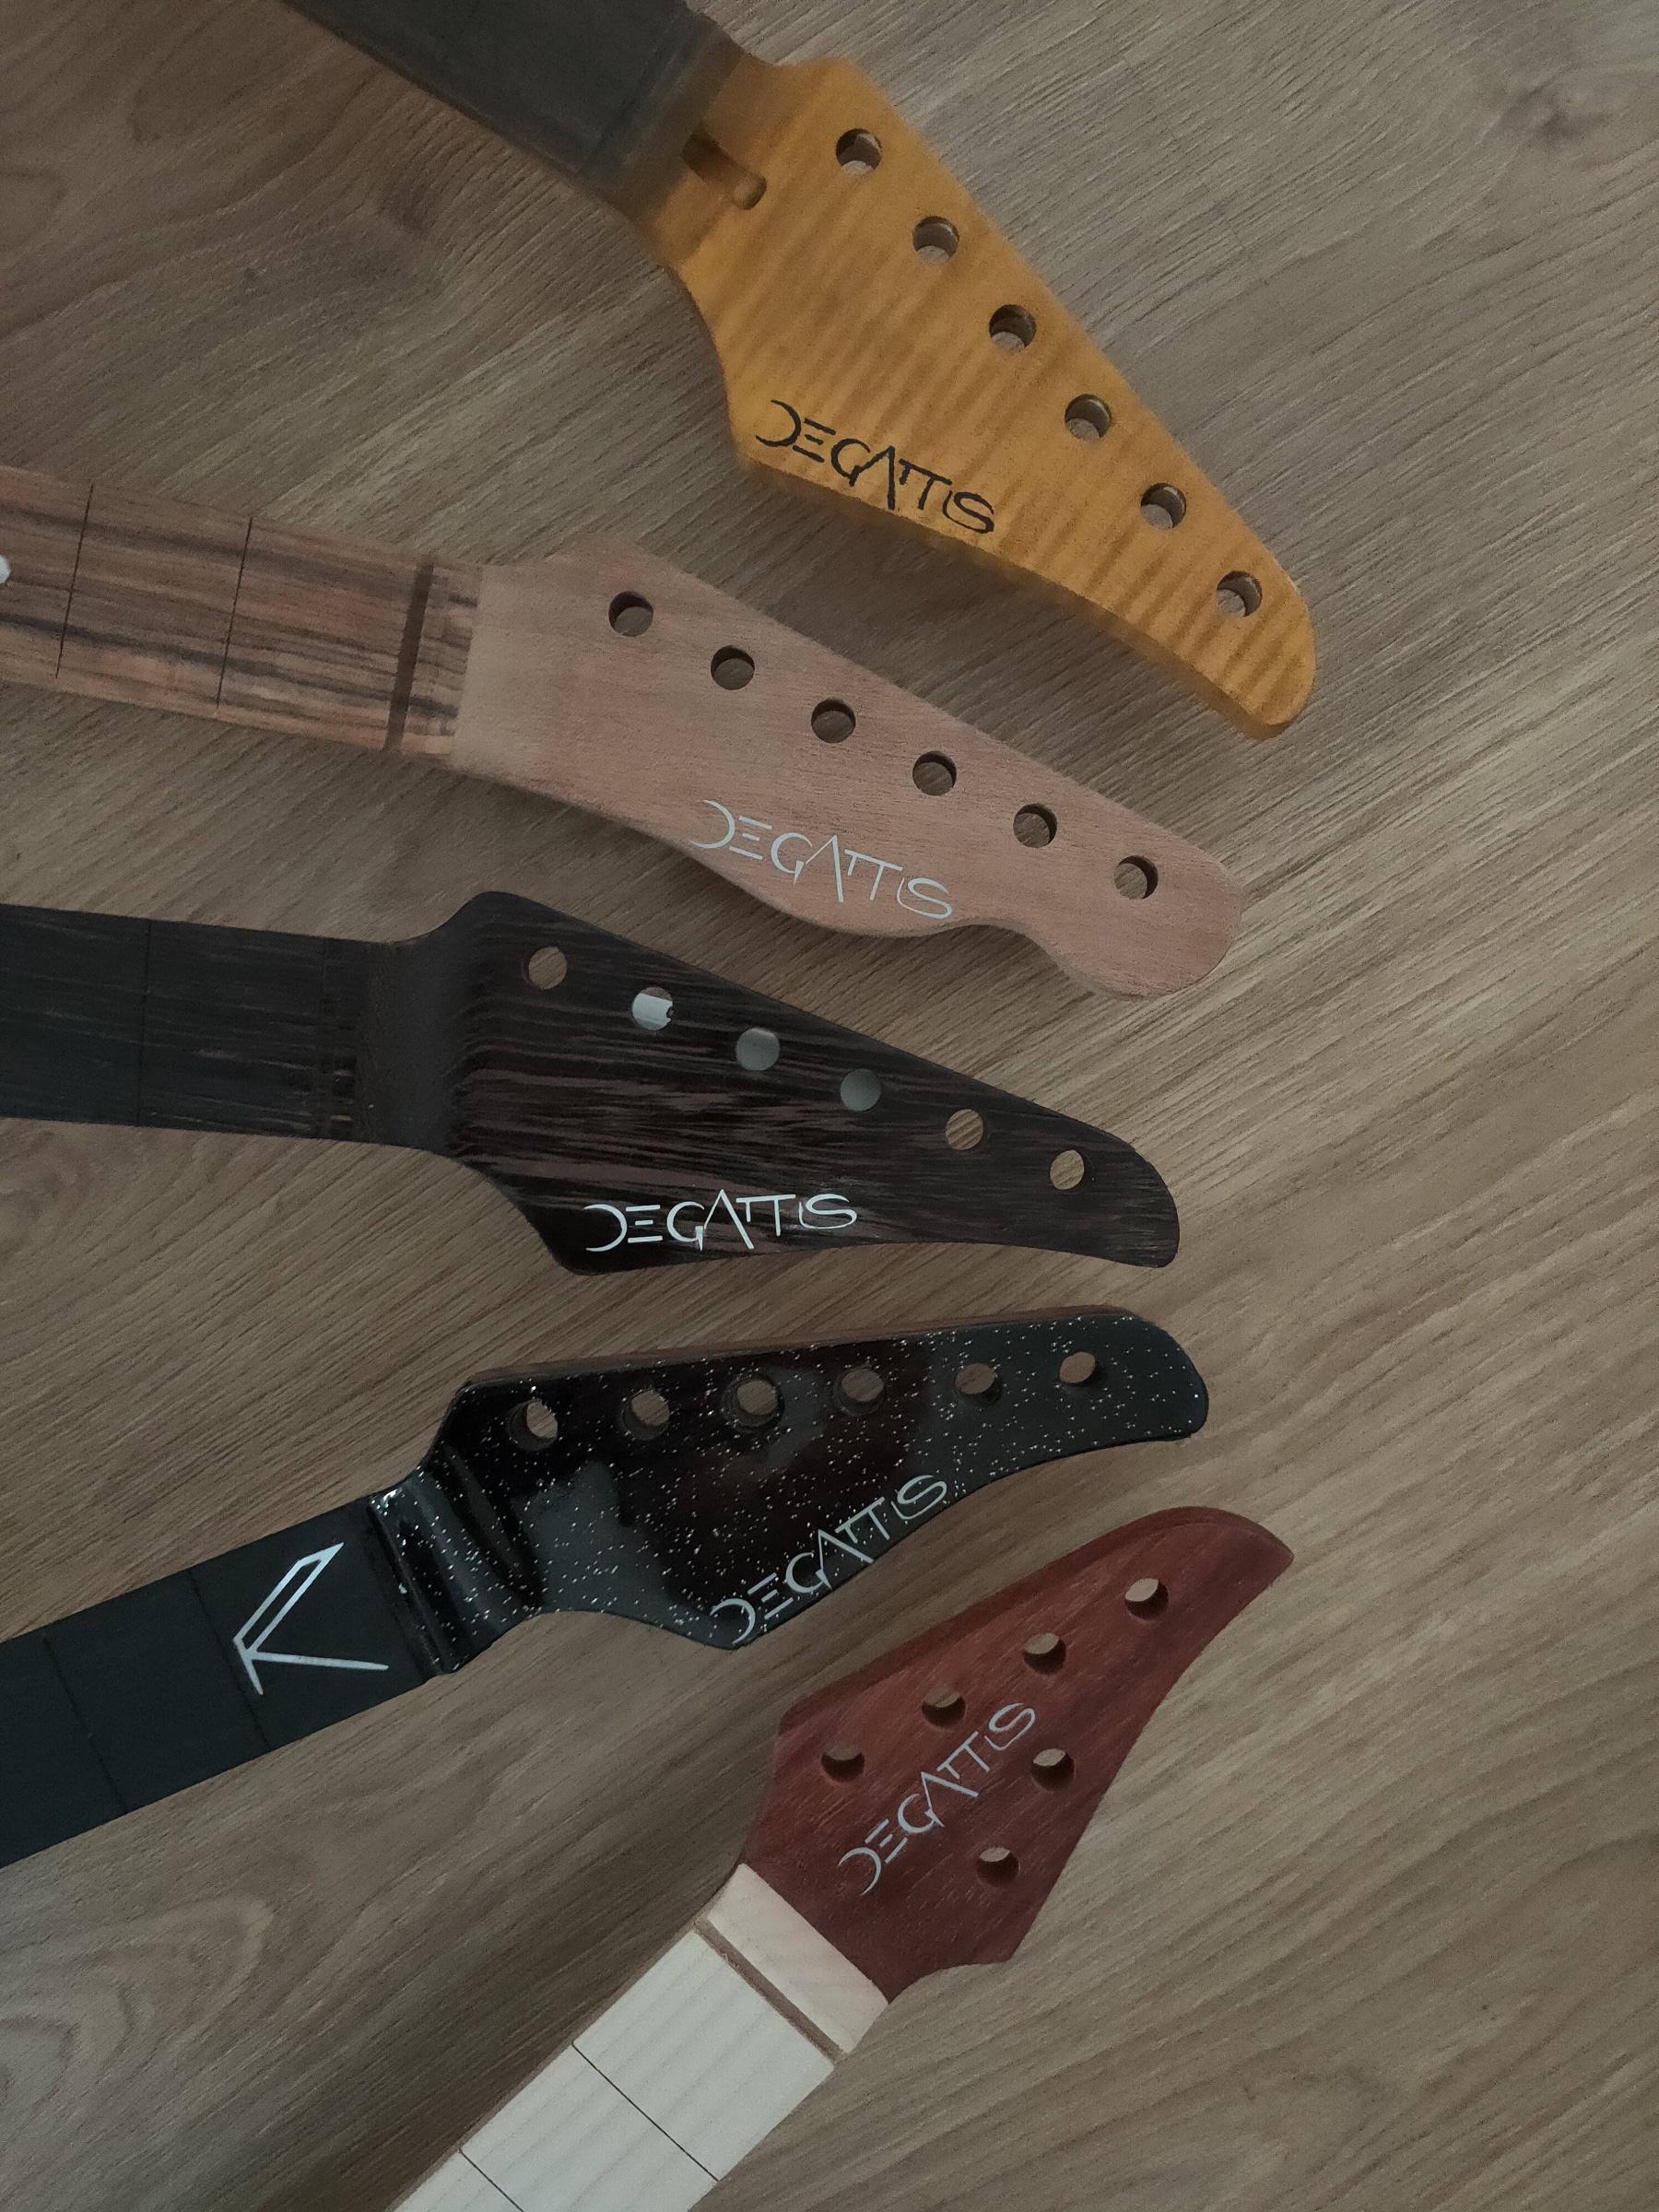
Five guitar headstocks in different woods, all carrying the De Gattis mark
Five headstocks, five woods, the same name.

Who builds them

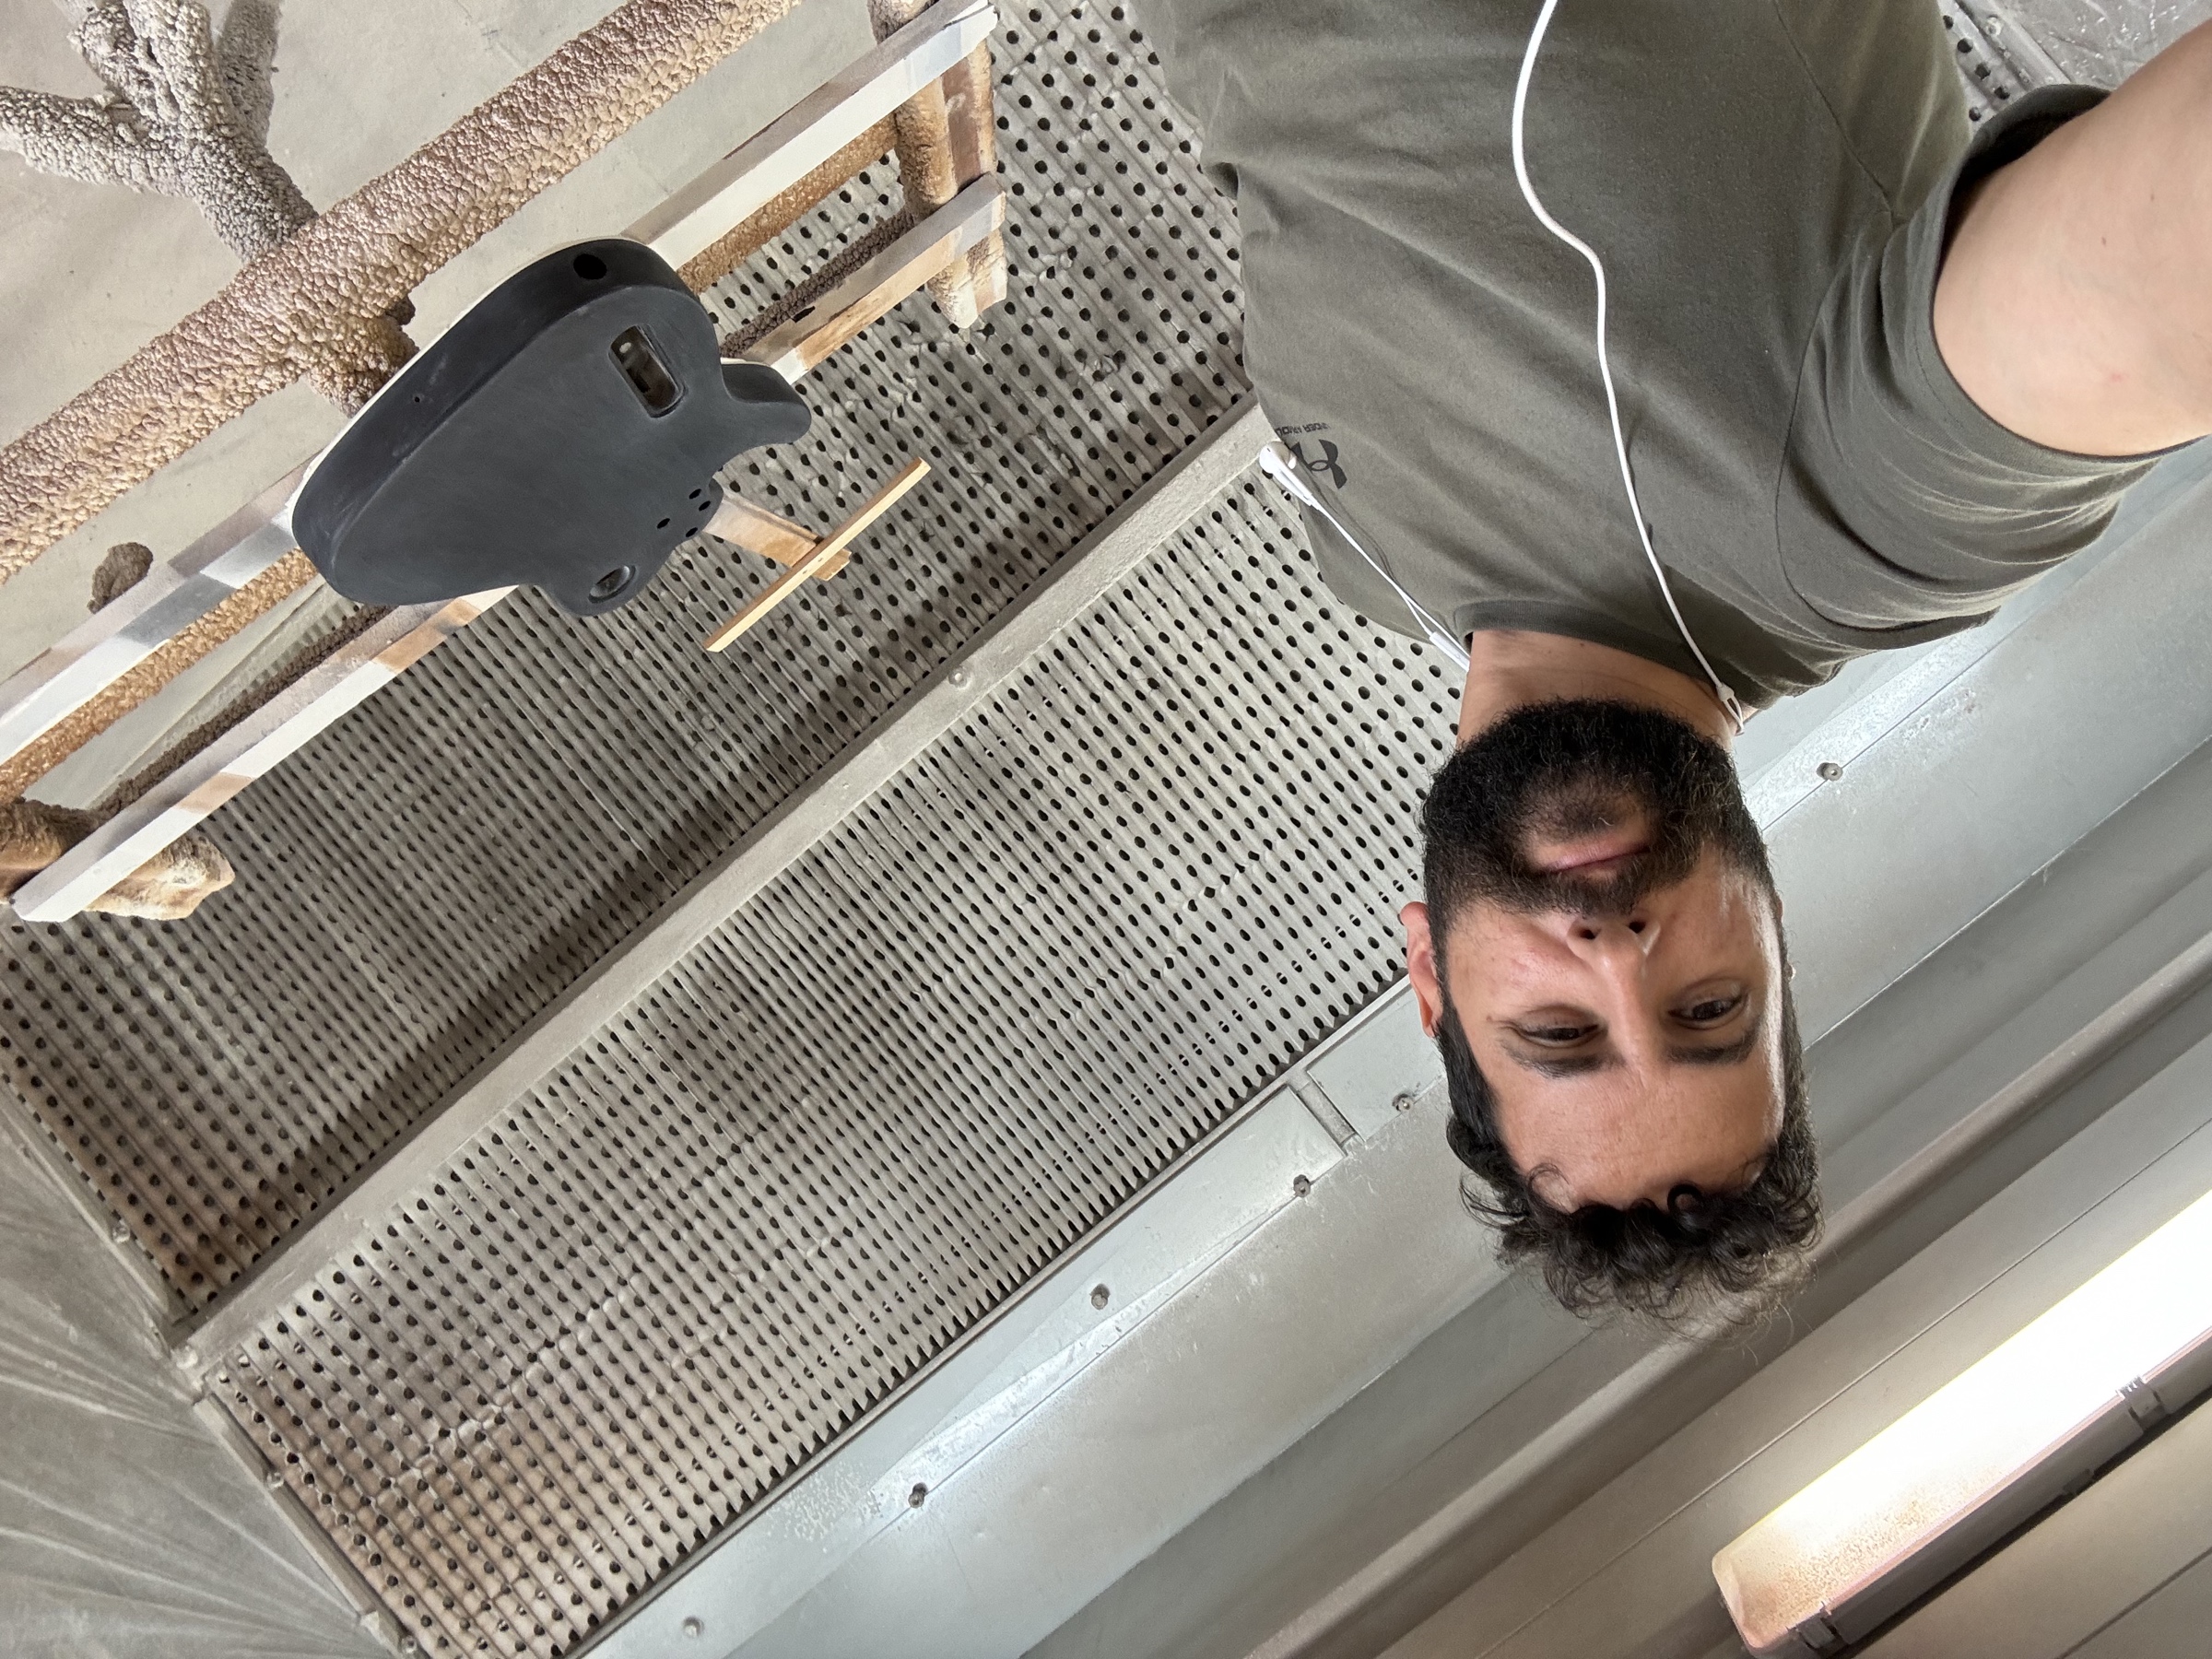
One person, from the drawing to the delivery.

Alberto De Gattis in the workshop's spray booth